
Your First Week with a Bambu Lab Printer: Setup, First Prints and What to Buy
Day one: unbox, remove every piece of foam and every screw the quick-start guide points at, run the self-test and print the benchy on the SD card. Day two onward: print something you actually want, learn the slicer, and buy the few things that make the printer pleasant to own, which for us are a Textured PEI plate, the Maintenance Kit and a spare hotend. You do not need an AMS in week one.
Day 1: unboxing and the screws everyone misses
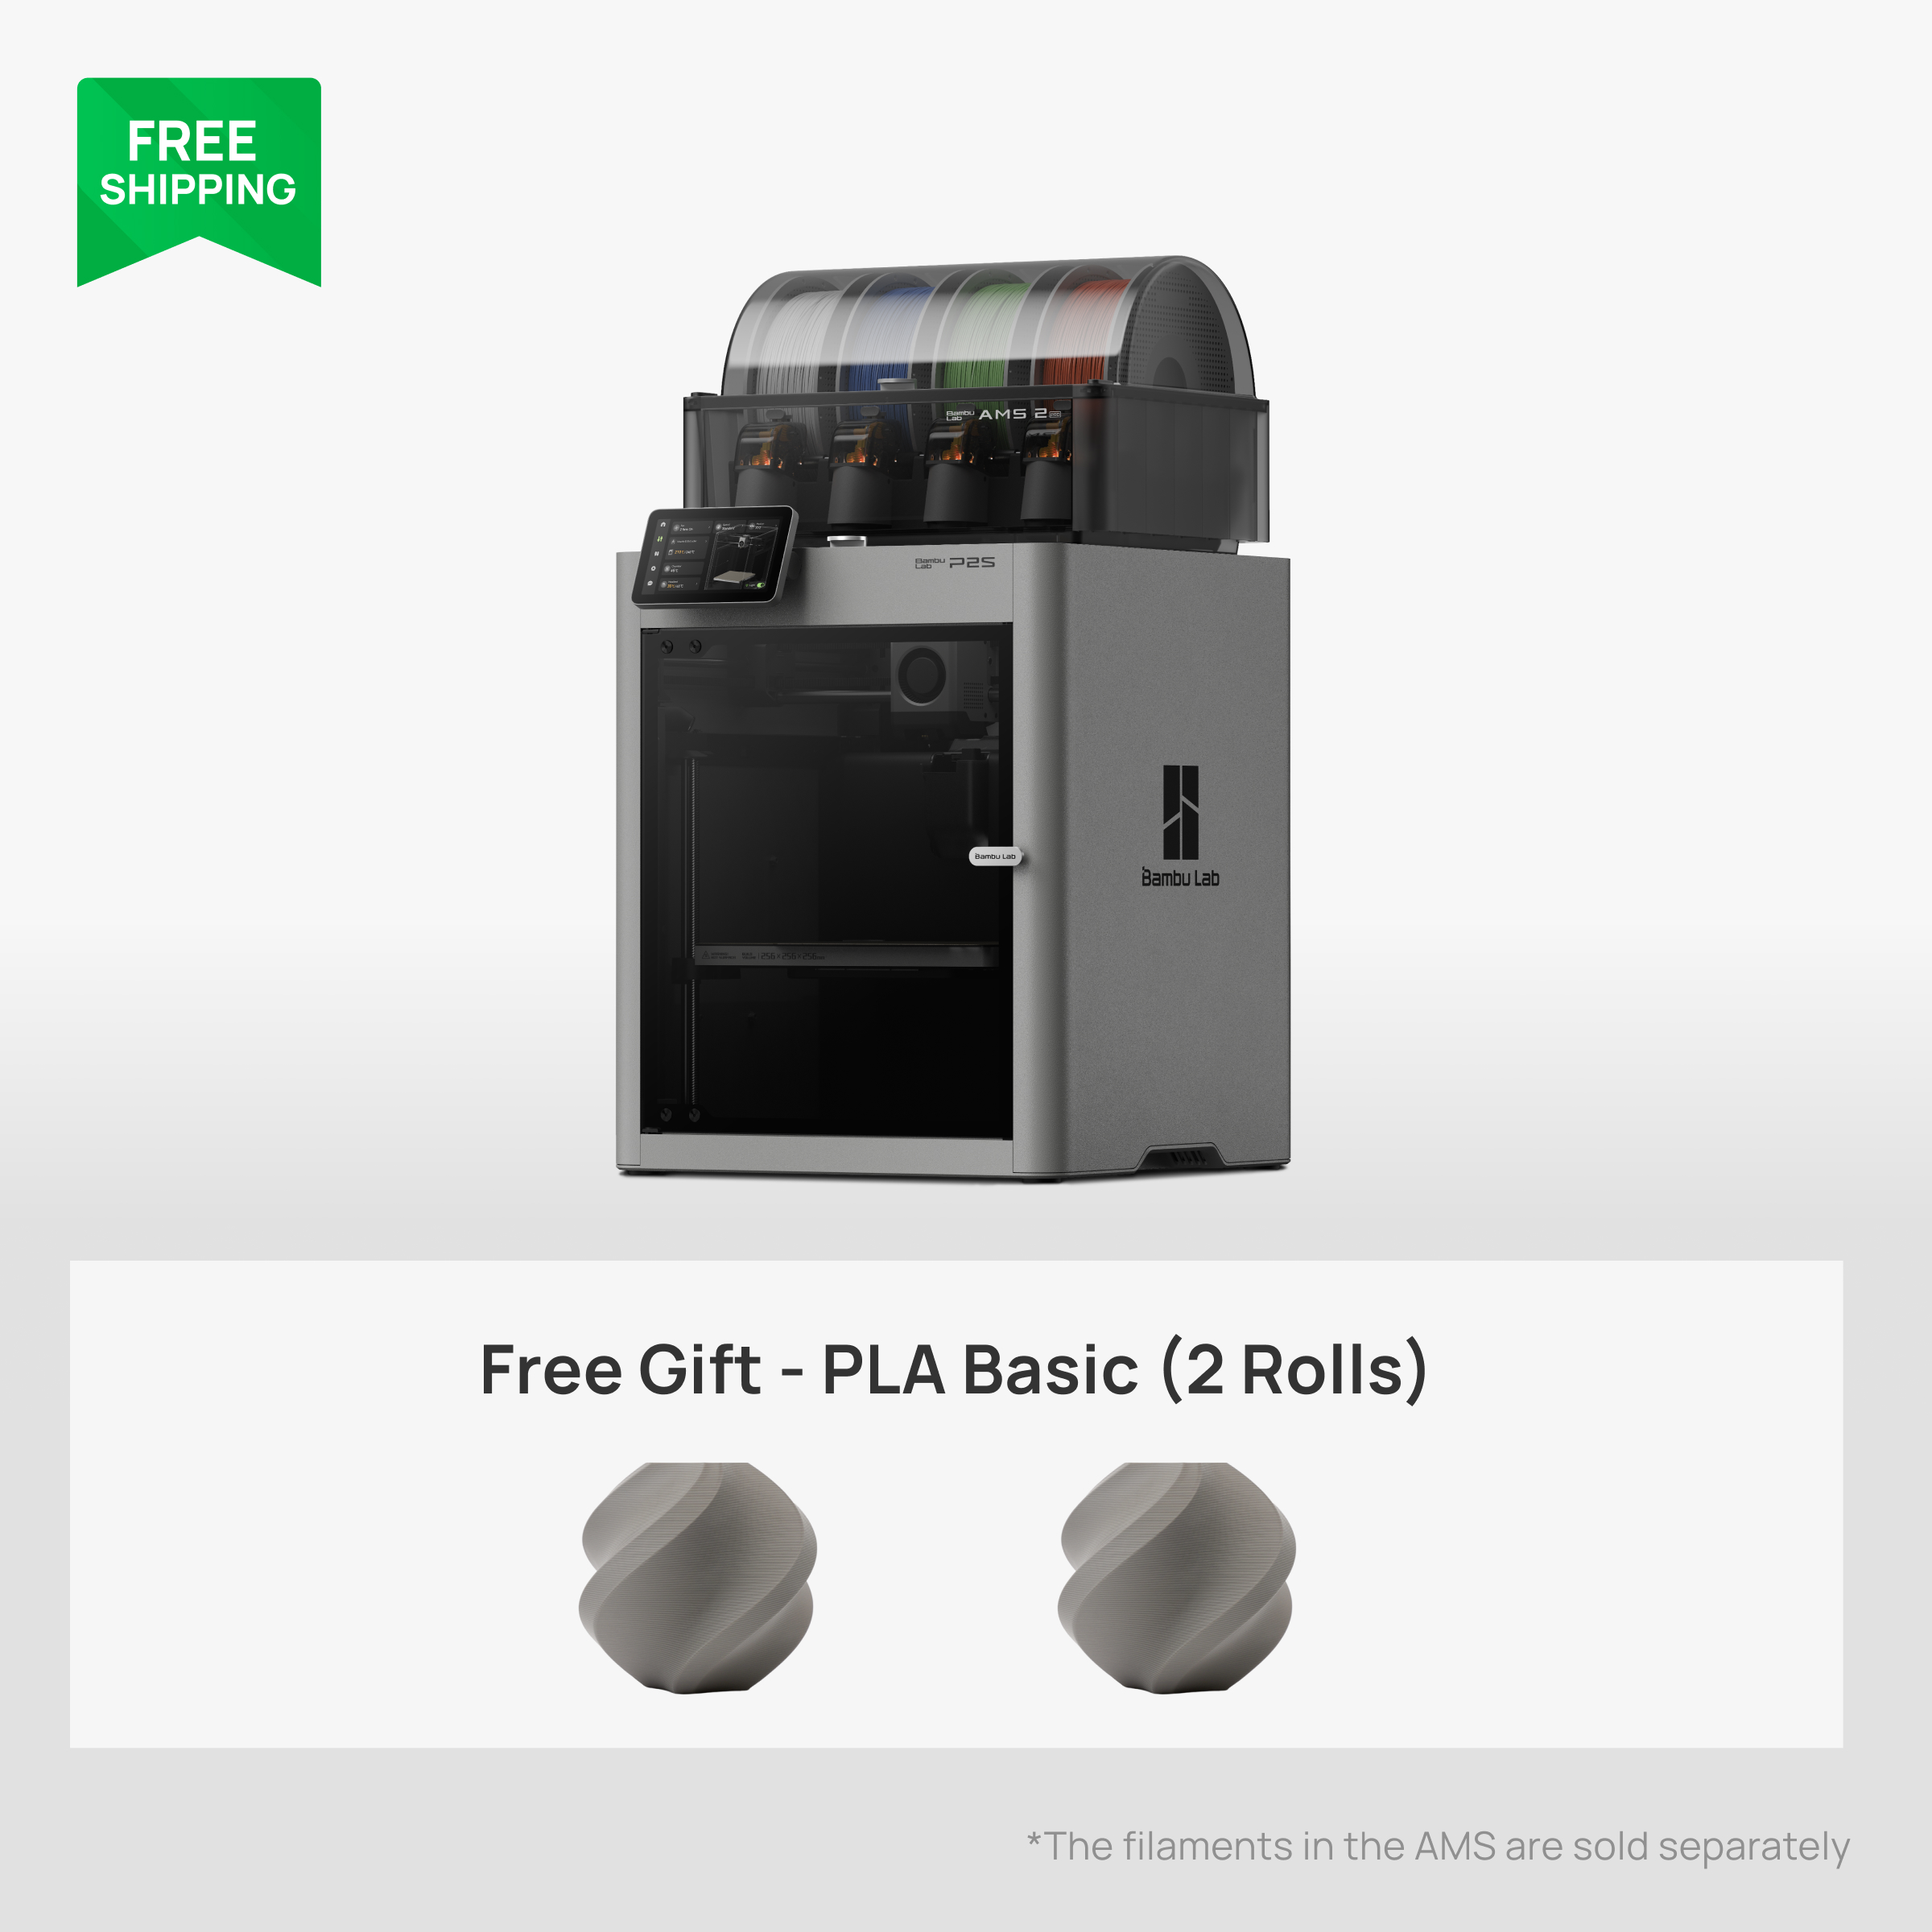
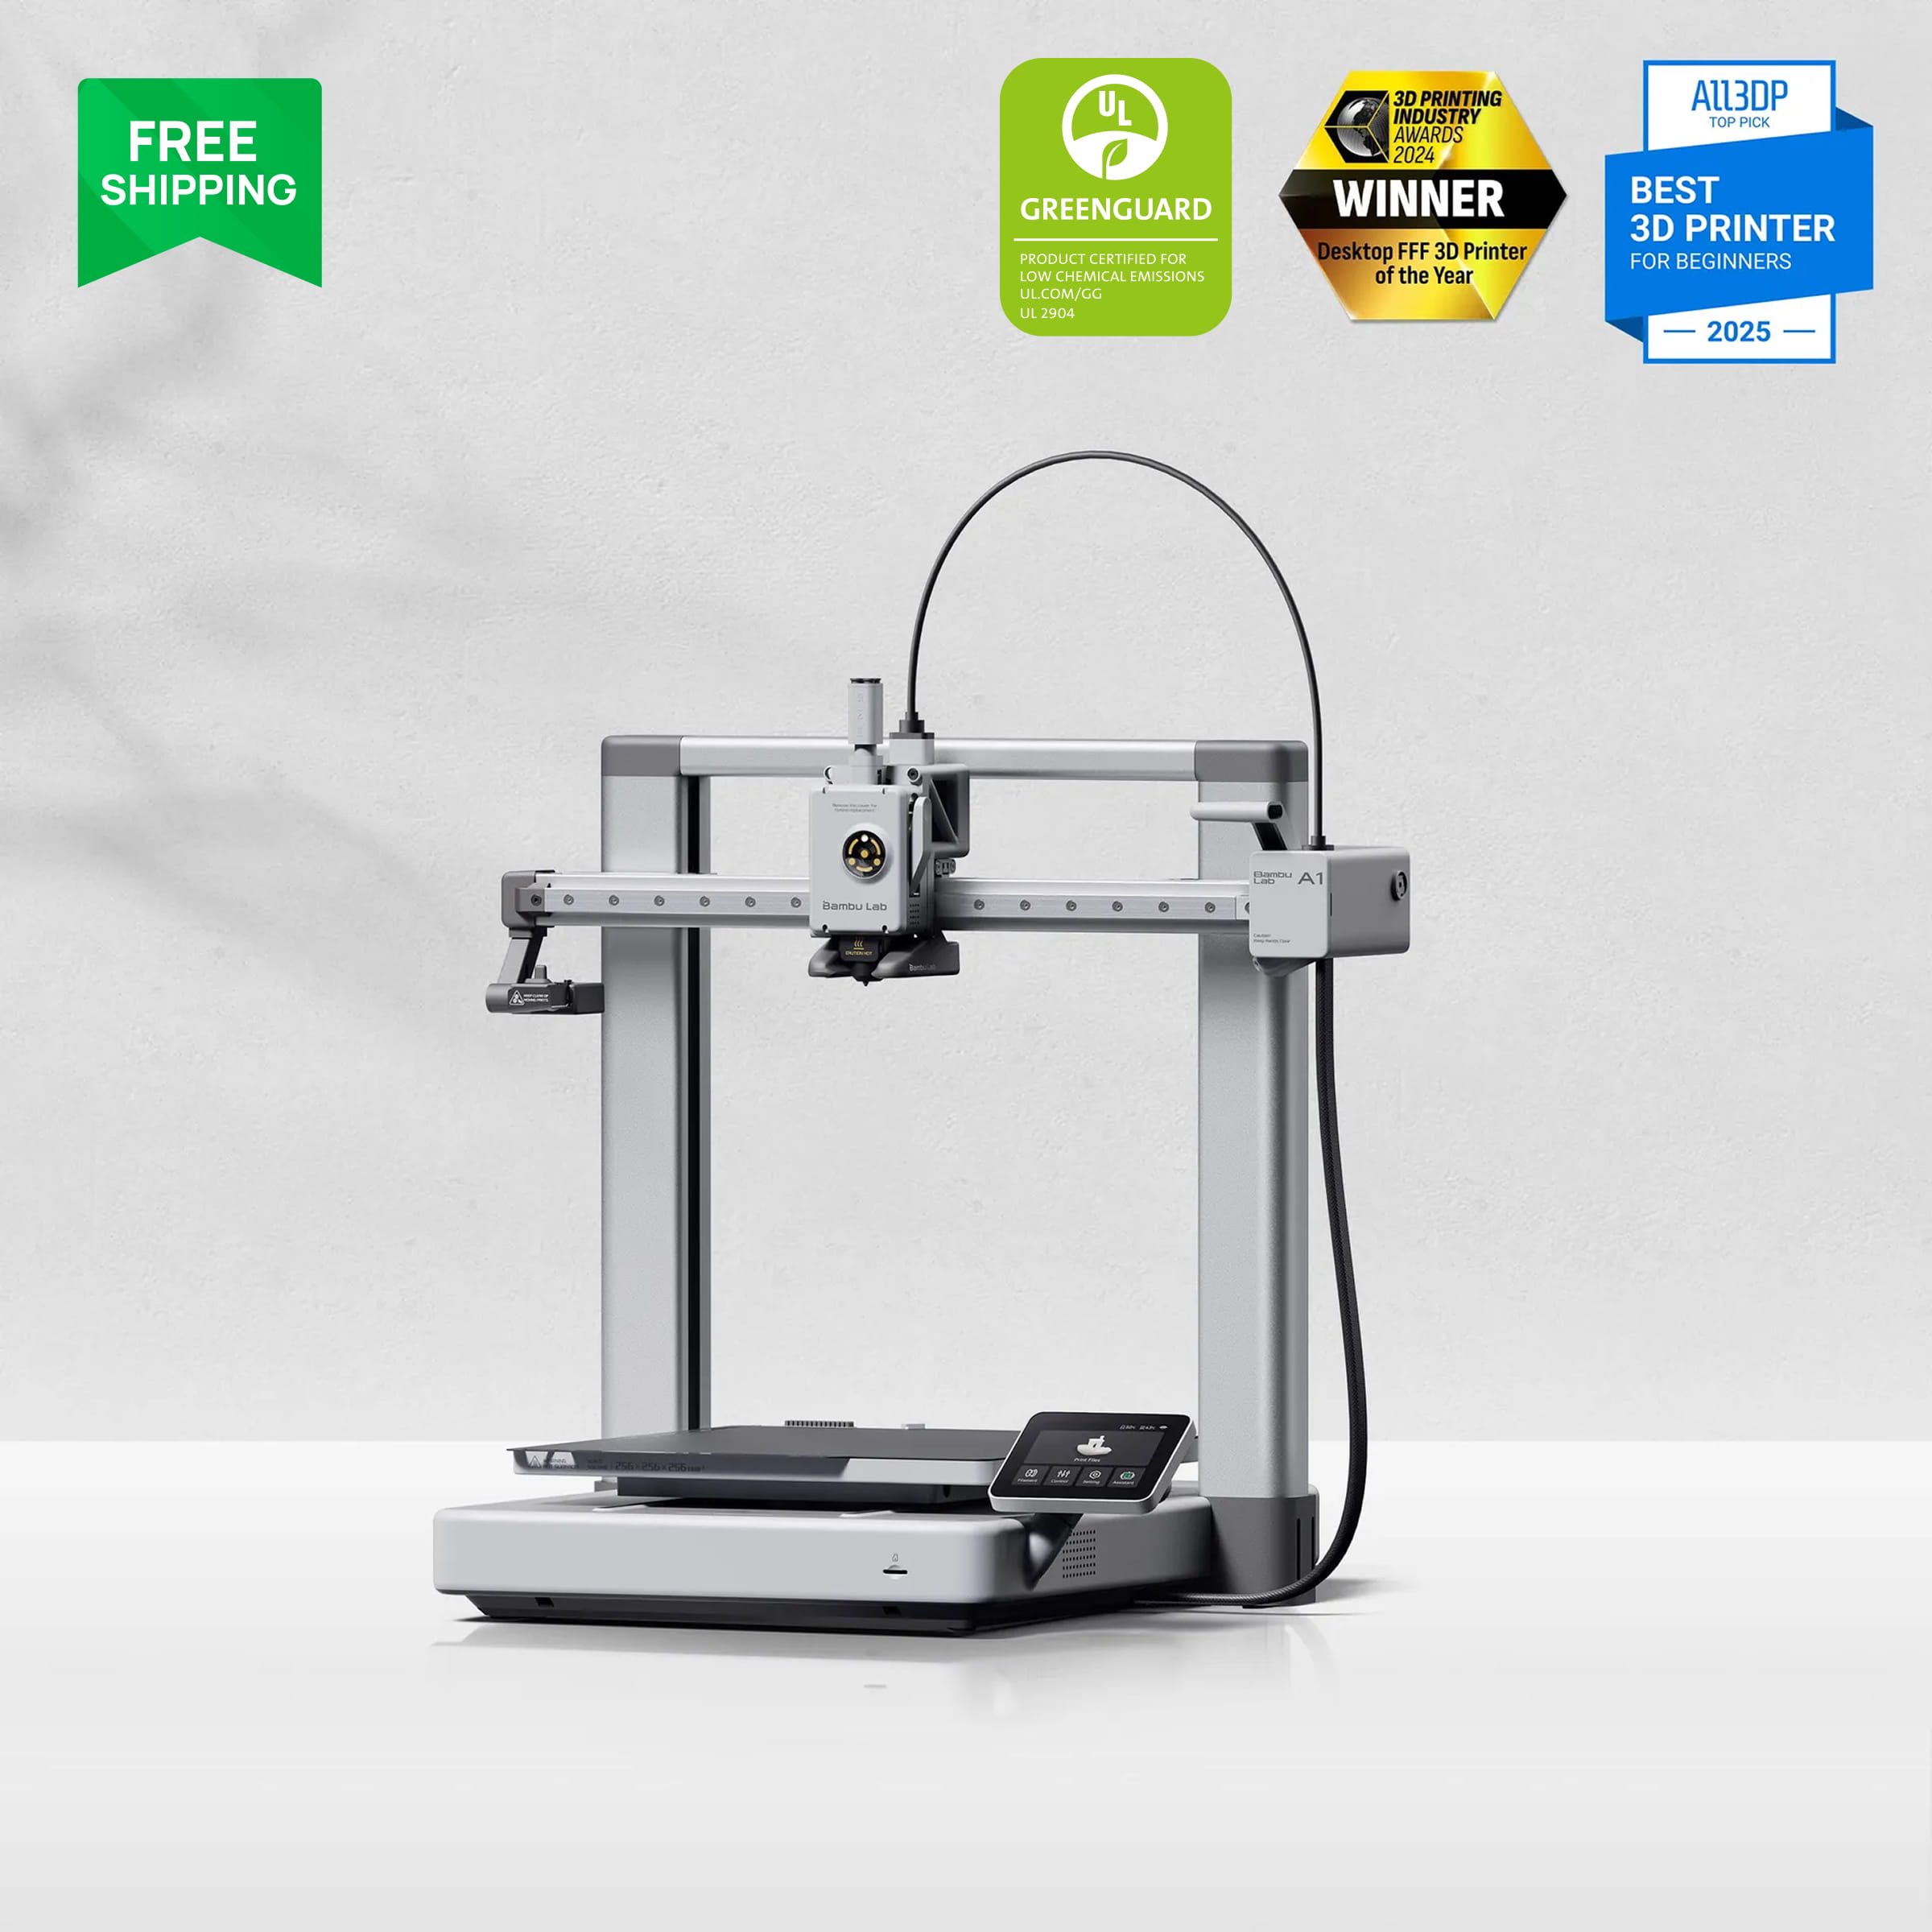
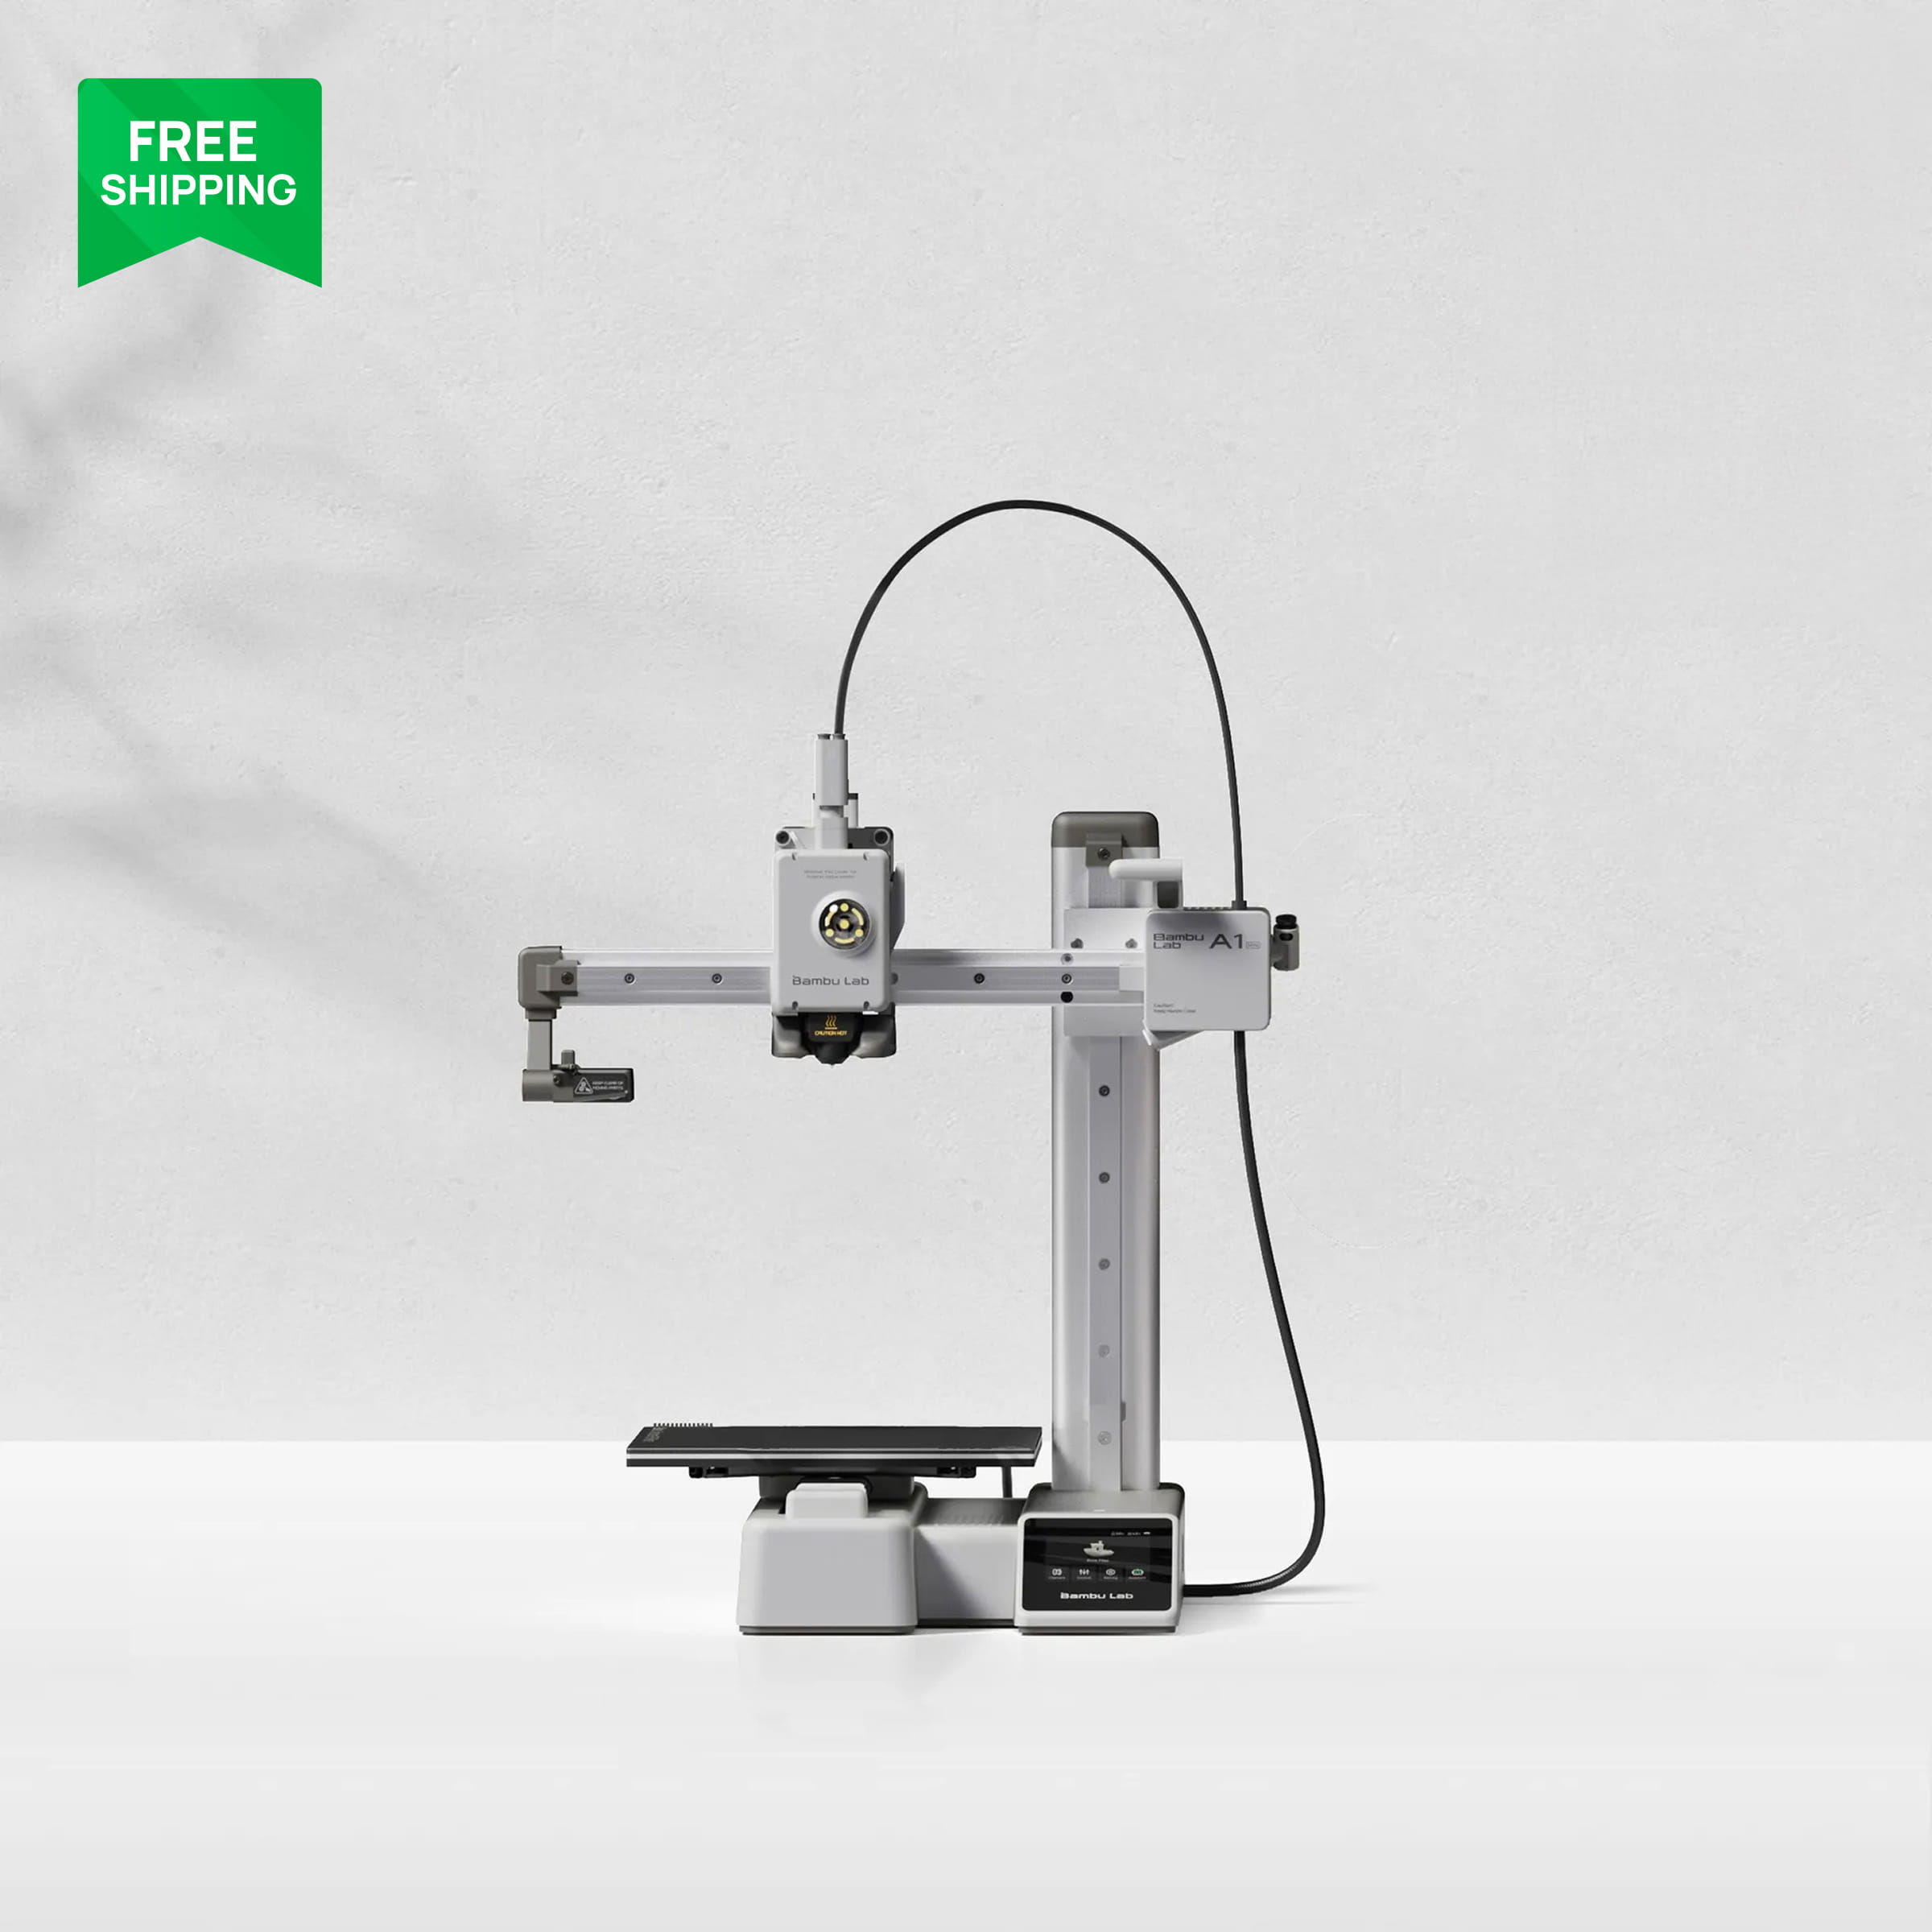
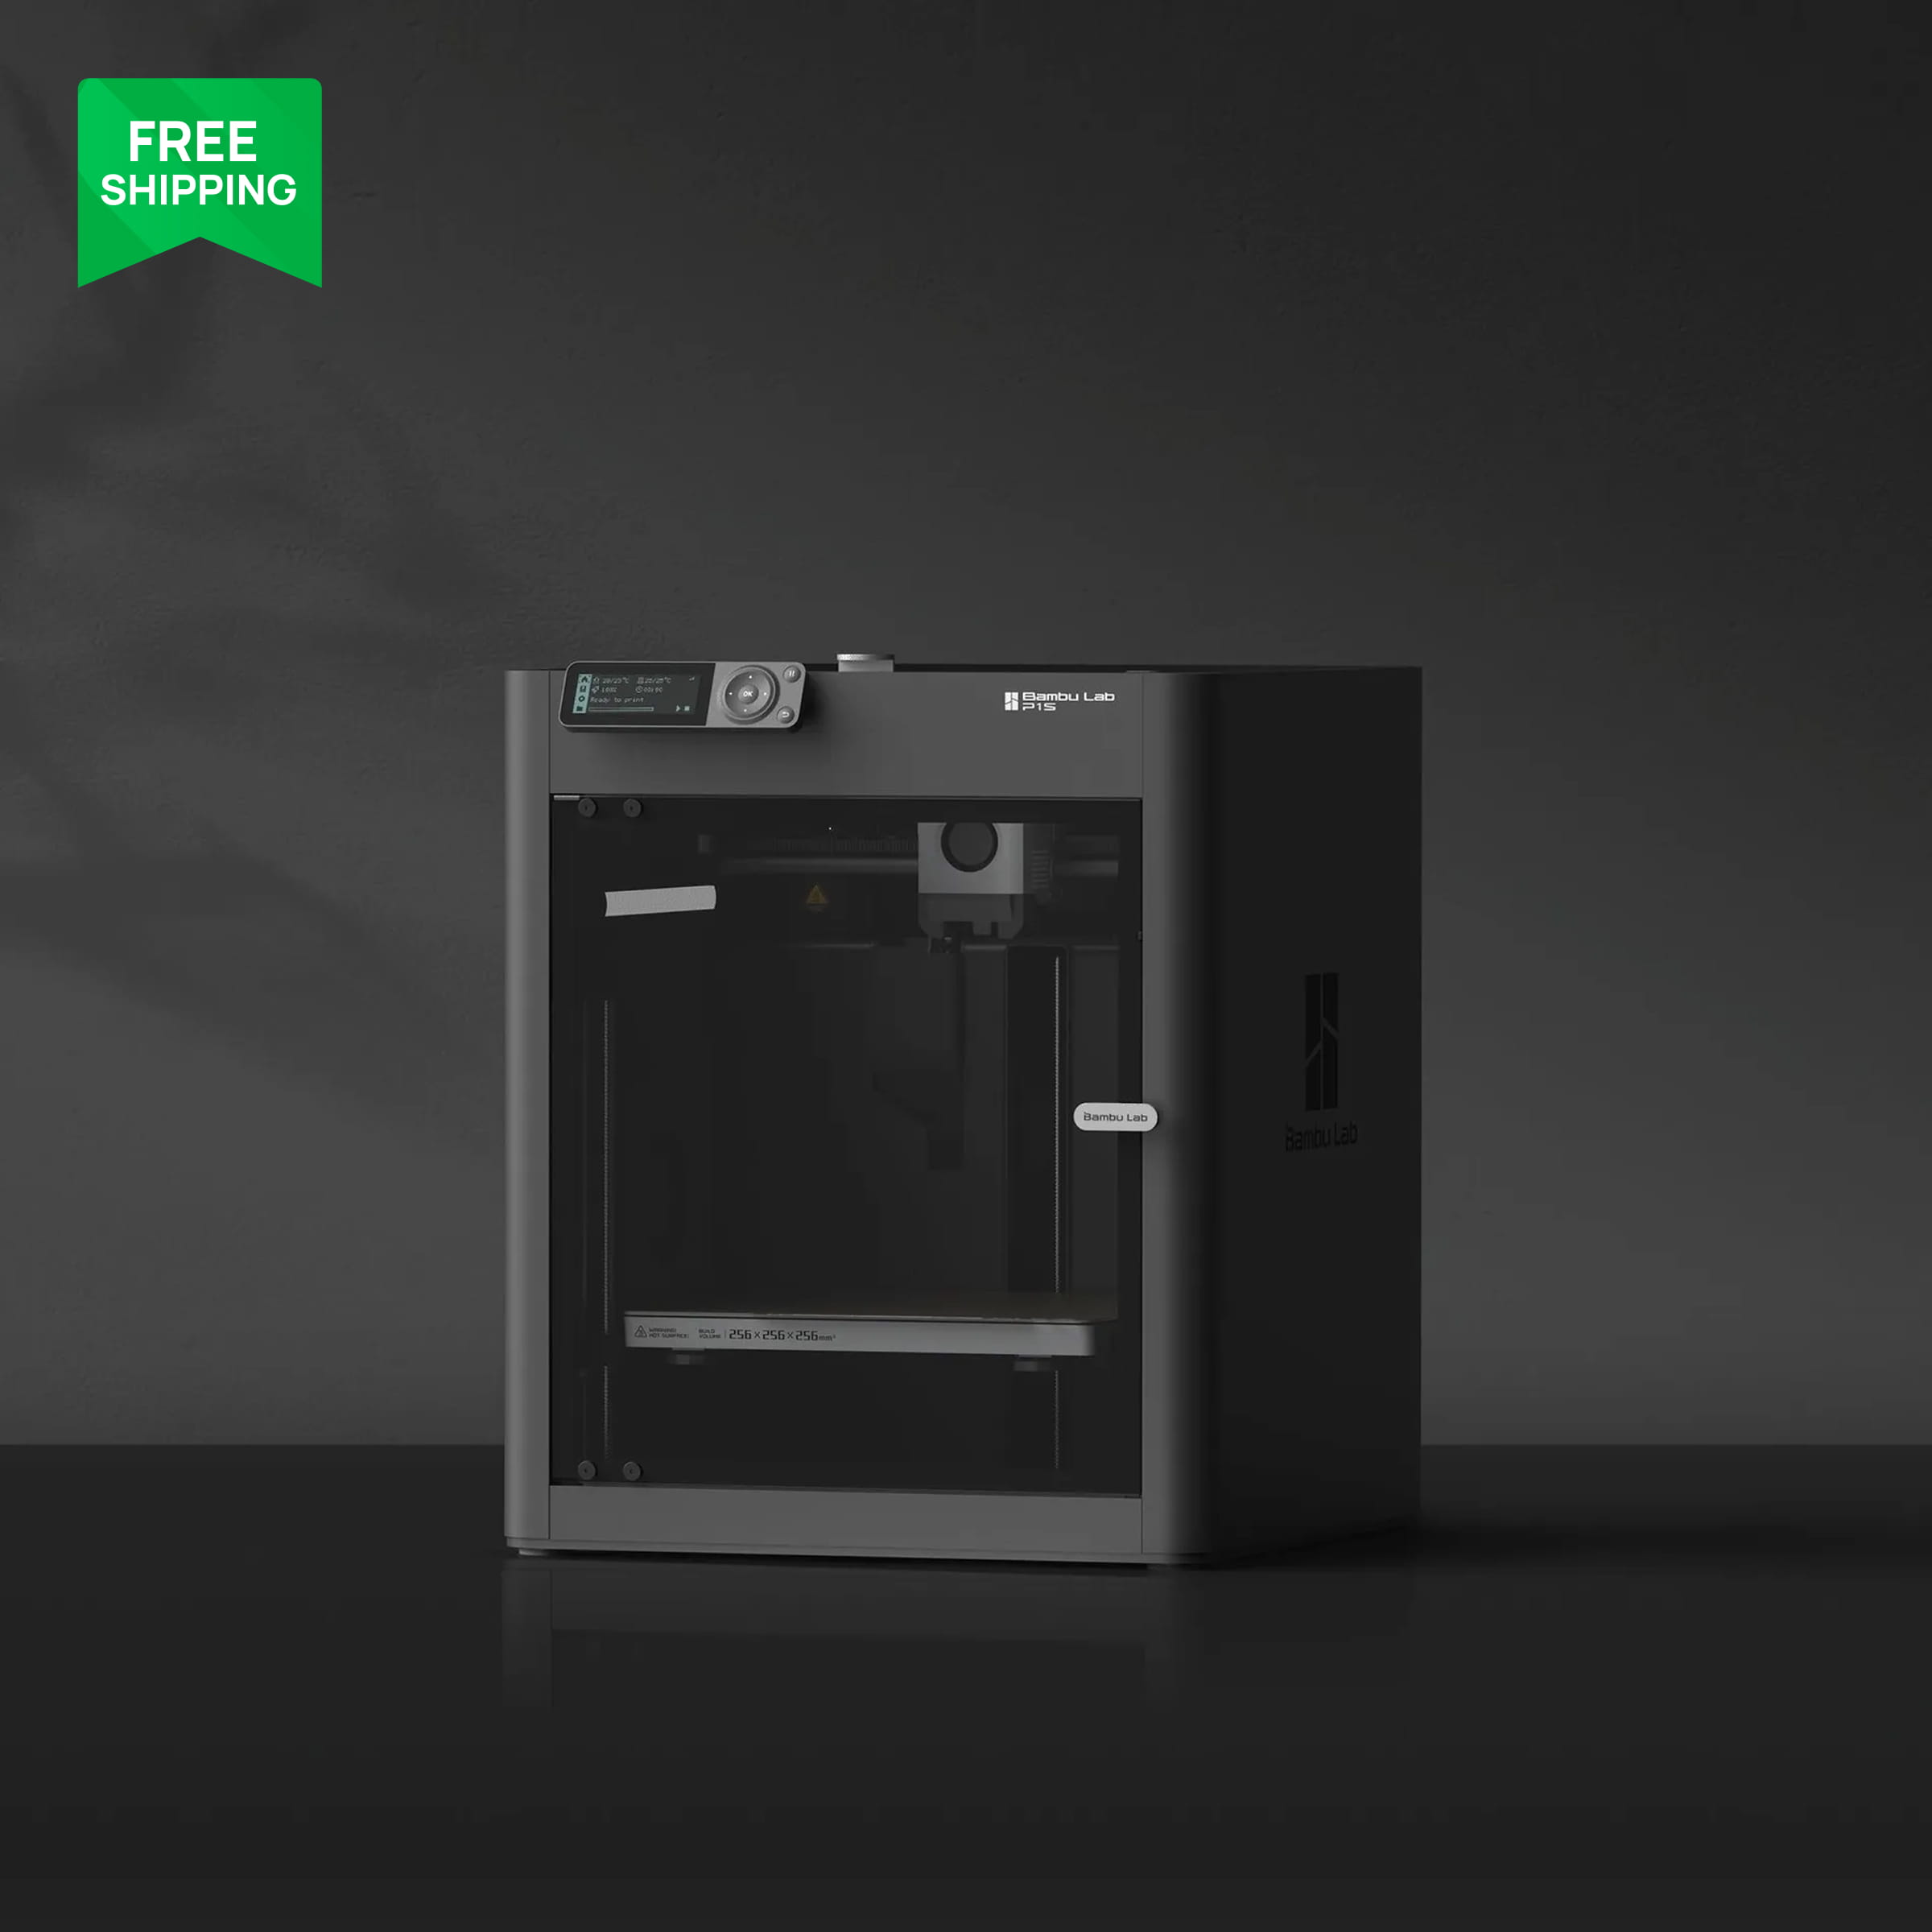
Every Bambu Lab printer ships with shipping screws and foam blocks that must come out before you power on. The A1 and A1 mini have a bed fixing and a gantry support; the P1S and P2S have screws under the bed and a foam block behind the toolhead. The on-screen setup walks you through it, but read the printed quick-start first because the screen does not show you every piece of foam. Skipping this is how people hear the grinding noise on the very first move.
Then connect to Wi-Fi, bind the printer to the Bambu Handy app, run the self-test calibration and let it finish. The self-test checks the bed, the vibration compensation and the flow, and it is the reason these machines print well out of the box.
Day 1: the first three prints
Print the benchy from the SD card first. It takes about twenty minutes and it proves the machine works. Then install Bambu Studio on your computer, send a small flat part (a coaster or a cable clip) and watch the first layer: it should look like a solid, slightly squished sheet with no gaps and no ridges. Third, print something with an overhang and a bridge so you see where cooling limits sit. Three prints and you understand what good looks like on your specific machine, which makes every later problem easy to spot.
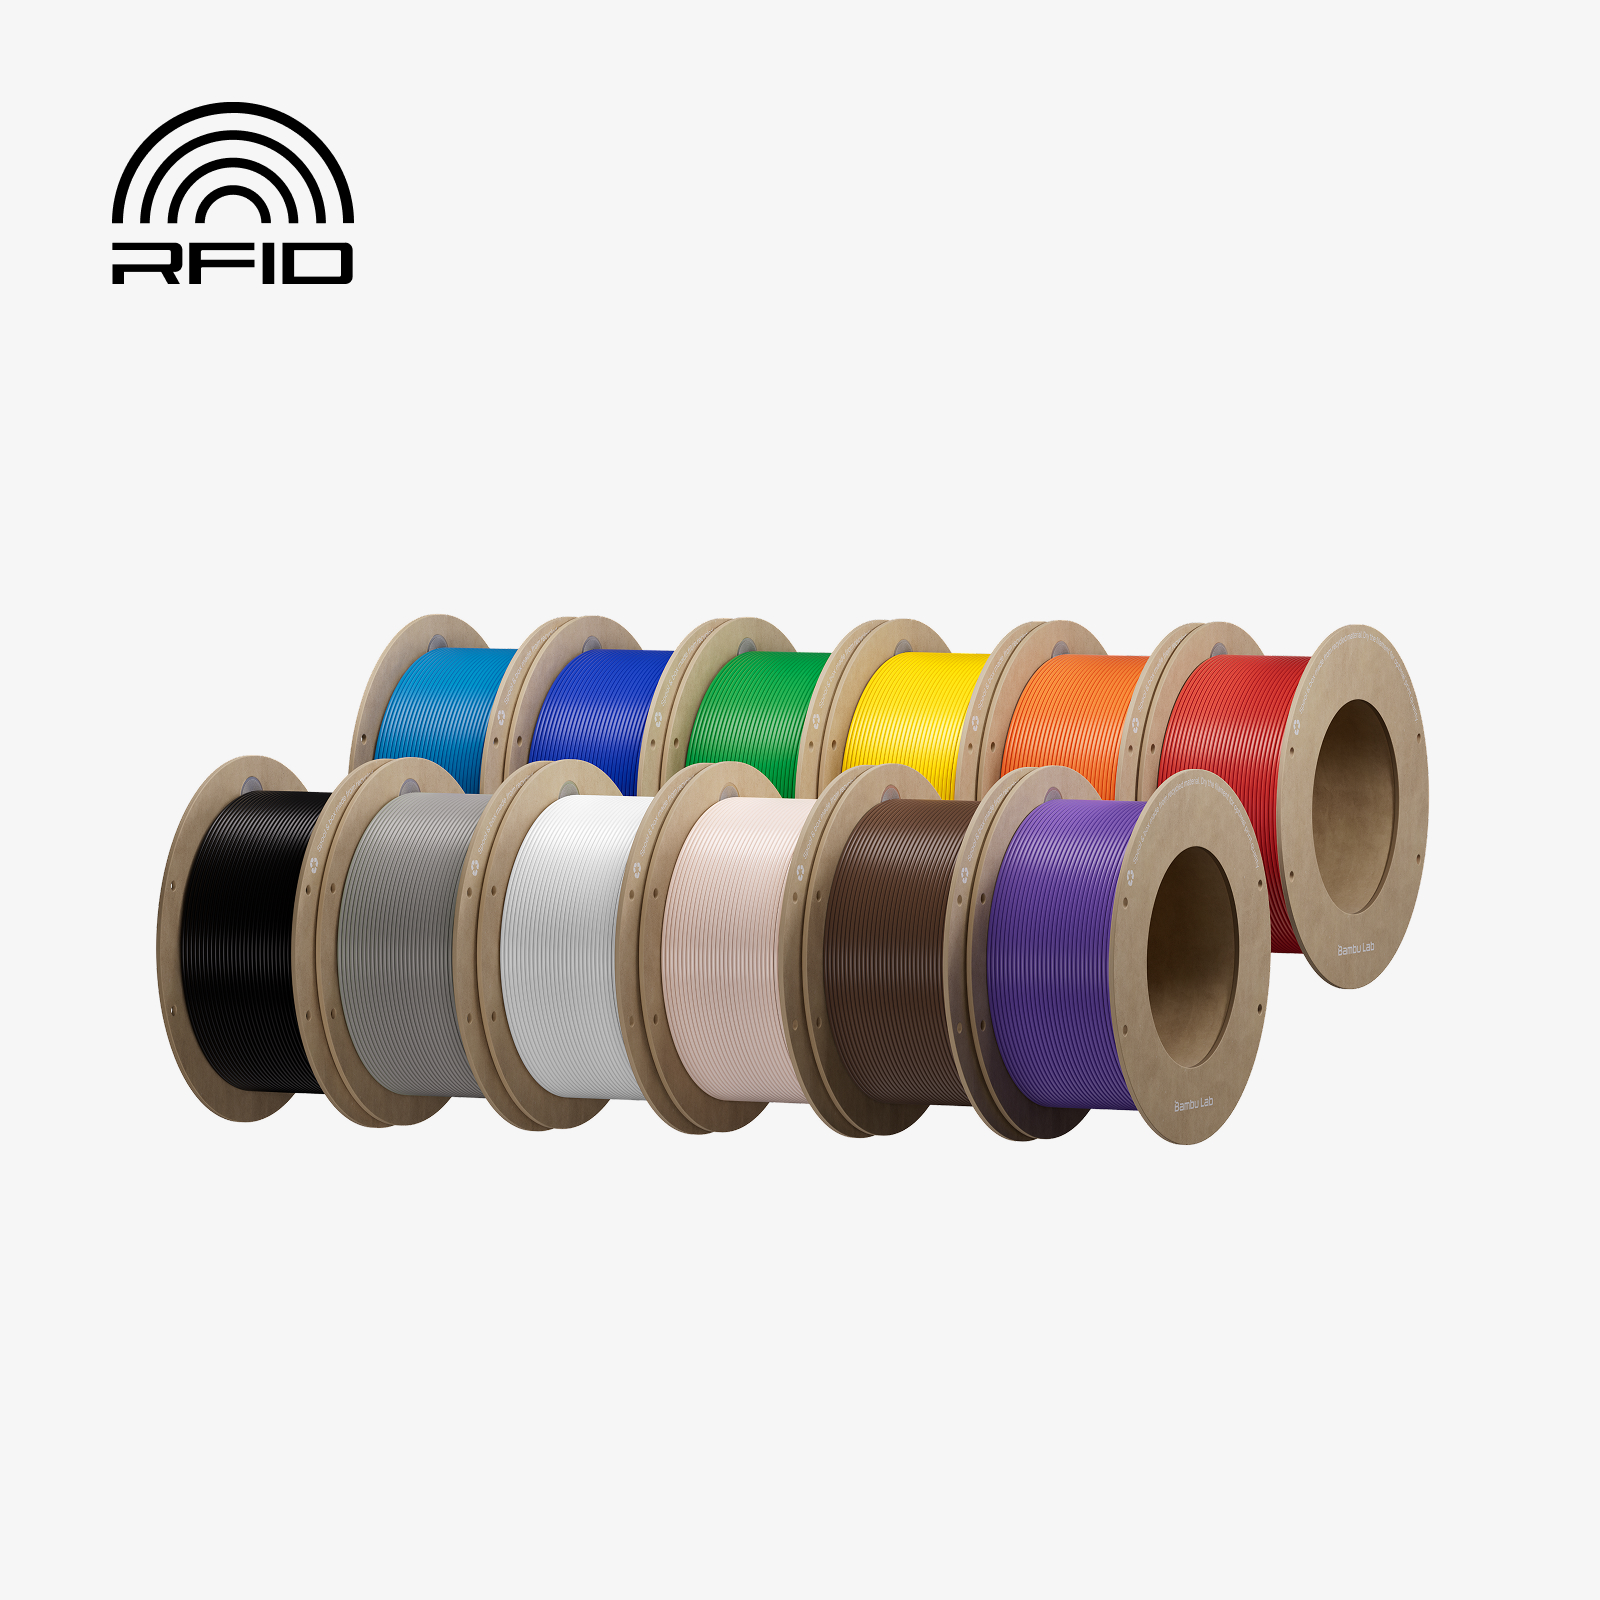
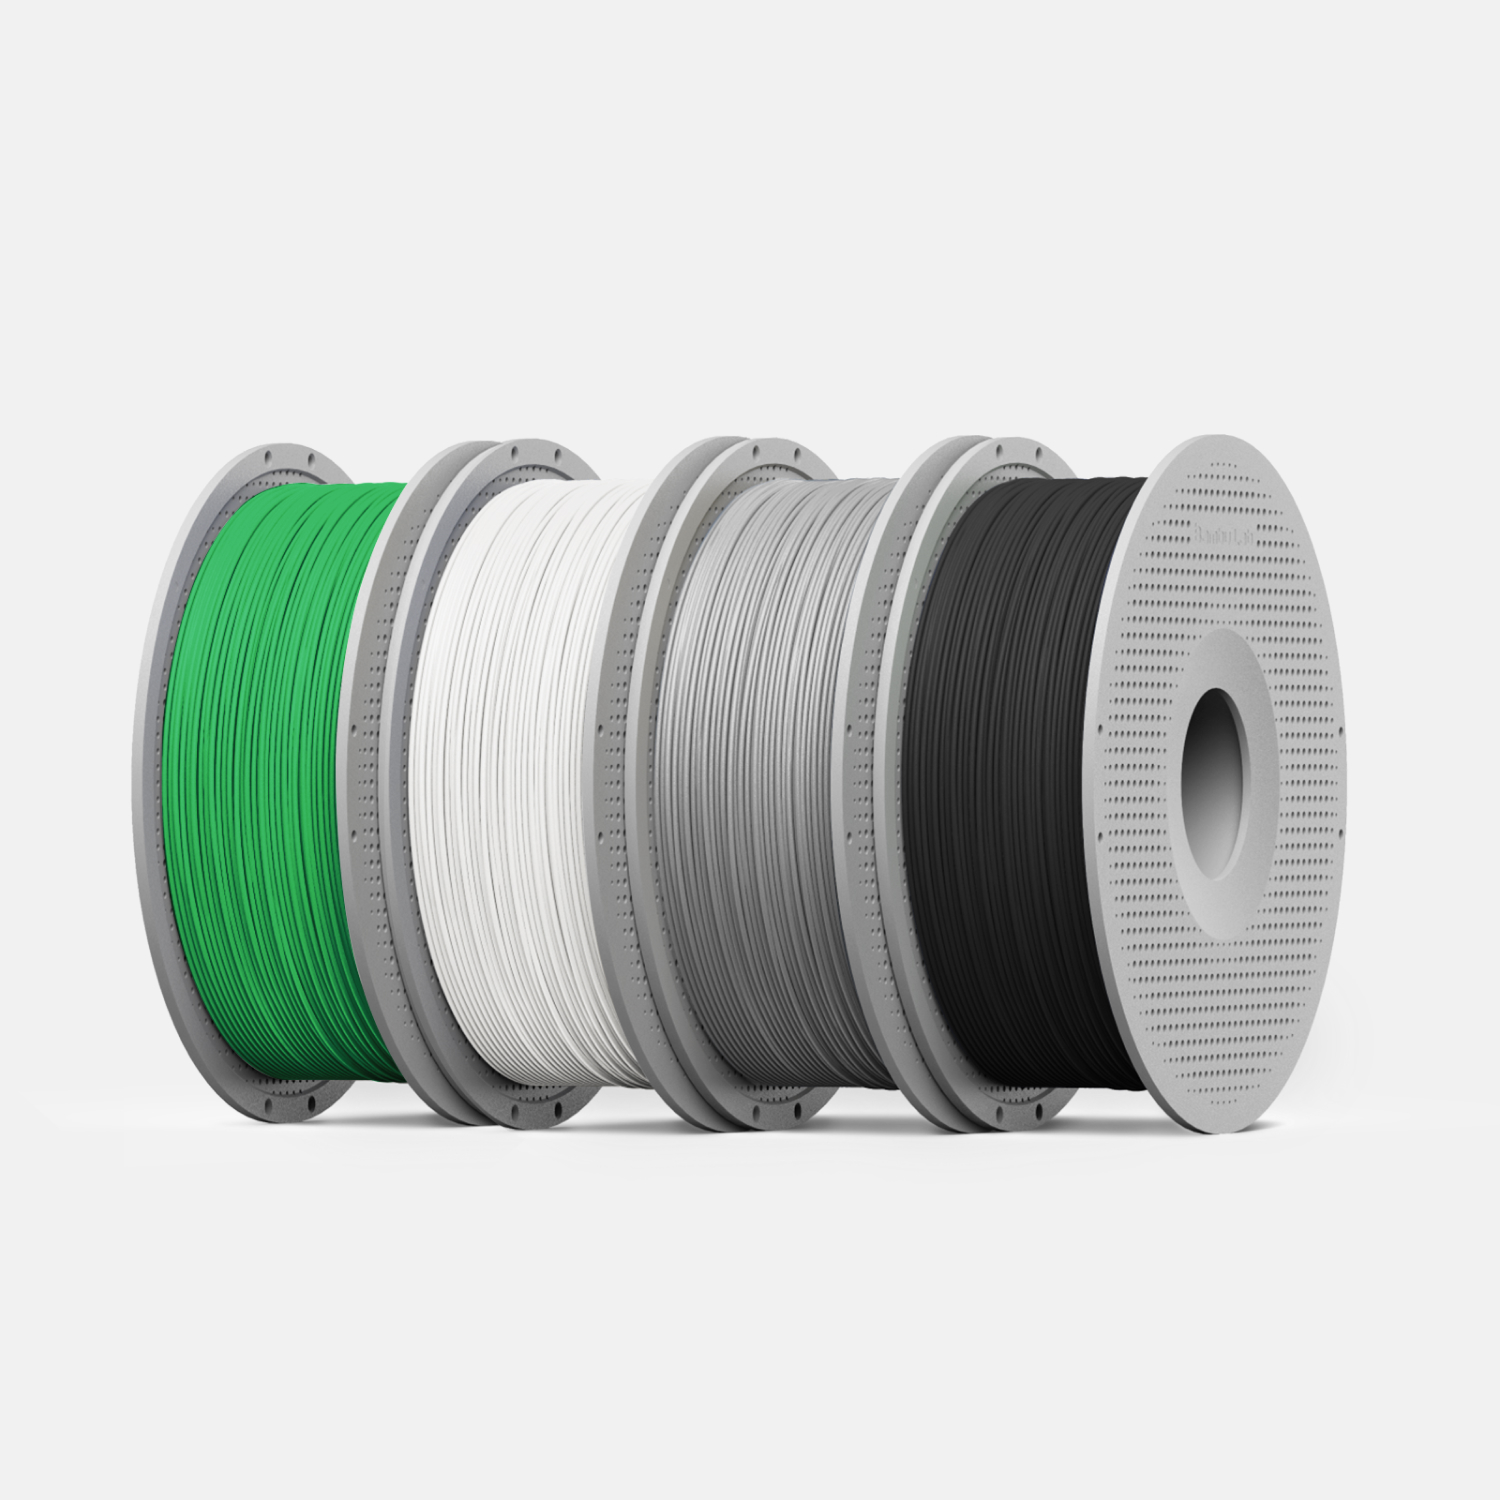
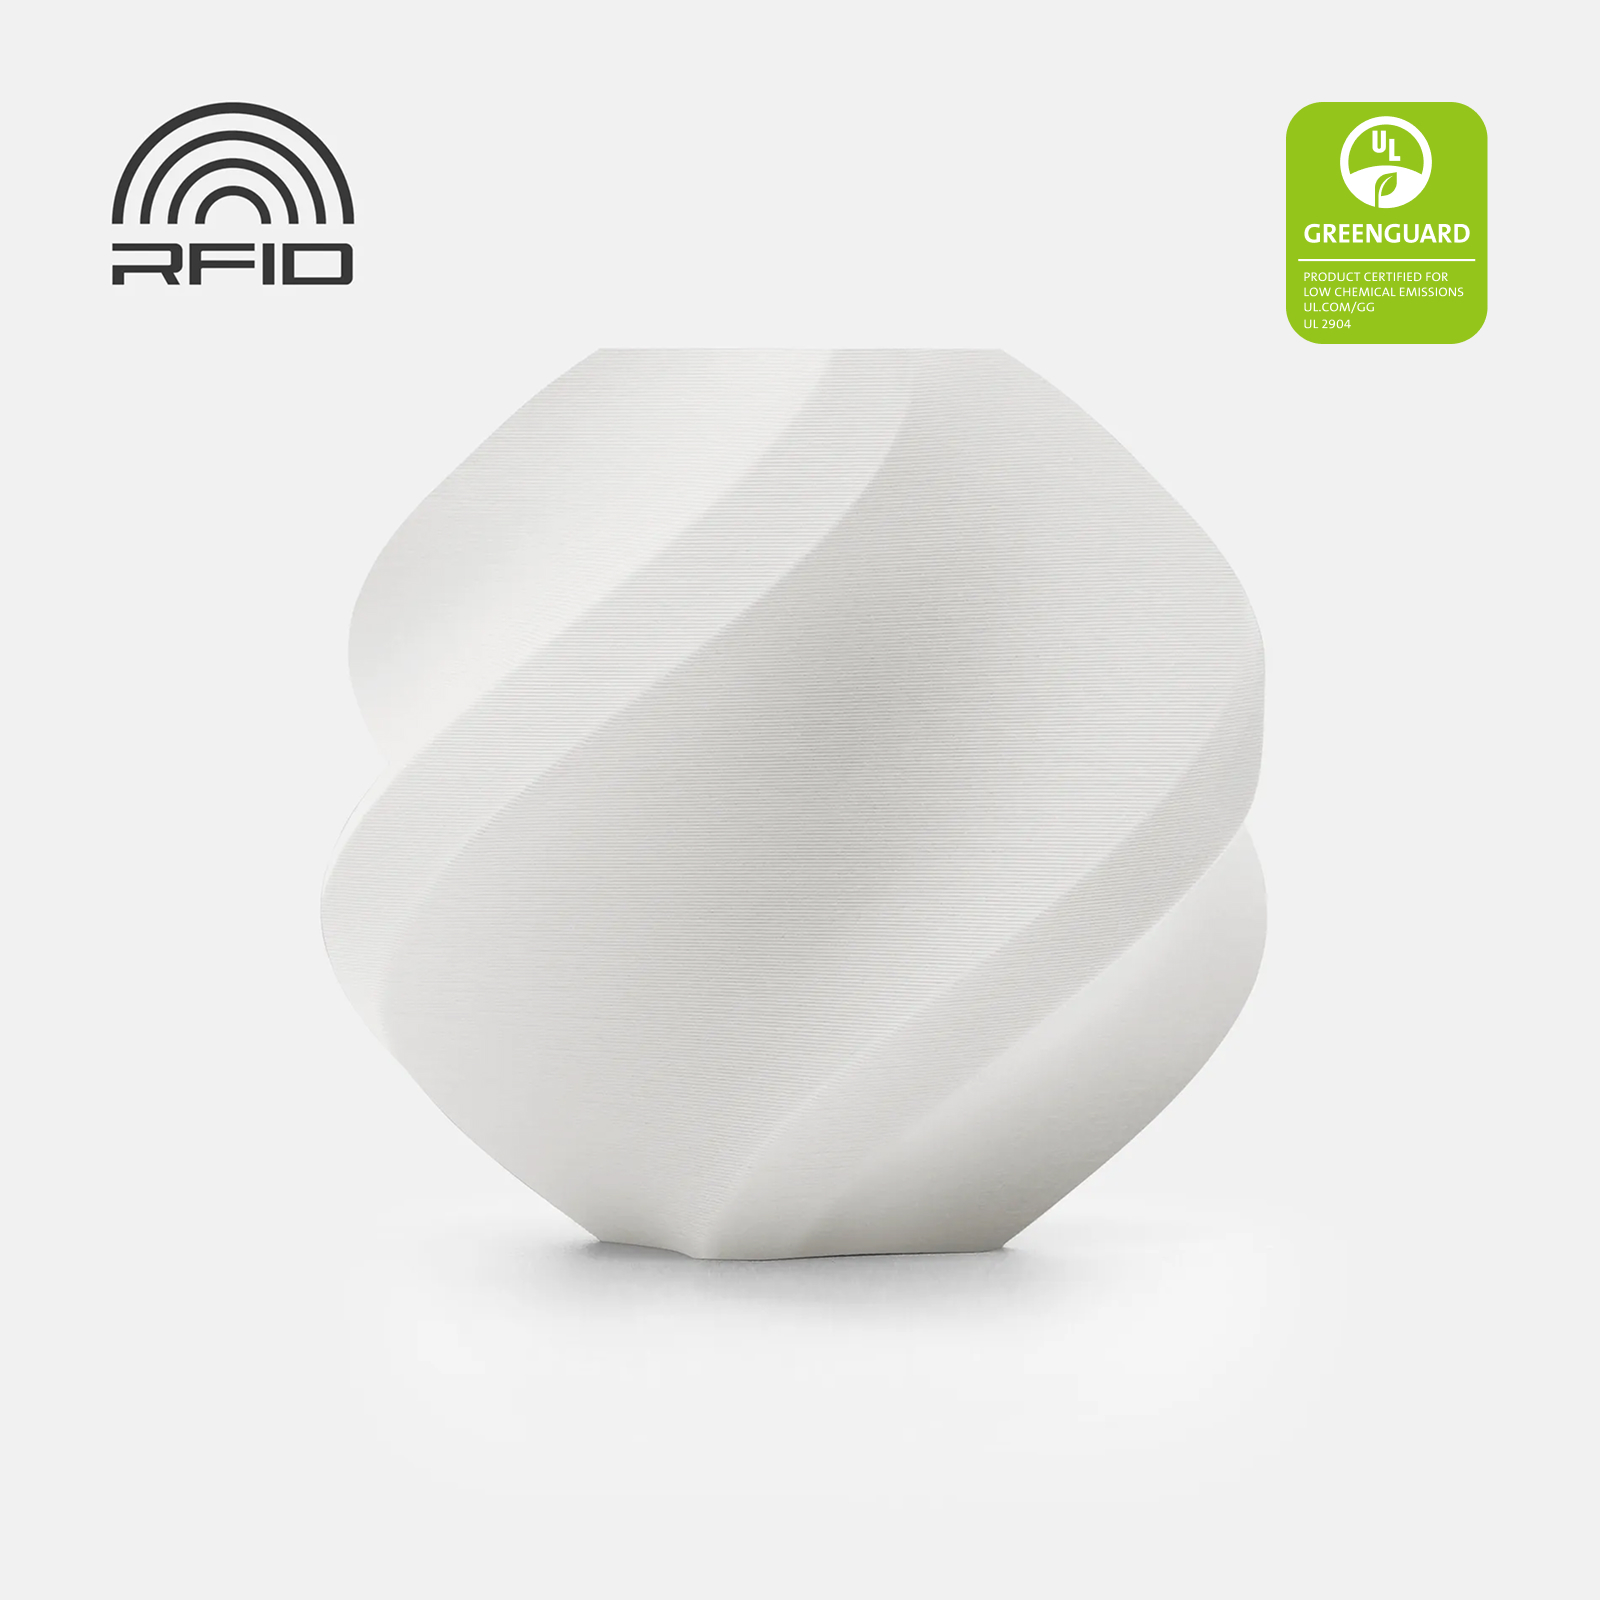
Use the included spool for these. When it runs out, PLA Basic is the right refill: cheap, reliable, every colour, and the stock profile is dialled in.

Days 2 to 4: learn the slicer, not the hardware
The single most useful thing a new owner can do is spend an evening in Bambu Studio. Learn the four settings that matter: layer height (0.2 mm default, 0.12 mm for detail, 0.28 mm for fast rough parts), wall loops (two for display, four or more for strength), infill (15 percent is fine for most, 40 percent plus for functional parts) and supports (tree supports, and only when an overhang is worse than about 50 degrees). Everything else can stay default for months.
Download a few models from MakerWorld with print profiles already attached and send them straight to the printer. You learn a lot by seeing how other people set up parts like yours.

Days 5 to 7: the first maintenance
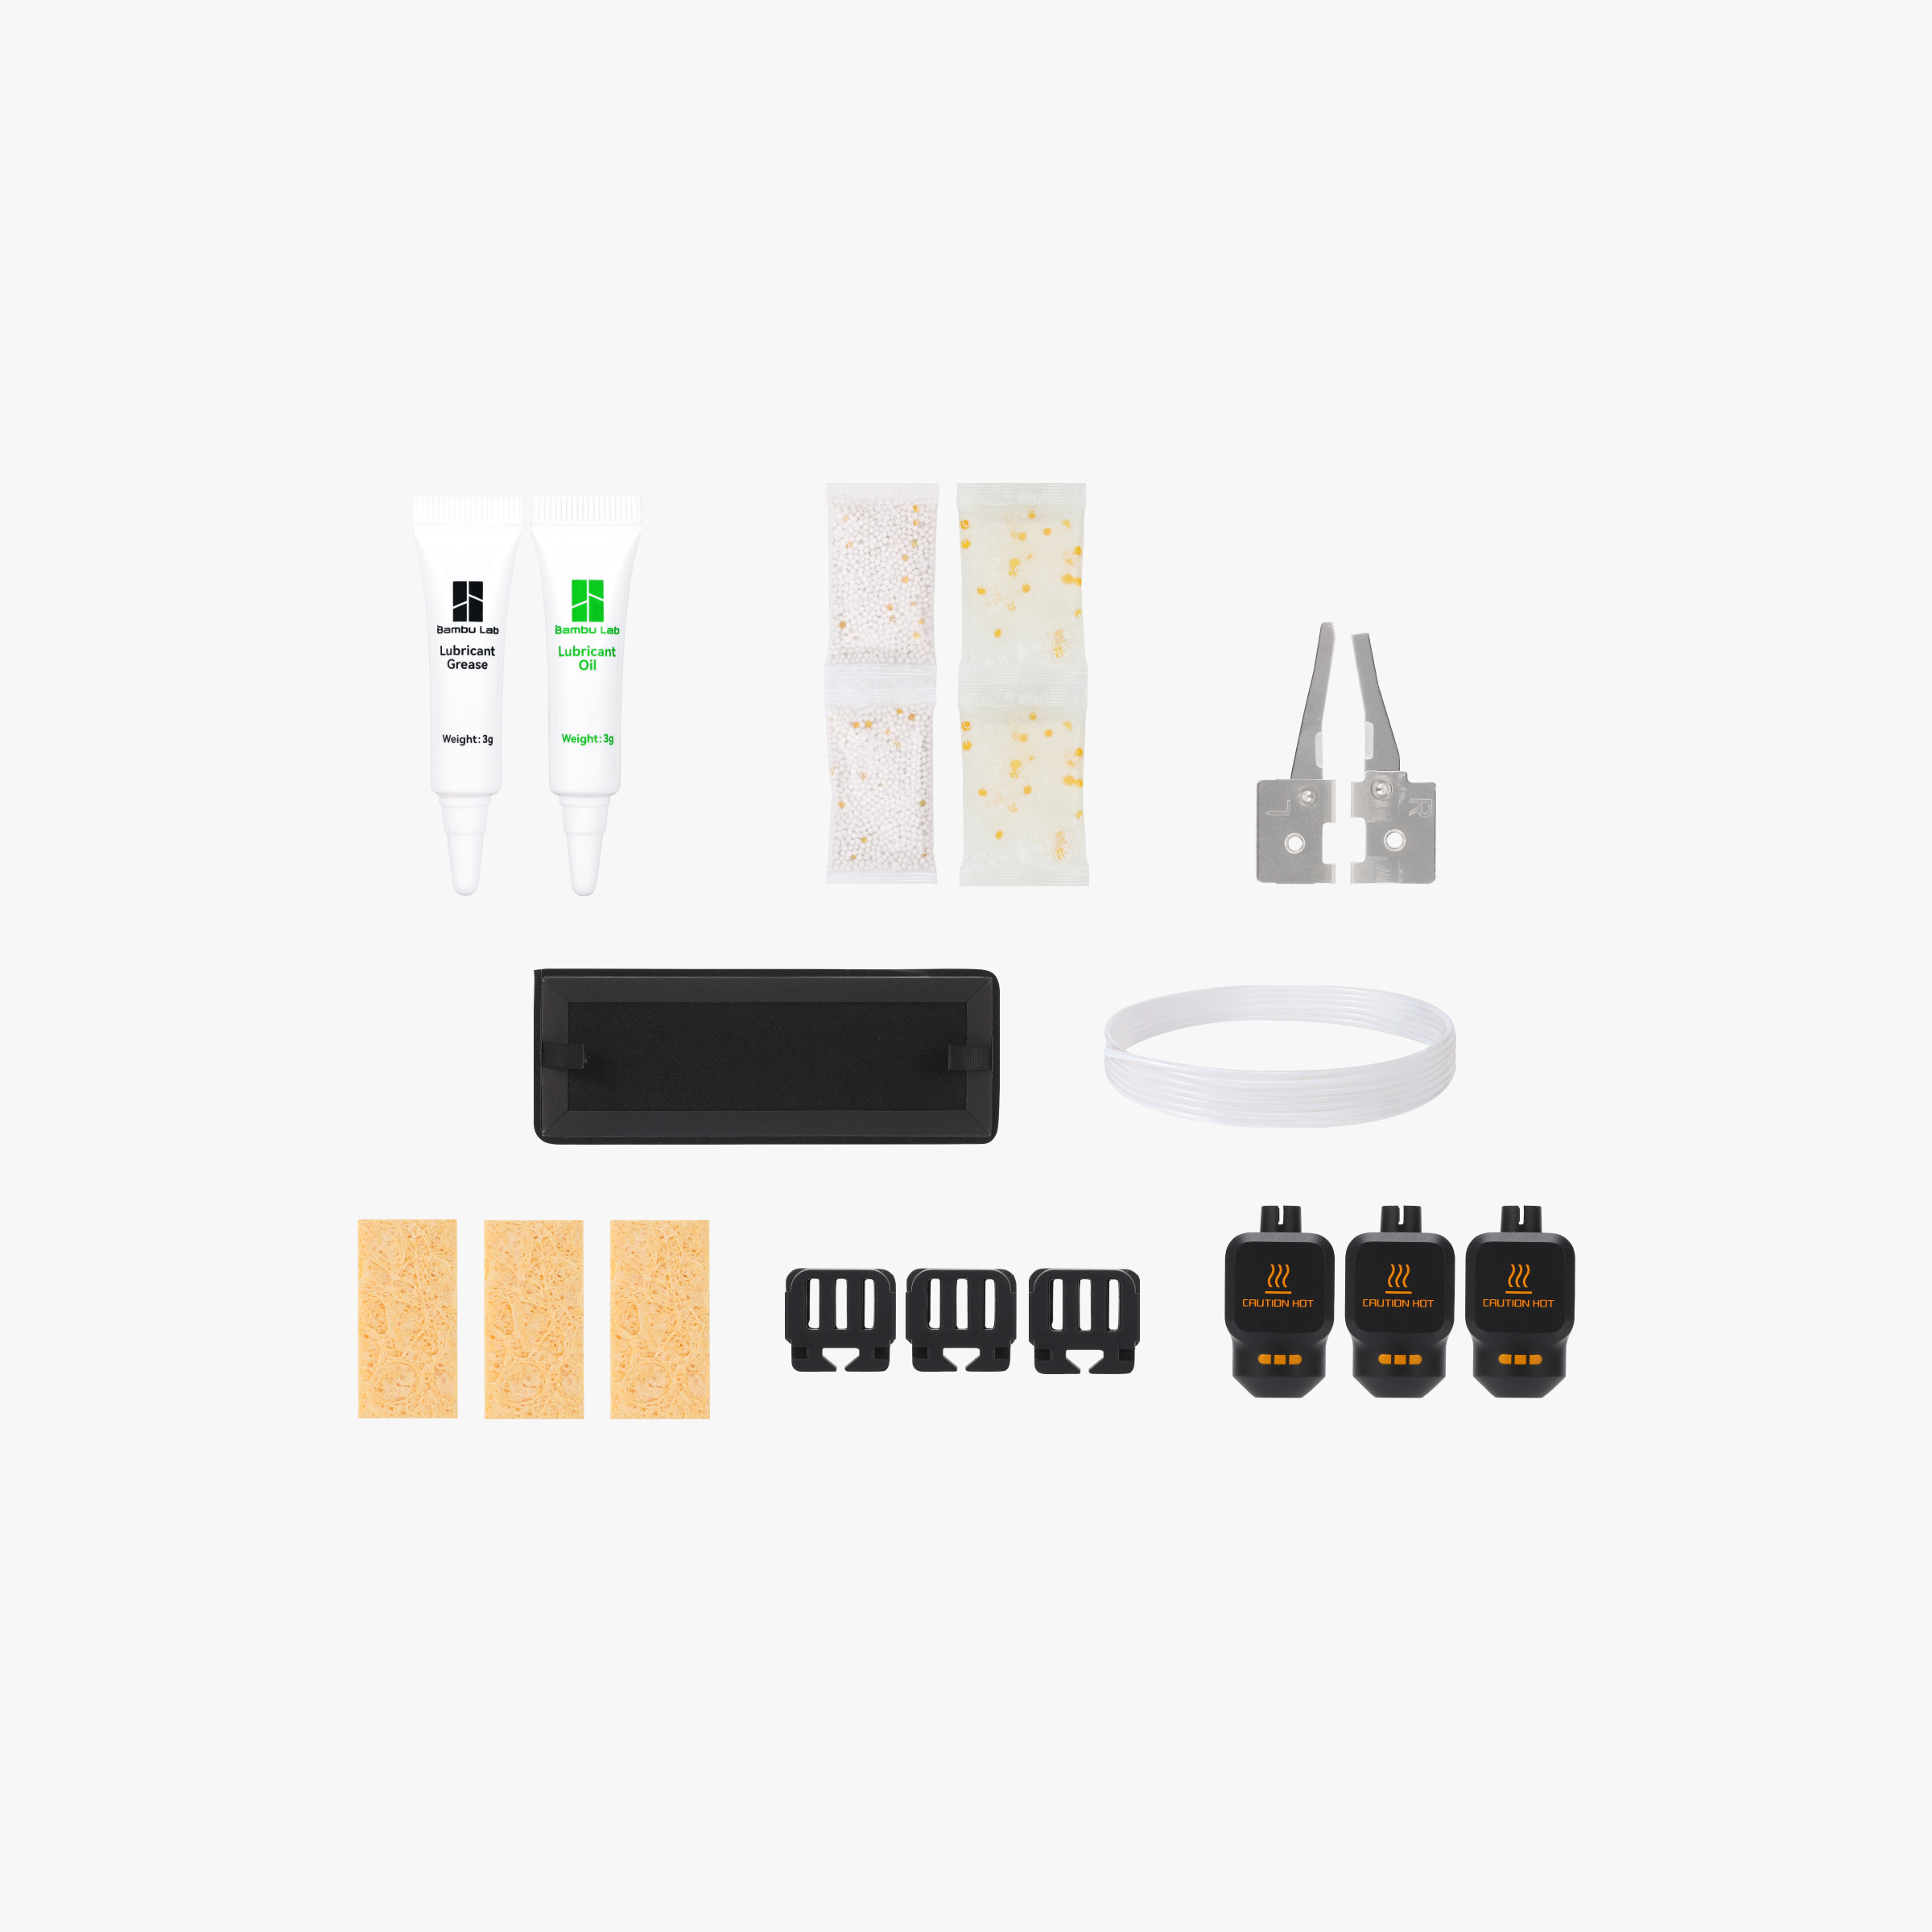
After a week of printing, do the first proper clean. Wash the build plate with dish soap and warm water. Wipe the rods and lead screws and apply a light coat of the grease from the Maintenance Kit, which is a small box with the right lubricants, cleaning tools and spares for exactly this job. Check the nozzle for a blob of filament and clean it with the brush while it is hot. On the enclosed printers, empty the purge chute and check the carbon filter is seated.
This fifteen minutes every few weeks is the entire difference between a Bambu Lab printer that runs for years and one that gets noisy and inconsistent. We also keep a spare hotend on the shelf for each printer: the A1-series hotend is cheap enough to treat as a consumable and swaps in a minute.
What to buy with the printer
Our short list, in order:
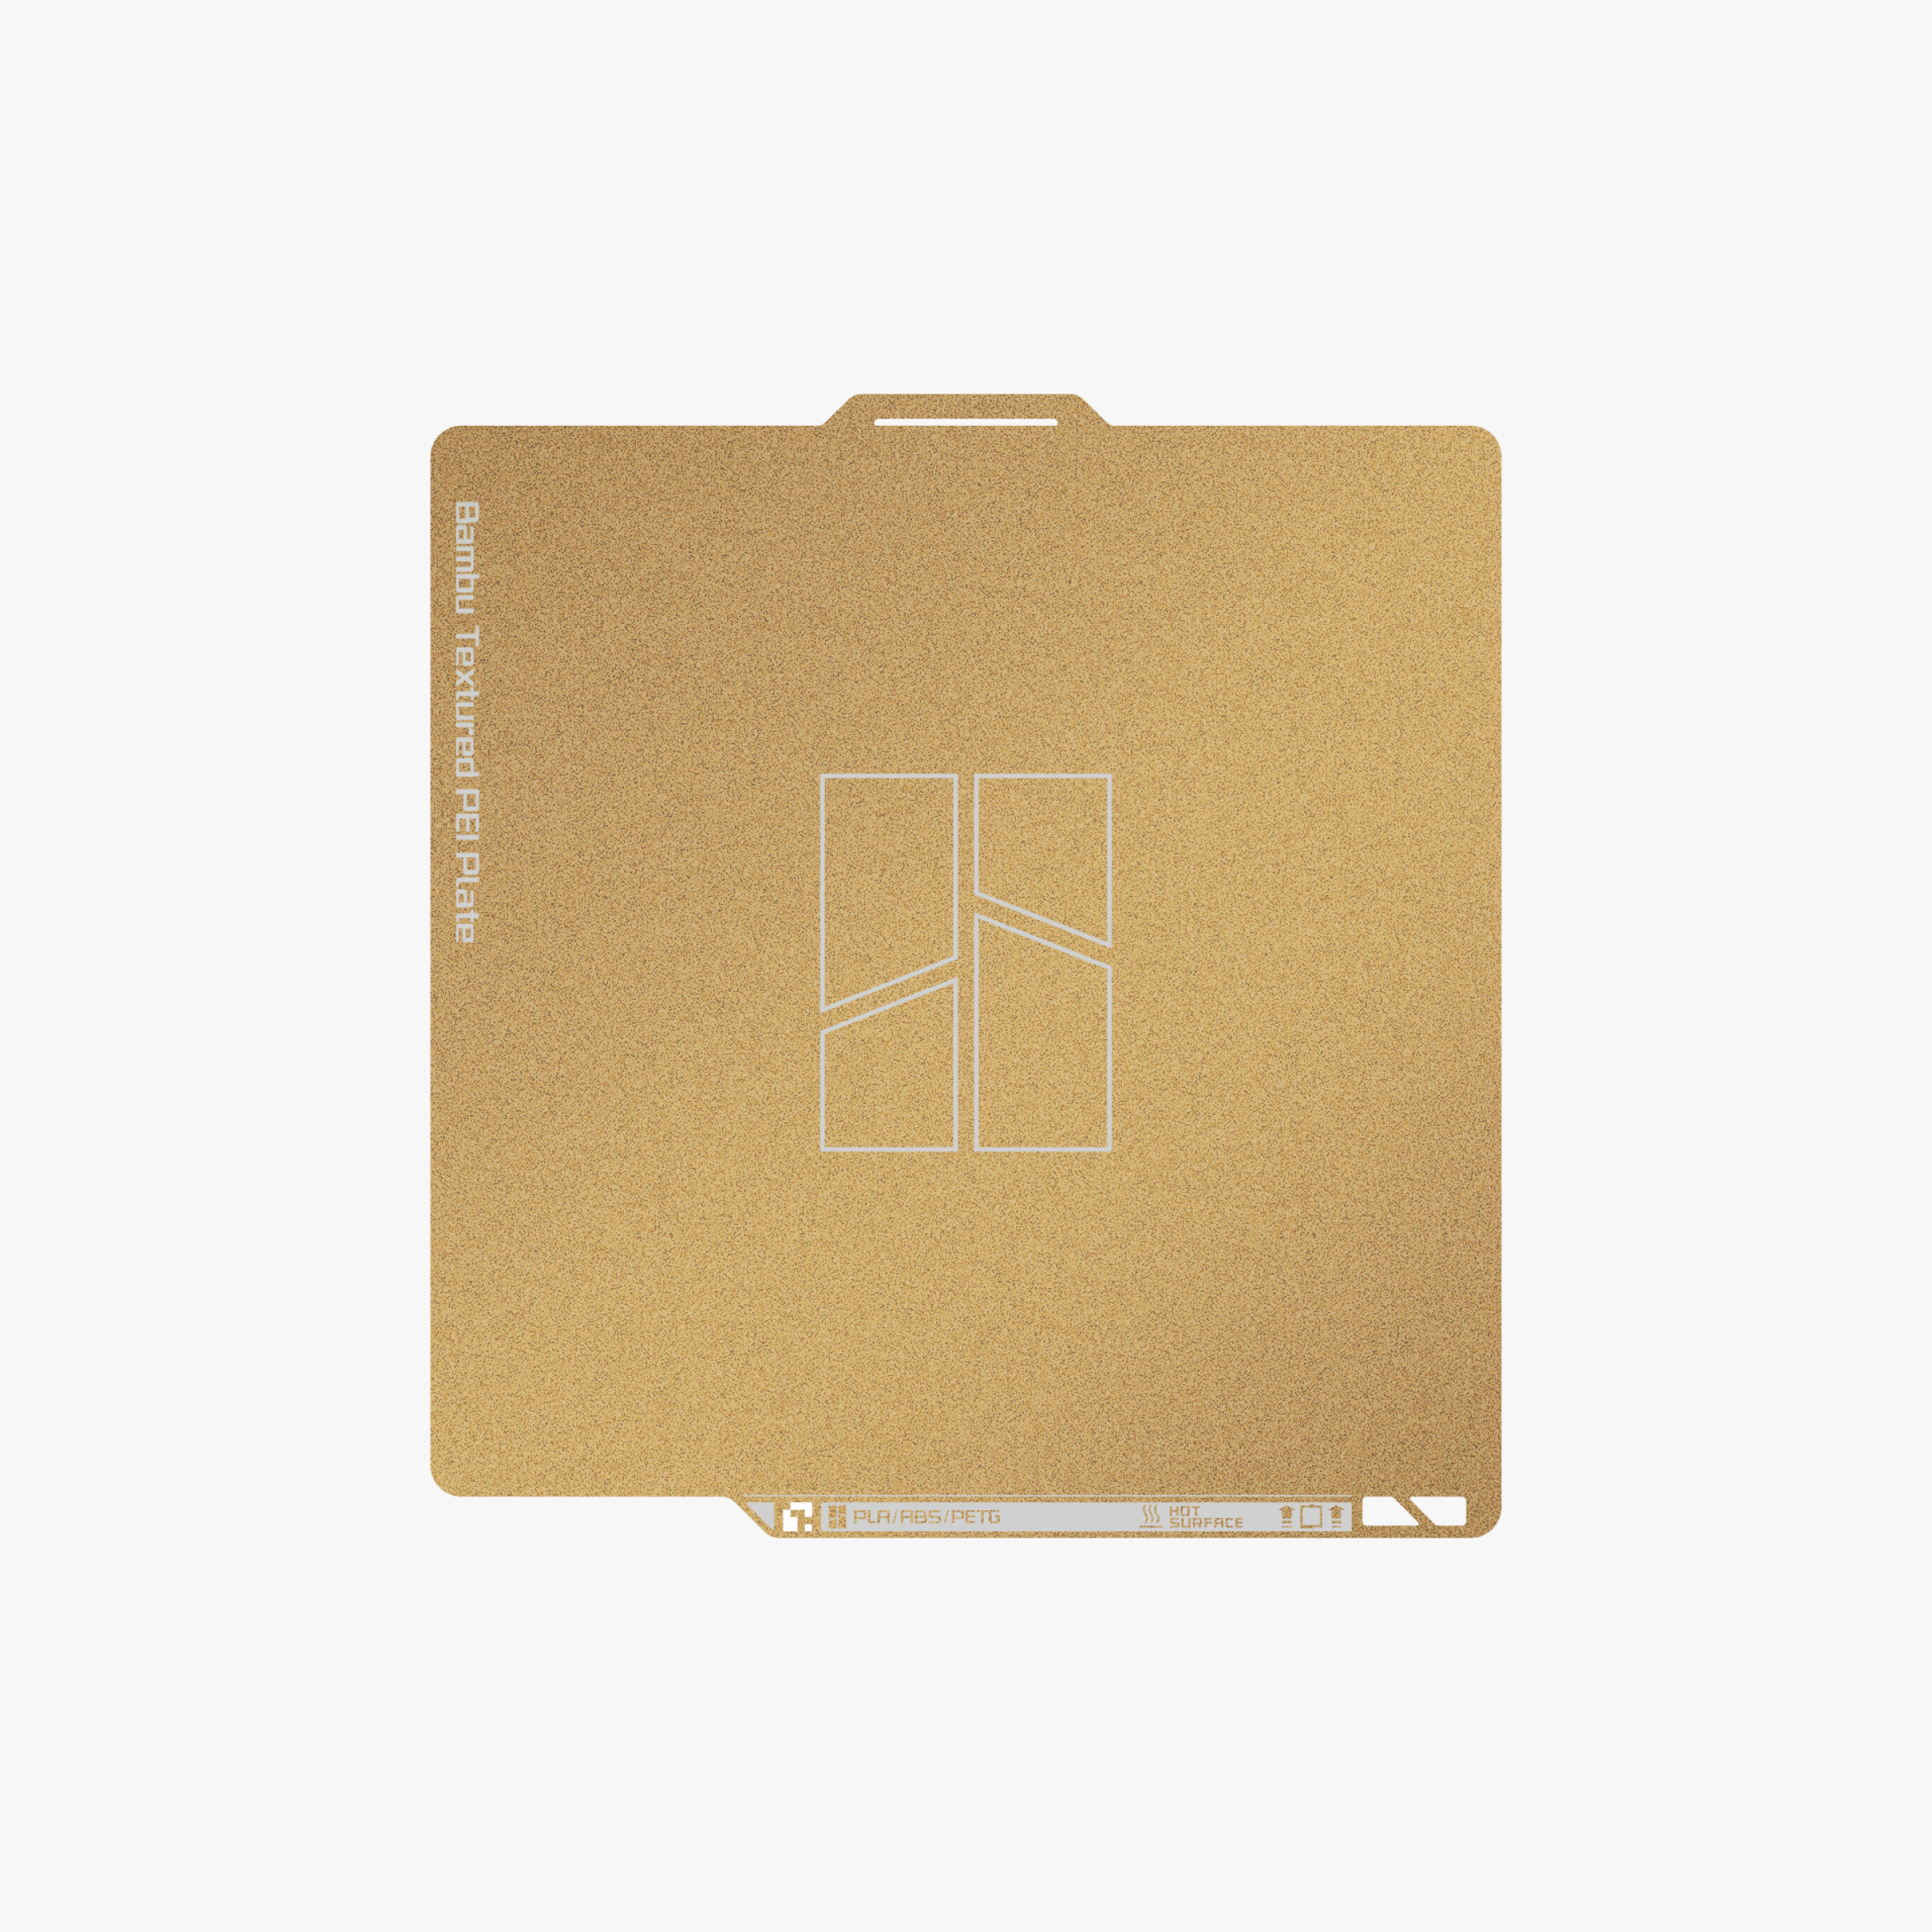
- Textured PEI plate if your bundle did not include one. It is the plate you will use for nearly everything.
- Maintenance Kit. Lubricants and tools in one box.
- A spare hotend for your model.
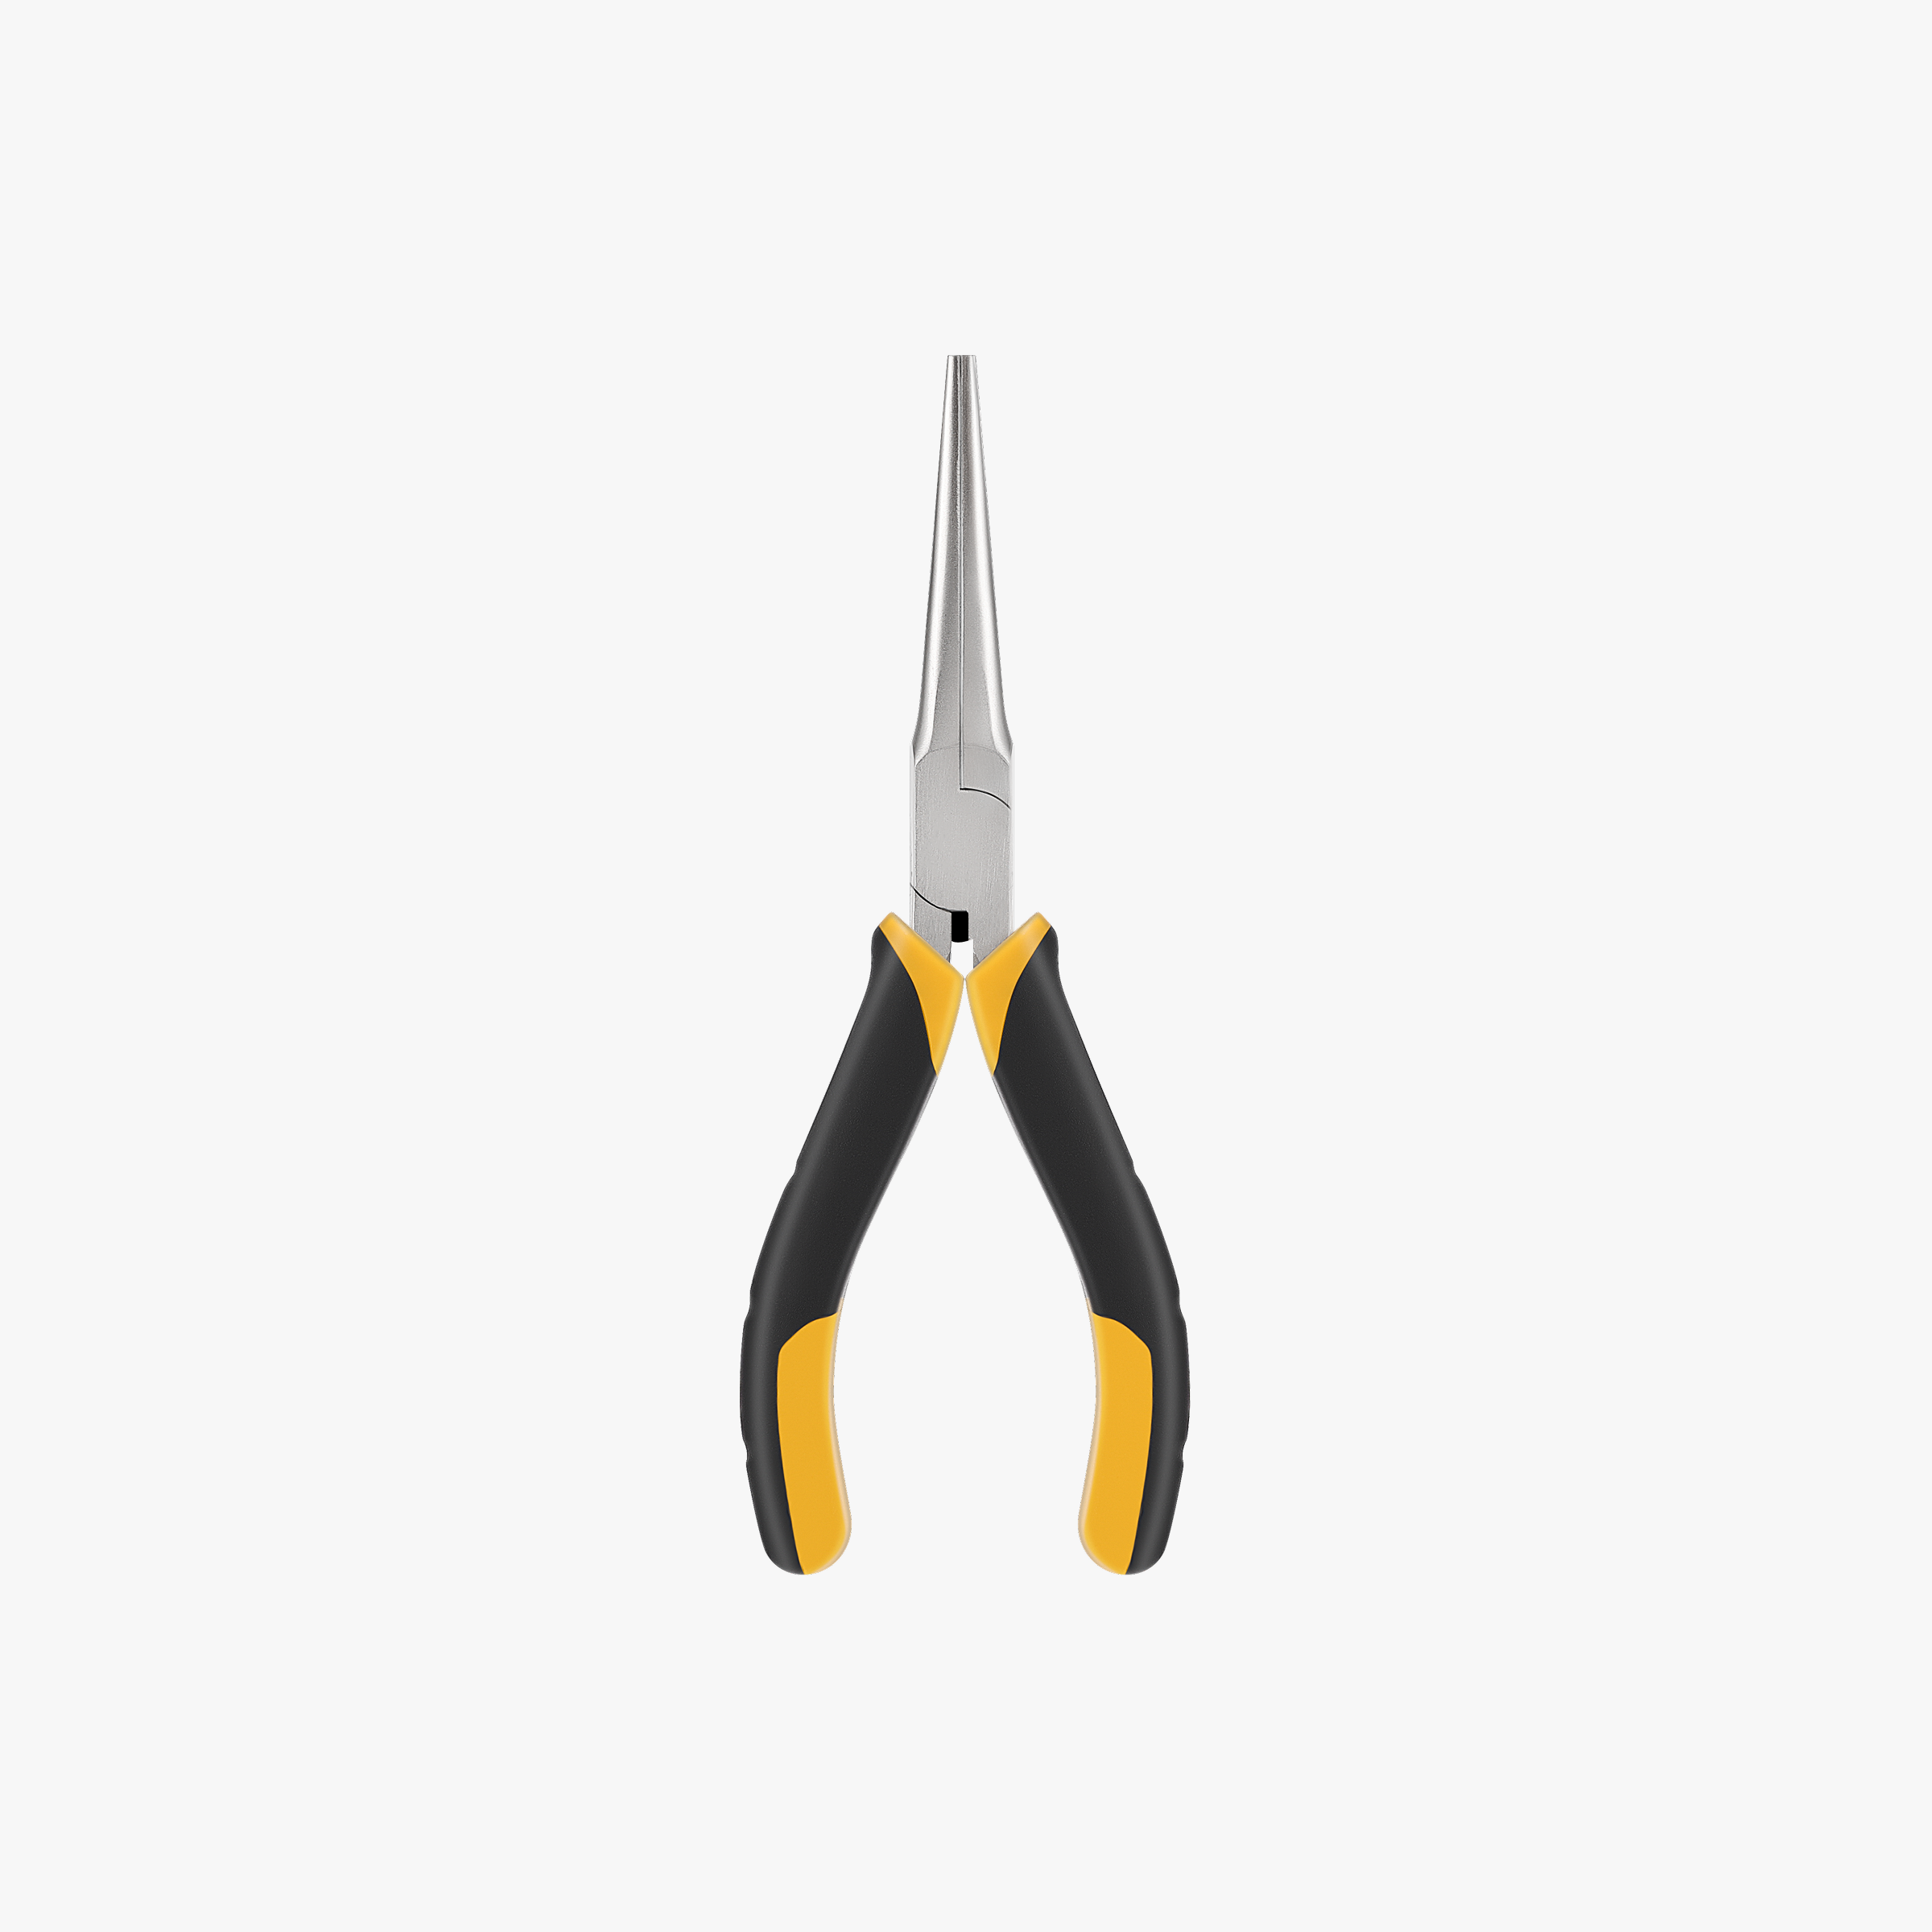
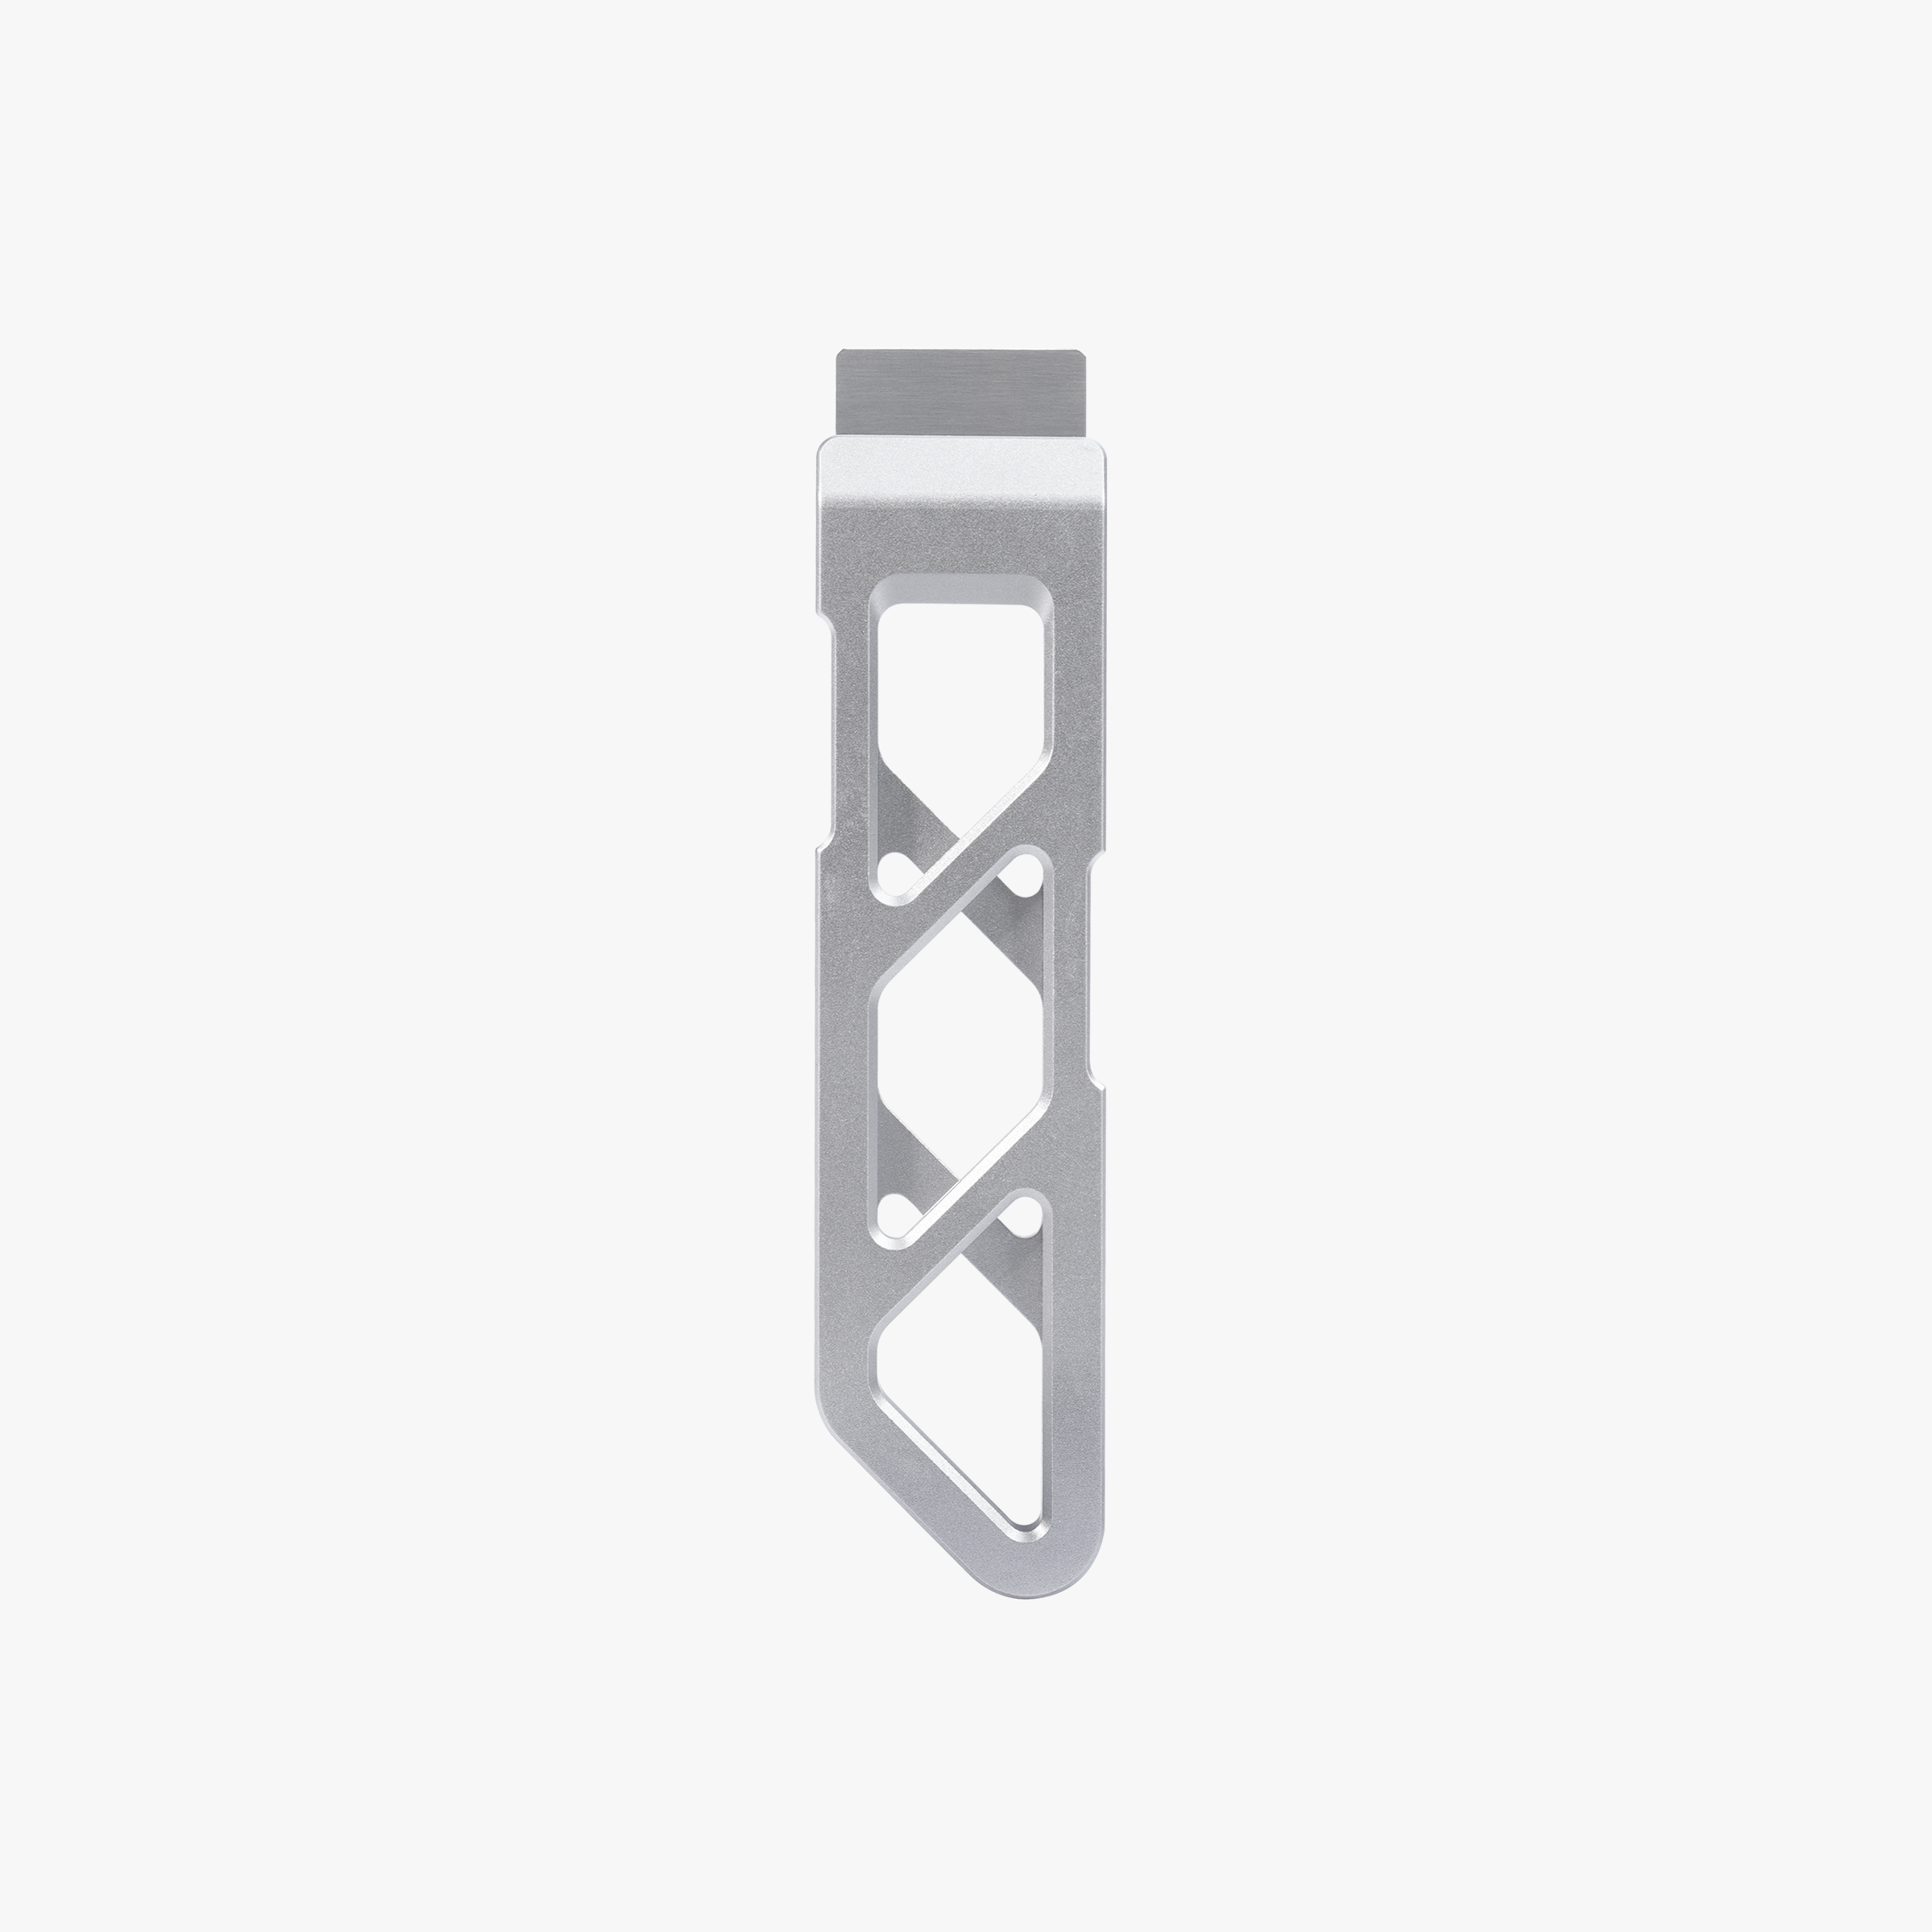
- Long-nose pliers for pulling support and purge strings, and a scraper for stubborn parts.
- Two or three spools of PLA Basic in colours you like. A trial set is a cheap way to find out which ones you reach for.
What not to buy yet: an AMS. Print for a month, then decide. What to consider for P2S owners: the external exhaust fan kit if you plan on ABS.
When to add an AMS
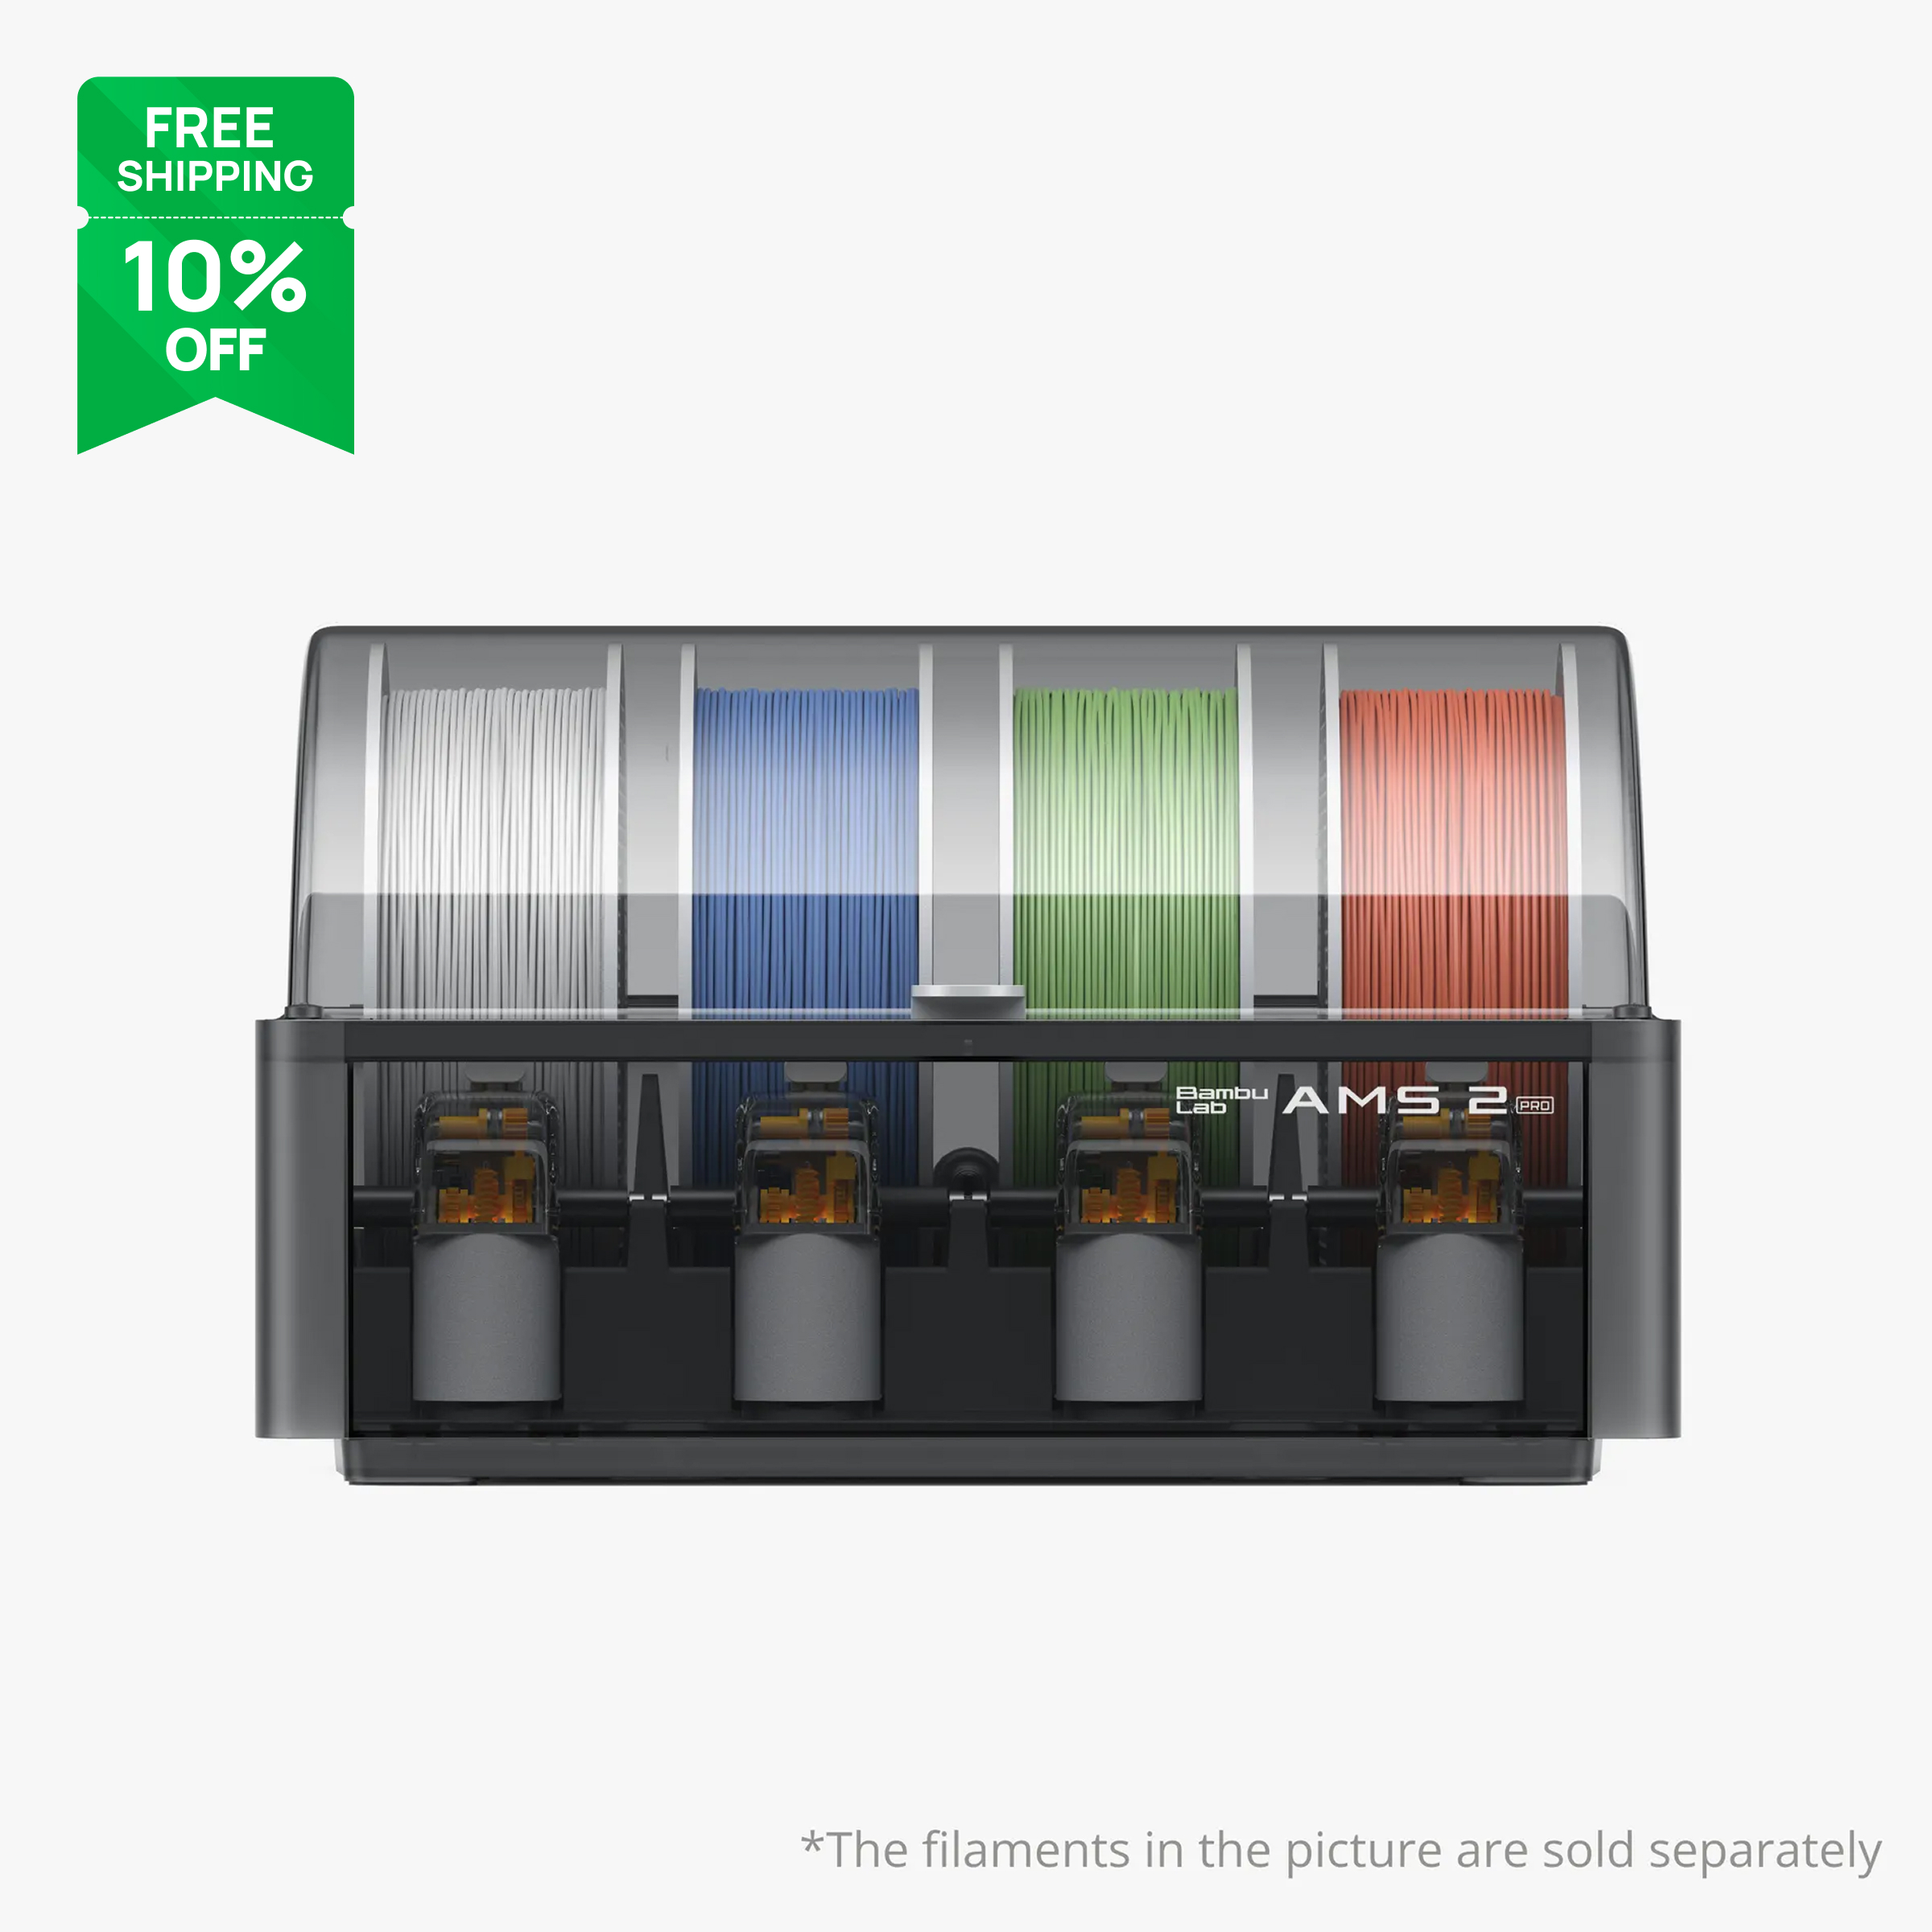
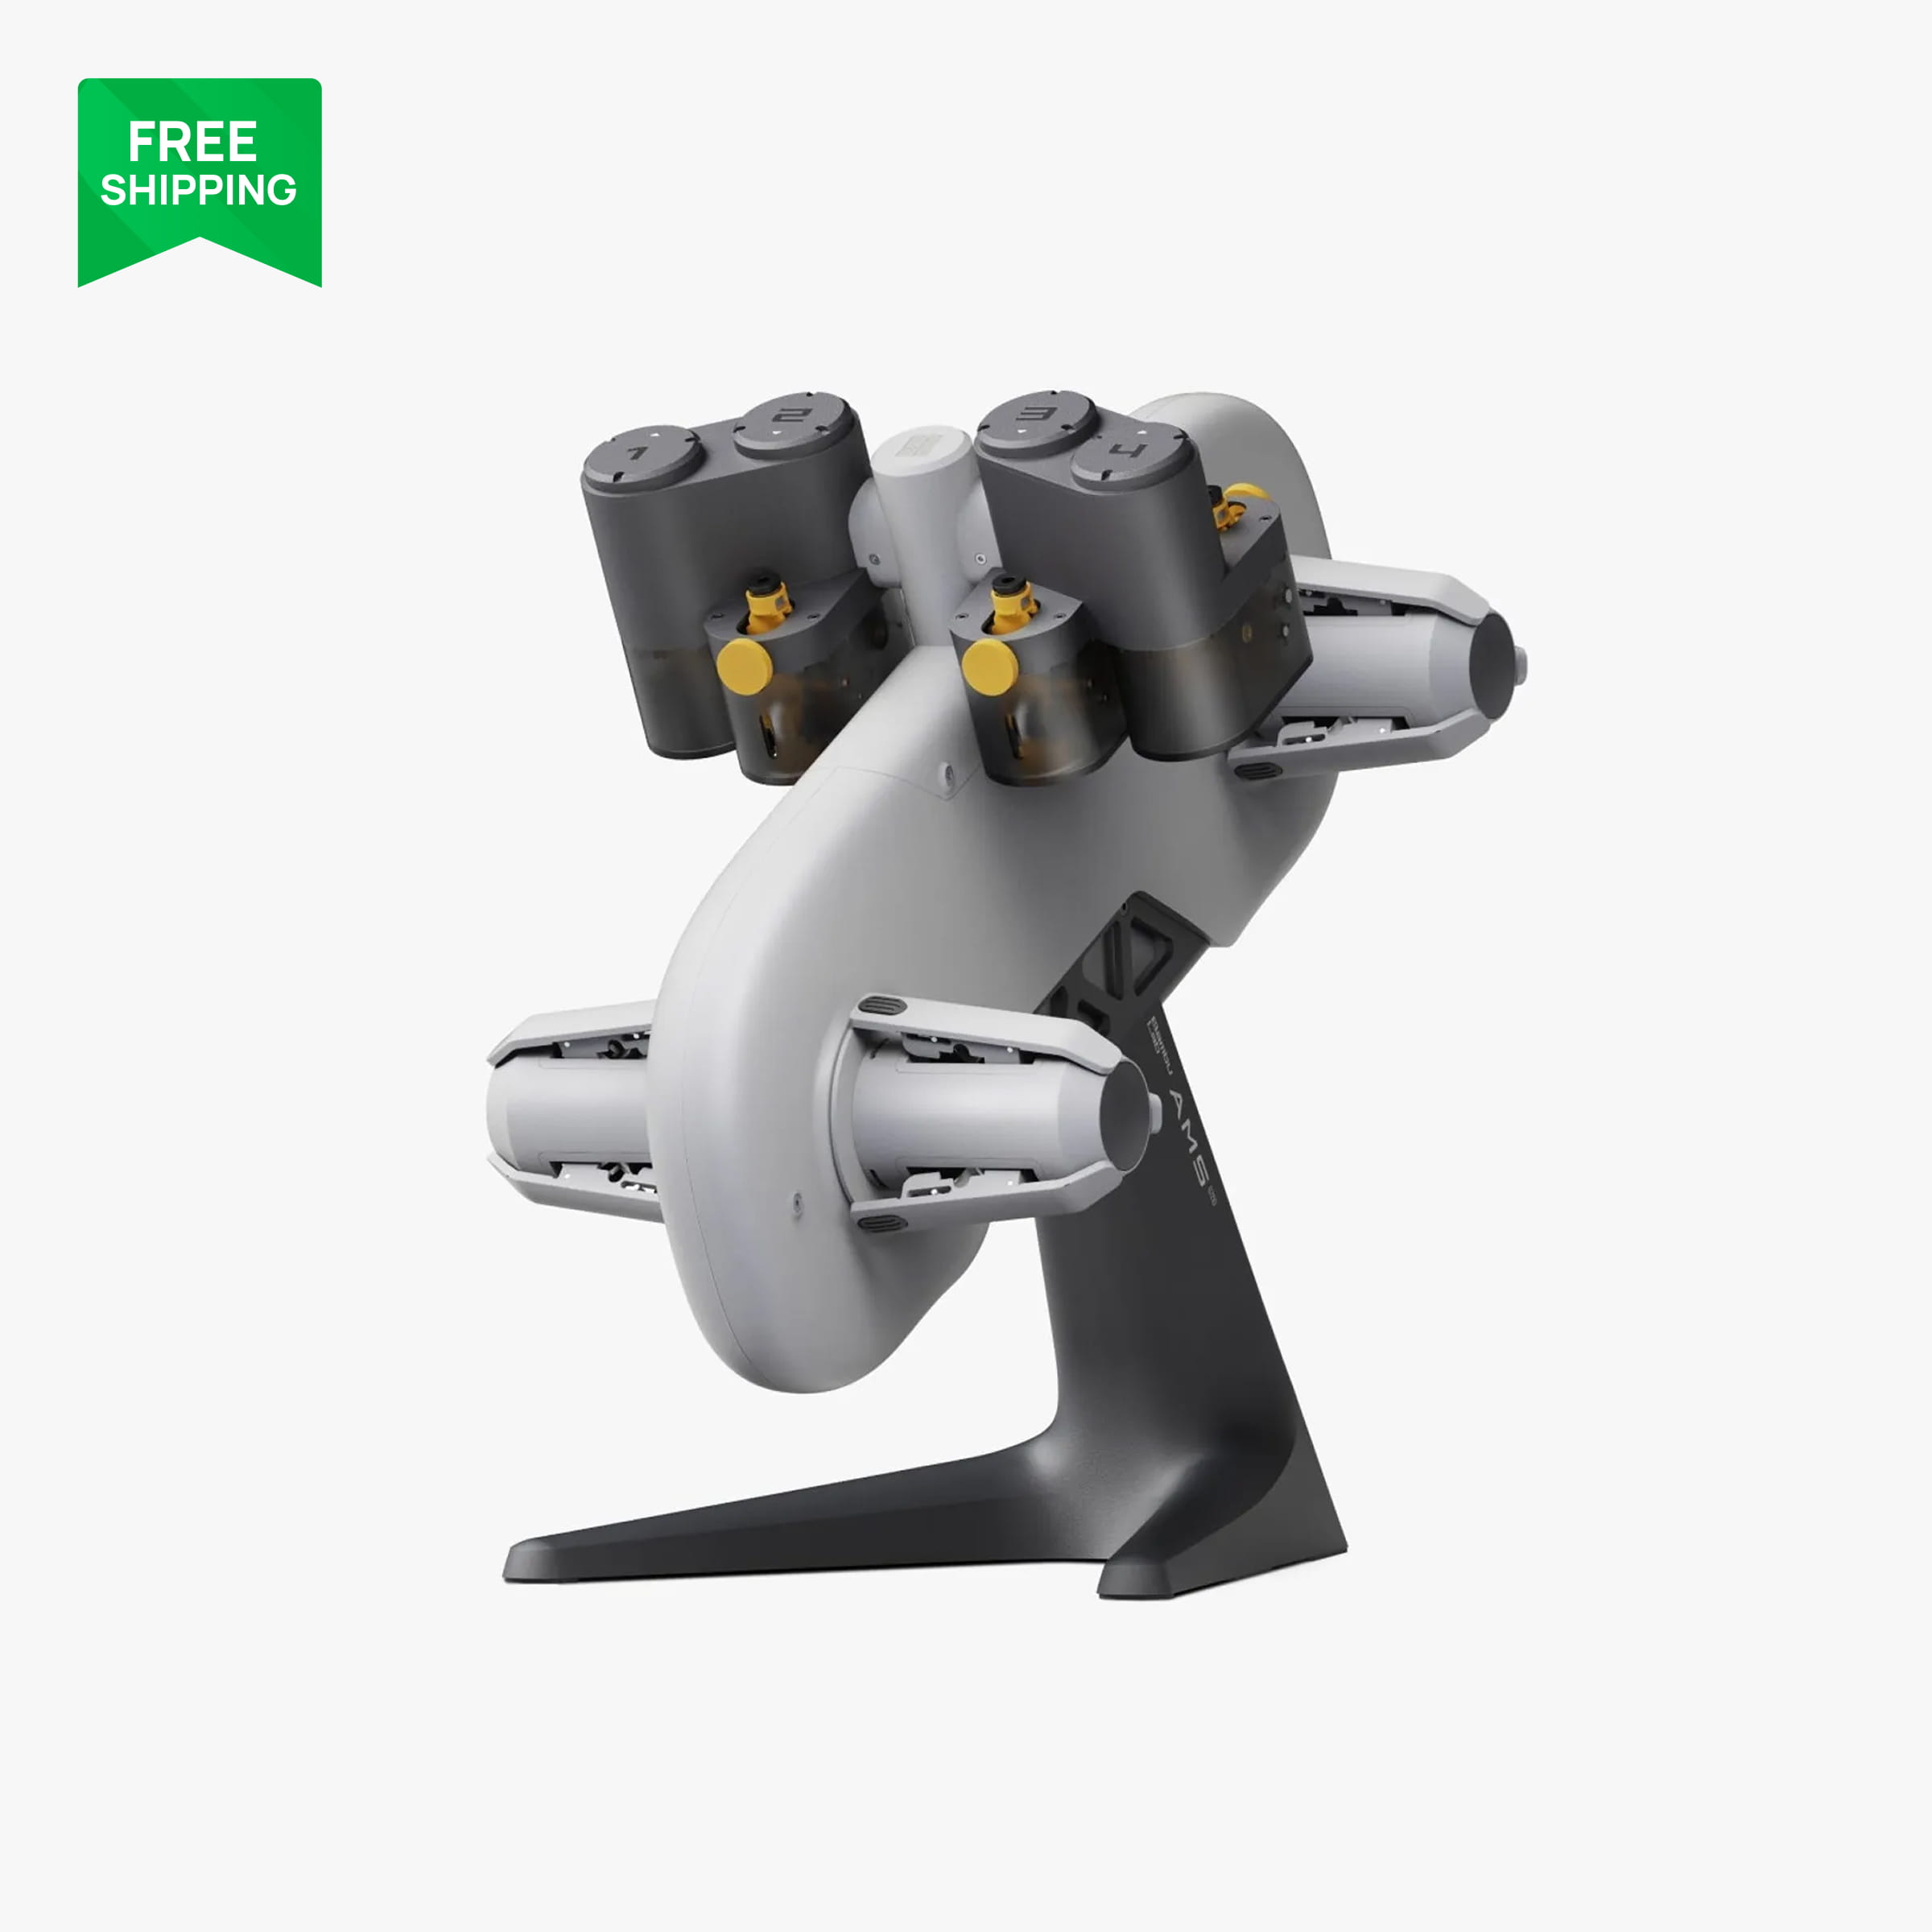
Add an AMS when one of two things happens: you want a multi-colour print badly enough to accept the purge waste, or you are tired of walking over to swap between PLA and PETG. A1 and A1 mini owners get the AMS lite; P1S, P2S and X2D owners should go straight to the AMS 2 Pro for the drying. Both install in under half an hour and the slicer handles the rest.
FAQ
Do I need to level the bed?
No. Every Bambu Lab printer levels itself at the start of each print. If a first layer looks bad, the cause is almost always a dirty plate, not levelling.
How often should I run the Maintenance Kit routine?
Lubricate rods and lead screws every few hundred print hours, or roughly monthly for a hobby printer. Clean the plate far more often, ideally every few prints.
My first layer has gaps or ridges. What do I do?
Wash the plate with dish soap, dry it, and reprint. If that does not fix it, run the self-test calibration again from the printer screen.
More guides
- Which Bambu Lab Printer Should You Buy? A Maker's Decision Tree
- Bambu Lab A1 vs P1S vs P2S: Which Mid-Range Printer Is Right for You?
- Bambu Lab AMS Explained: AMS lite vs AMS vs AMS 2 Pro vs AMS HT
- Best Bambu Lab Filament for Functional Parts: PLA Basic vs Tough+ vs PETG HF vs ABS
- Bambu Lab Build Plates Explained: Which Plate for Which Filament
- Printing RC Car Parts on a Bambu Lab Printer: Our Club Race Hero Workflow