
Printing RC Car Parts on a Bambu Lab Printer: Our Club Race Hero Workflow
We design and race 1/28-scale RC cars (Club Race Hero) and every part on them comes off a Bambu Lab printer. The workflow is simple: PLA Tough+ for chassis and bumpers, PETG HF for anything that flexes, parts oriented so the load runs along the layers, four or more walls, and the stock speed profile on an A1 or P2S. The designs are free at clubracehero.com and the full build is on video below.
The printers we actually use
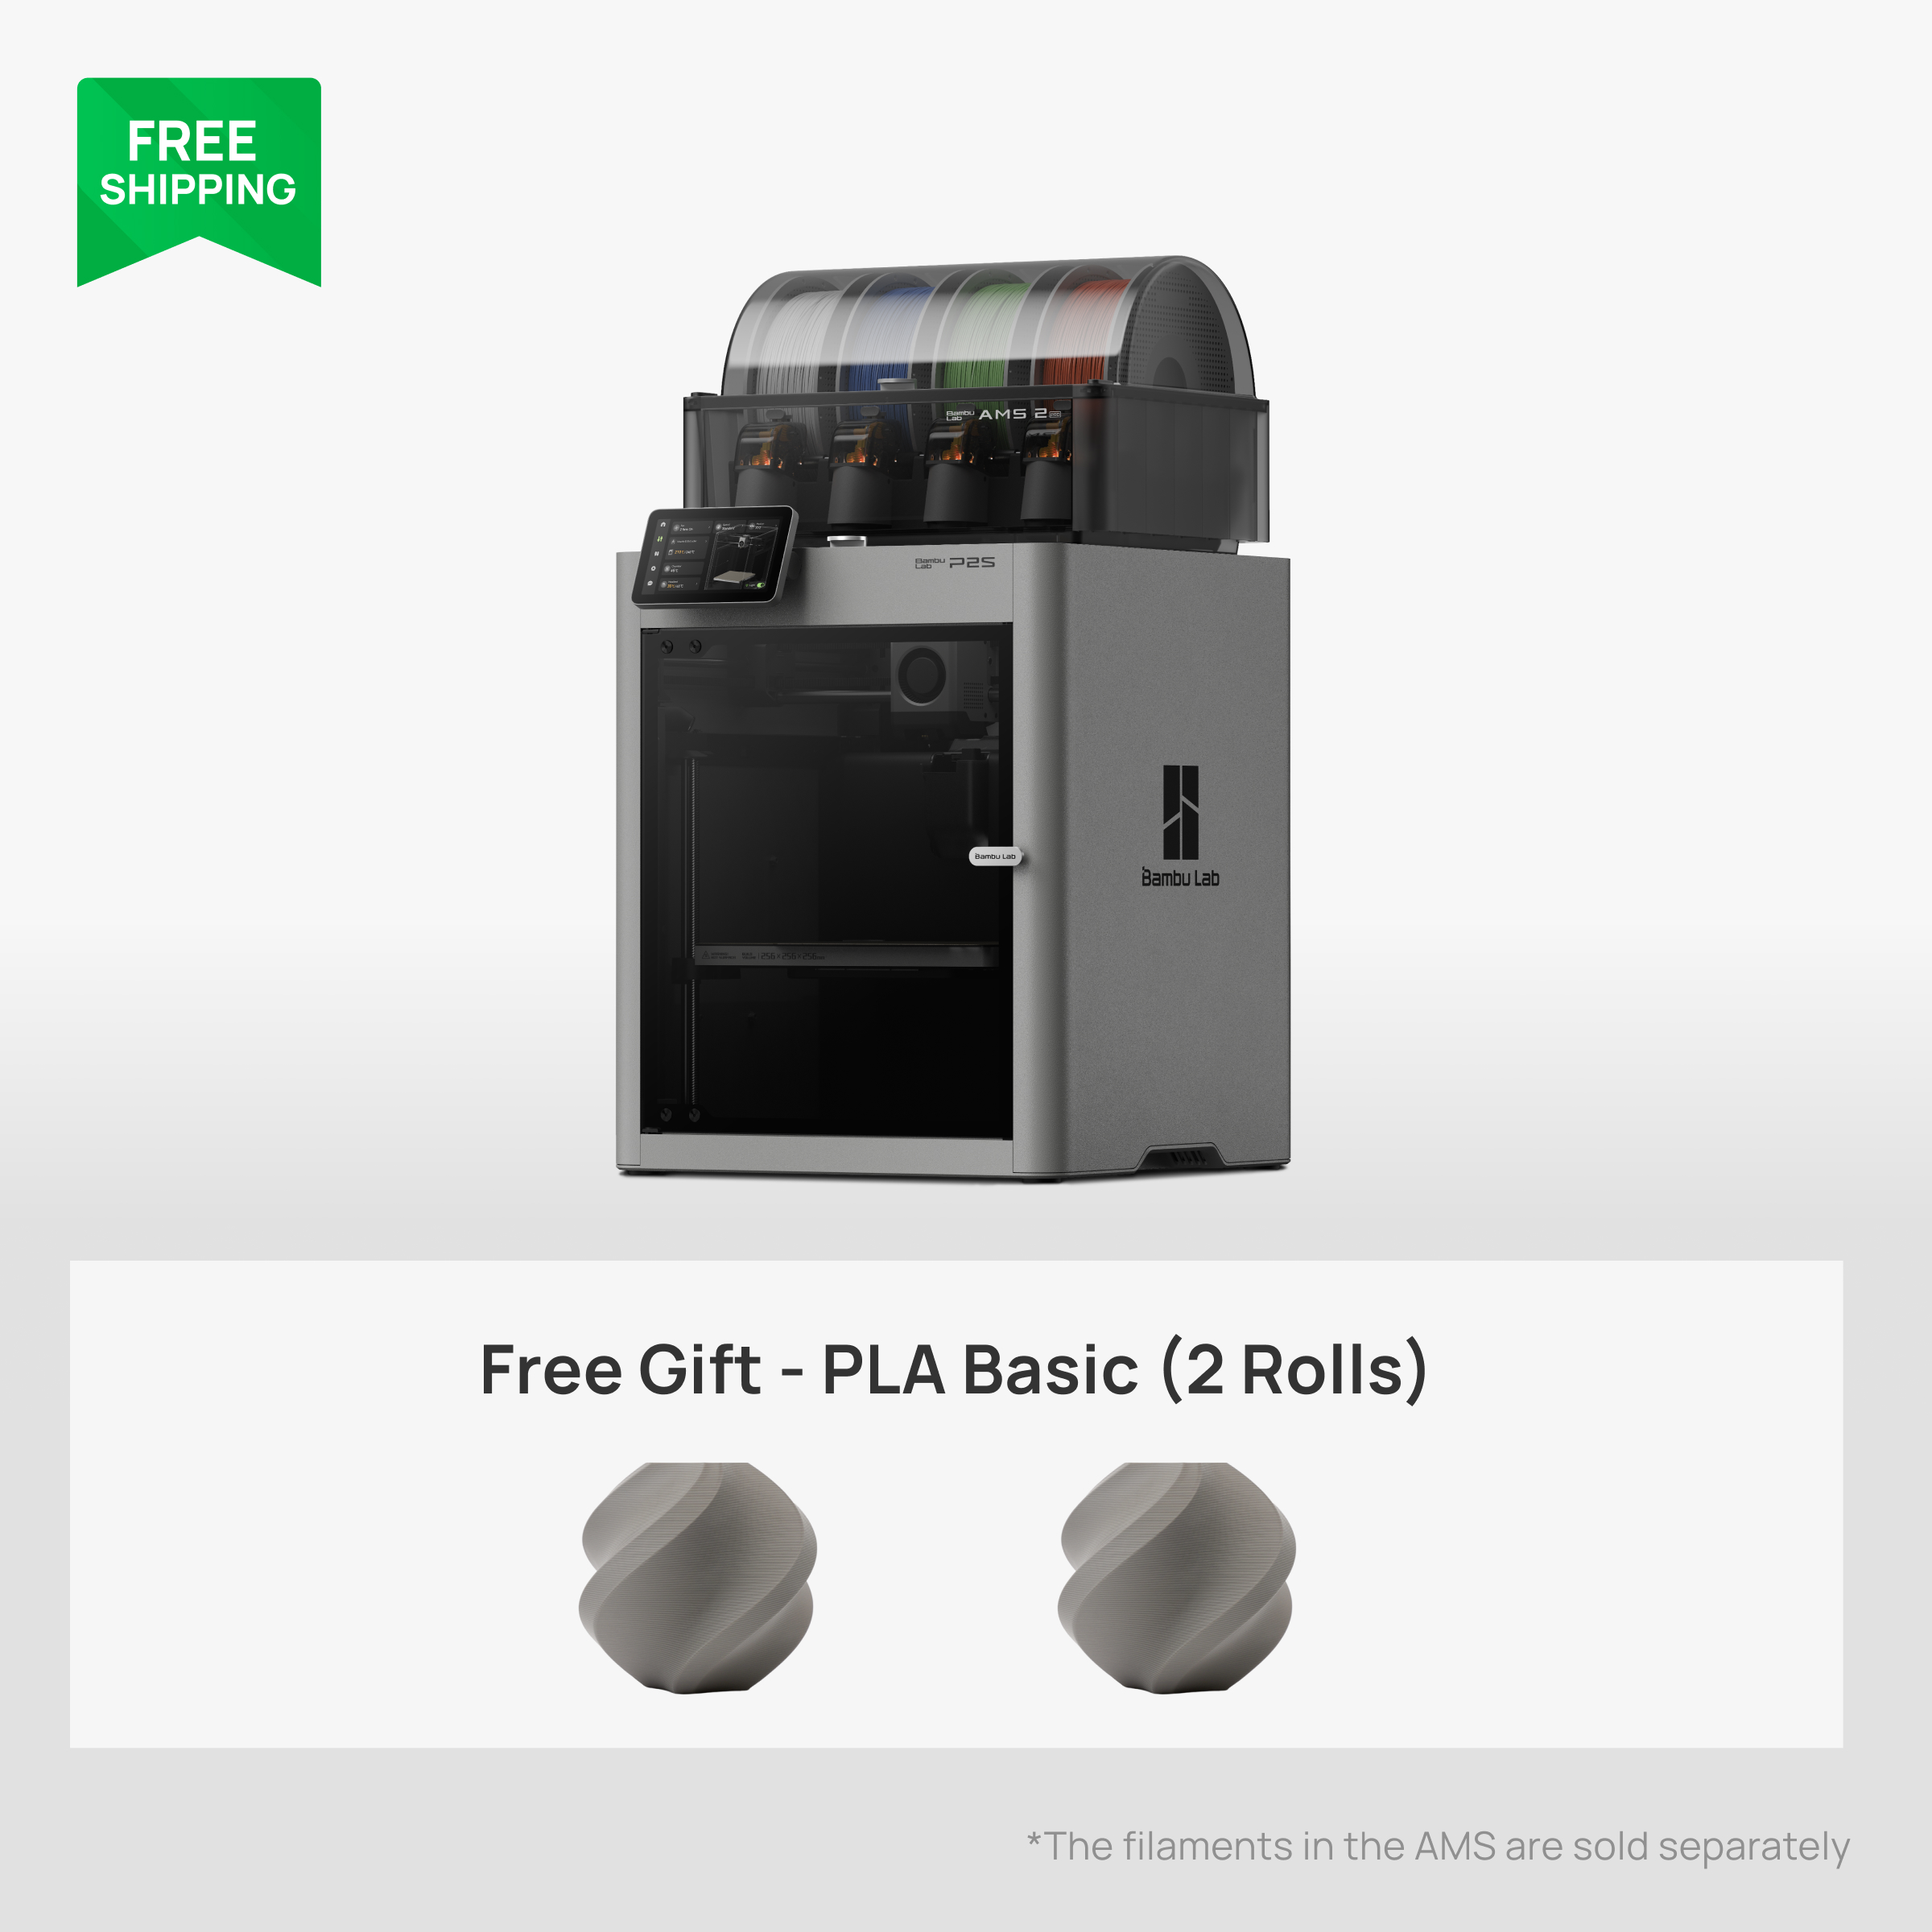
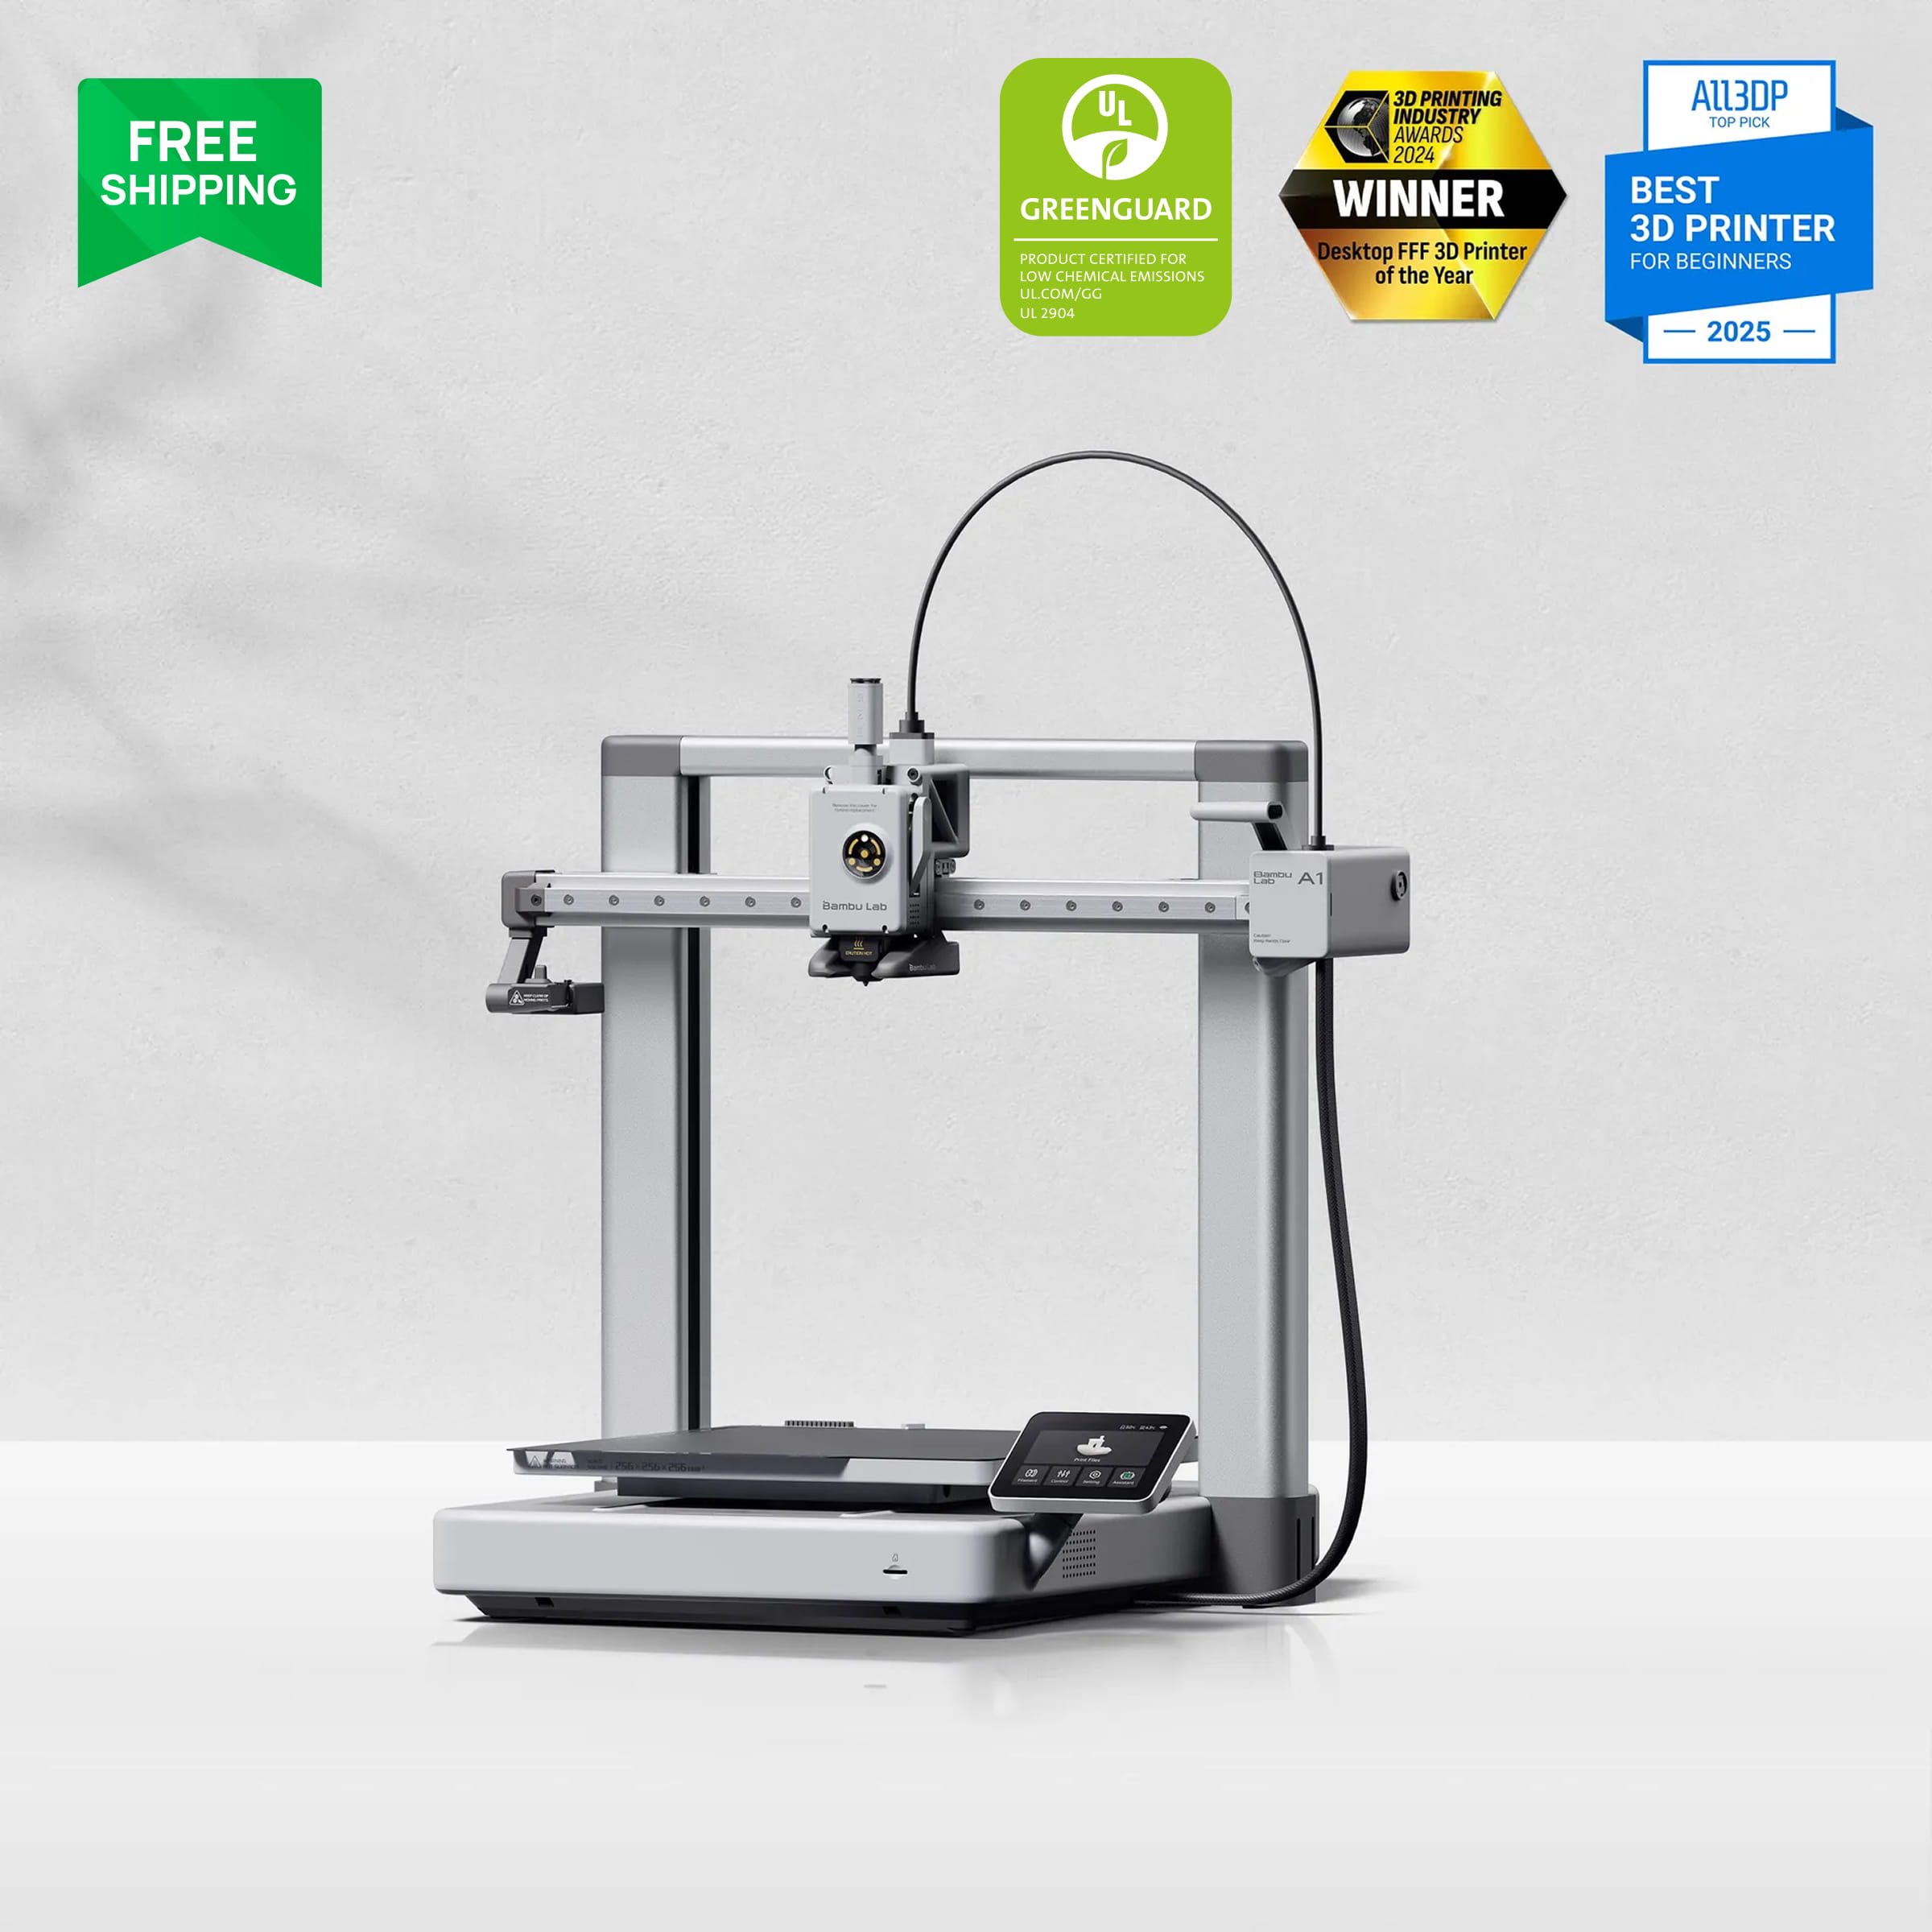
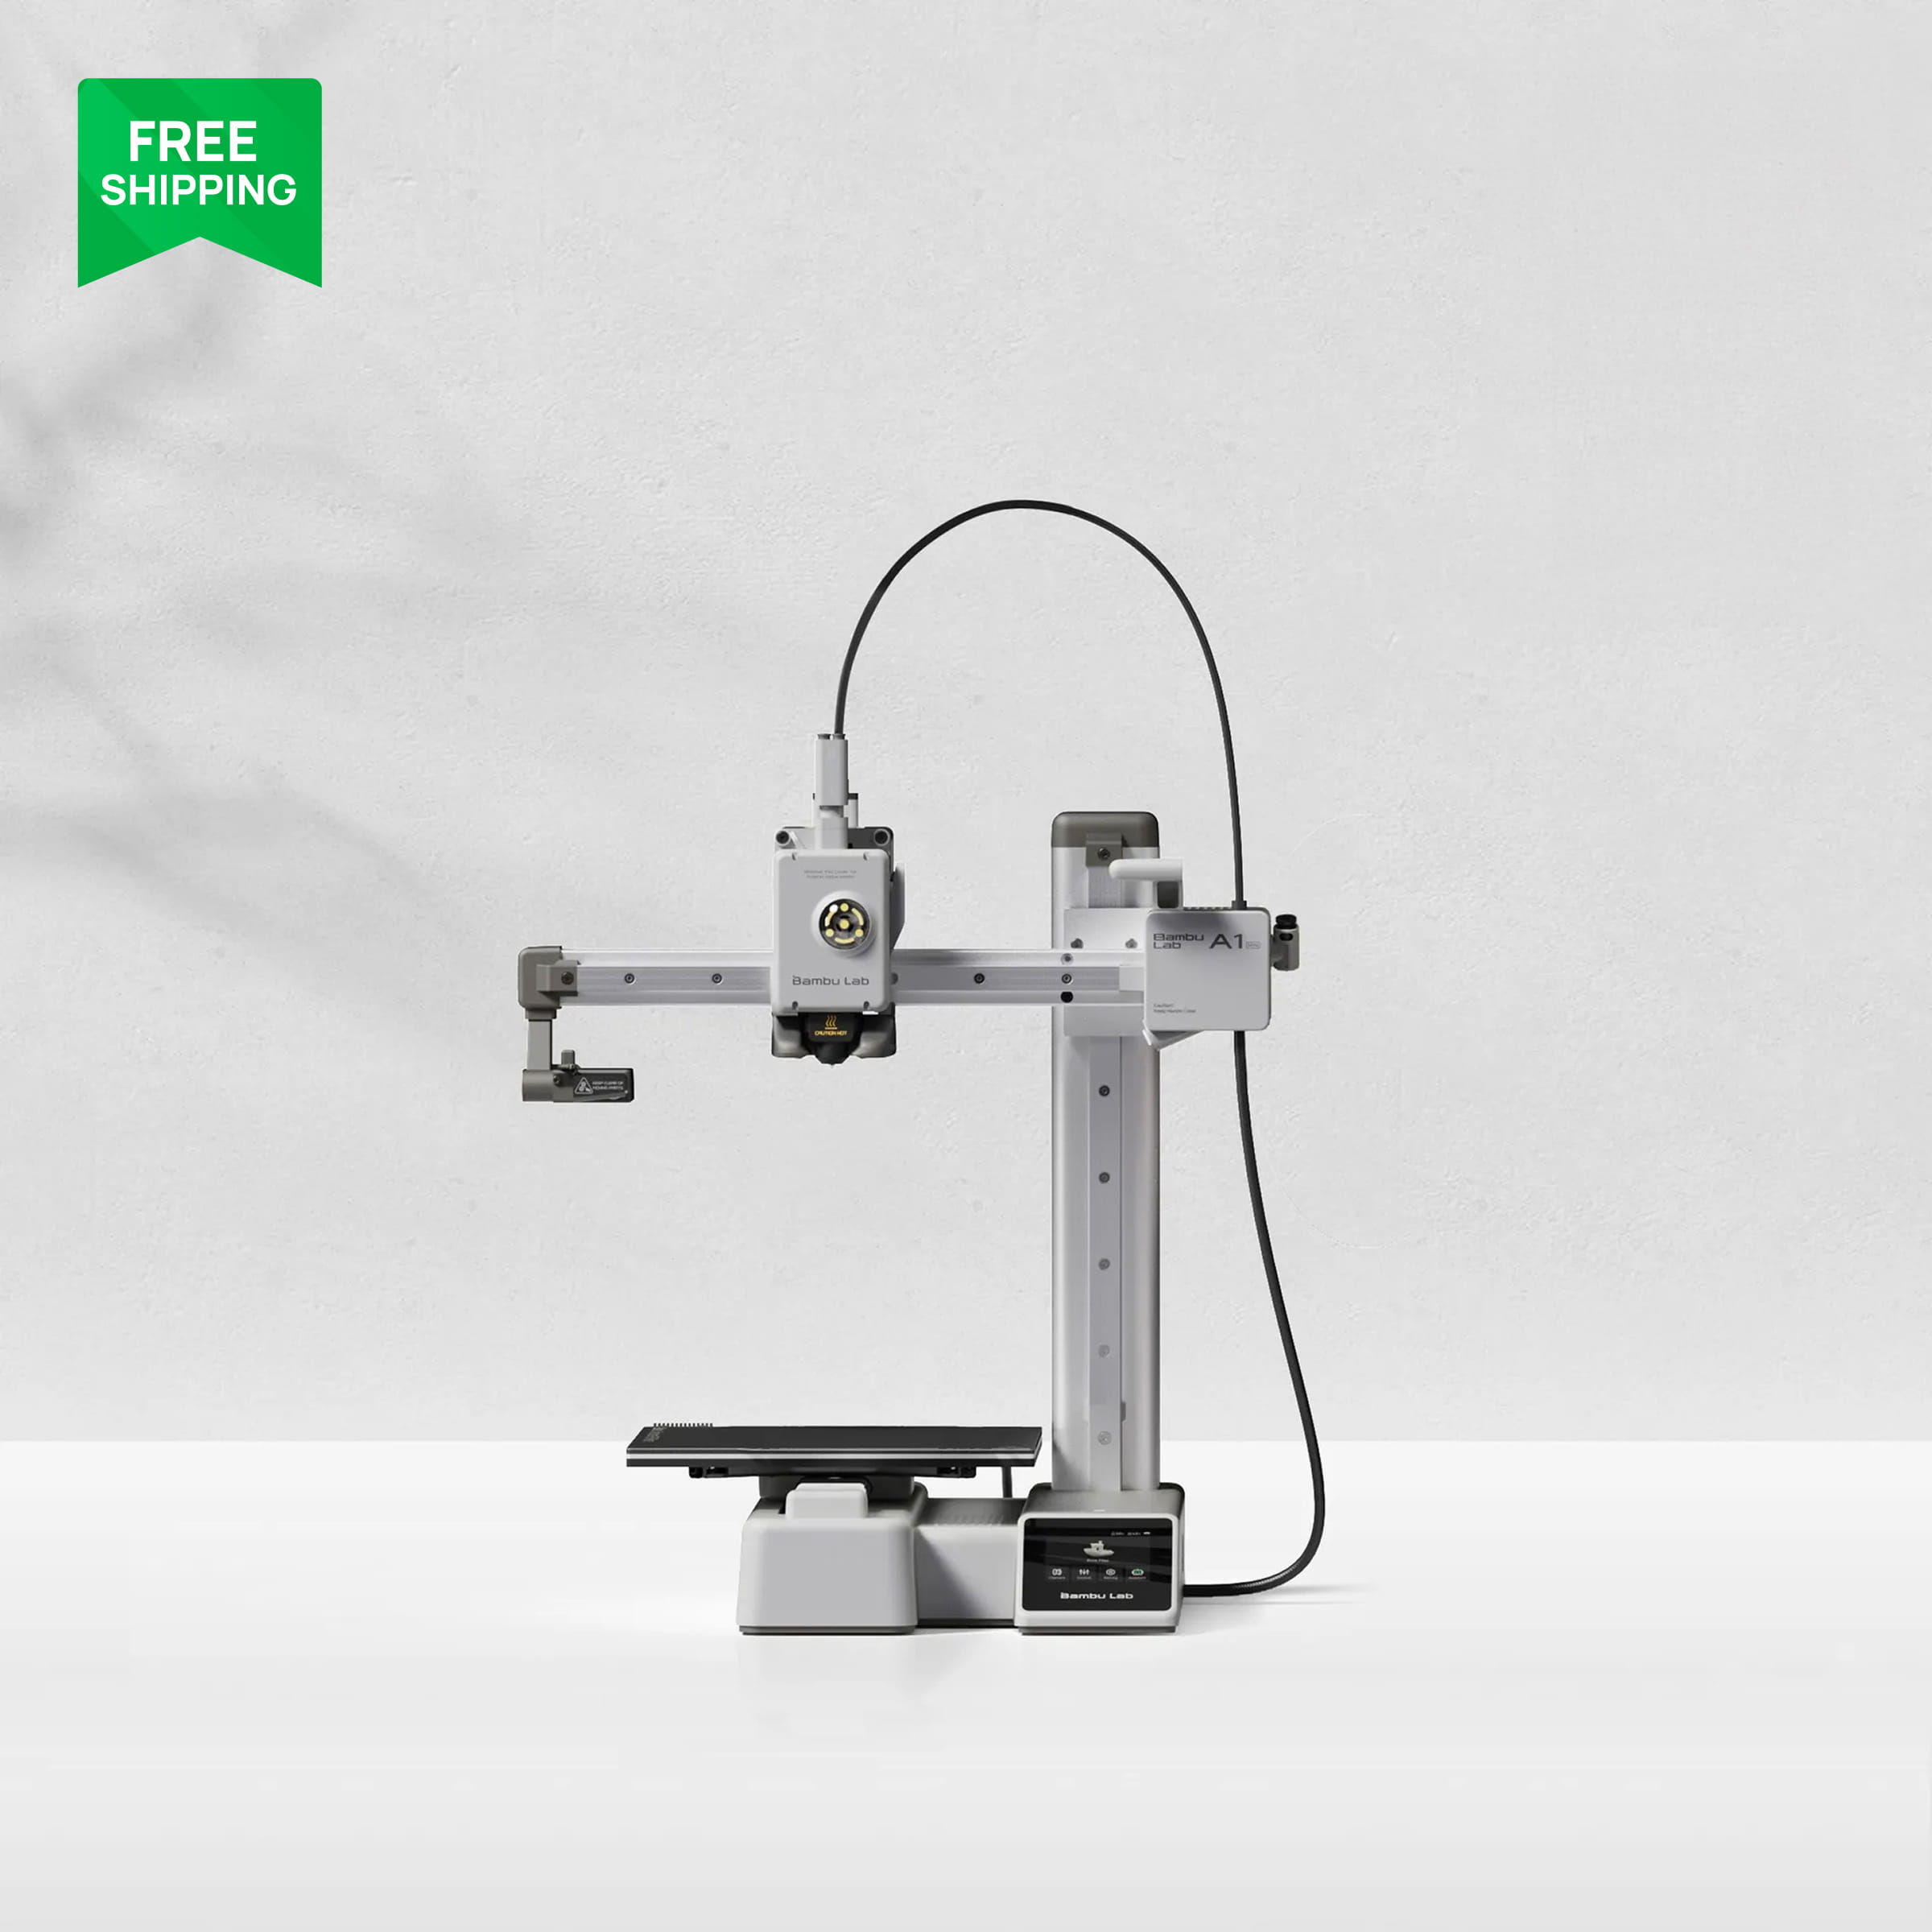
Most CRH parts are printed on a Bambu Lab A1. At 1/28 scale a whole car fits comfortably in its 256 mm bed and nothing on the car needs an enclosure. The A1 mini works too; a chassis plate fits in its 180 mm volume with room to spare, and it is what we recommend to new club members who want the cheapest way to print a car. For PETG HF parts we sometimes use a P2S because the enclosure keeps drafts off and the stronger extruder pushes PETG a little more consistently, but it is a nice-to-have, not a requirement.
The whole point of CRH is that you should not need an expensive printer to race. An A1 mini and two spools of filament gets you a complete car.
Watch the CRH28 build
This is the full build guide for the CRH28 chassis: printing, hardware, electronics and first run. If you have never assembled an RC car from printed parts, start here.
All the CRH design files are free at clubracehero.com, with print settings included in the downloads.
.jpg)
Filament, part by part
We have broken a lot of cars to arrive at this list.
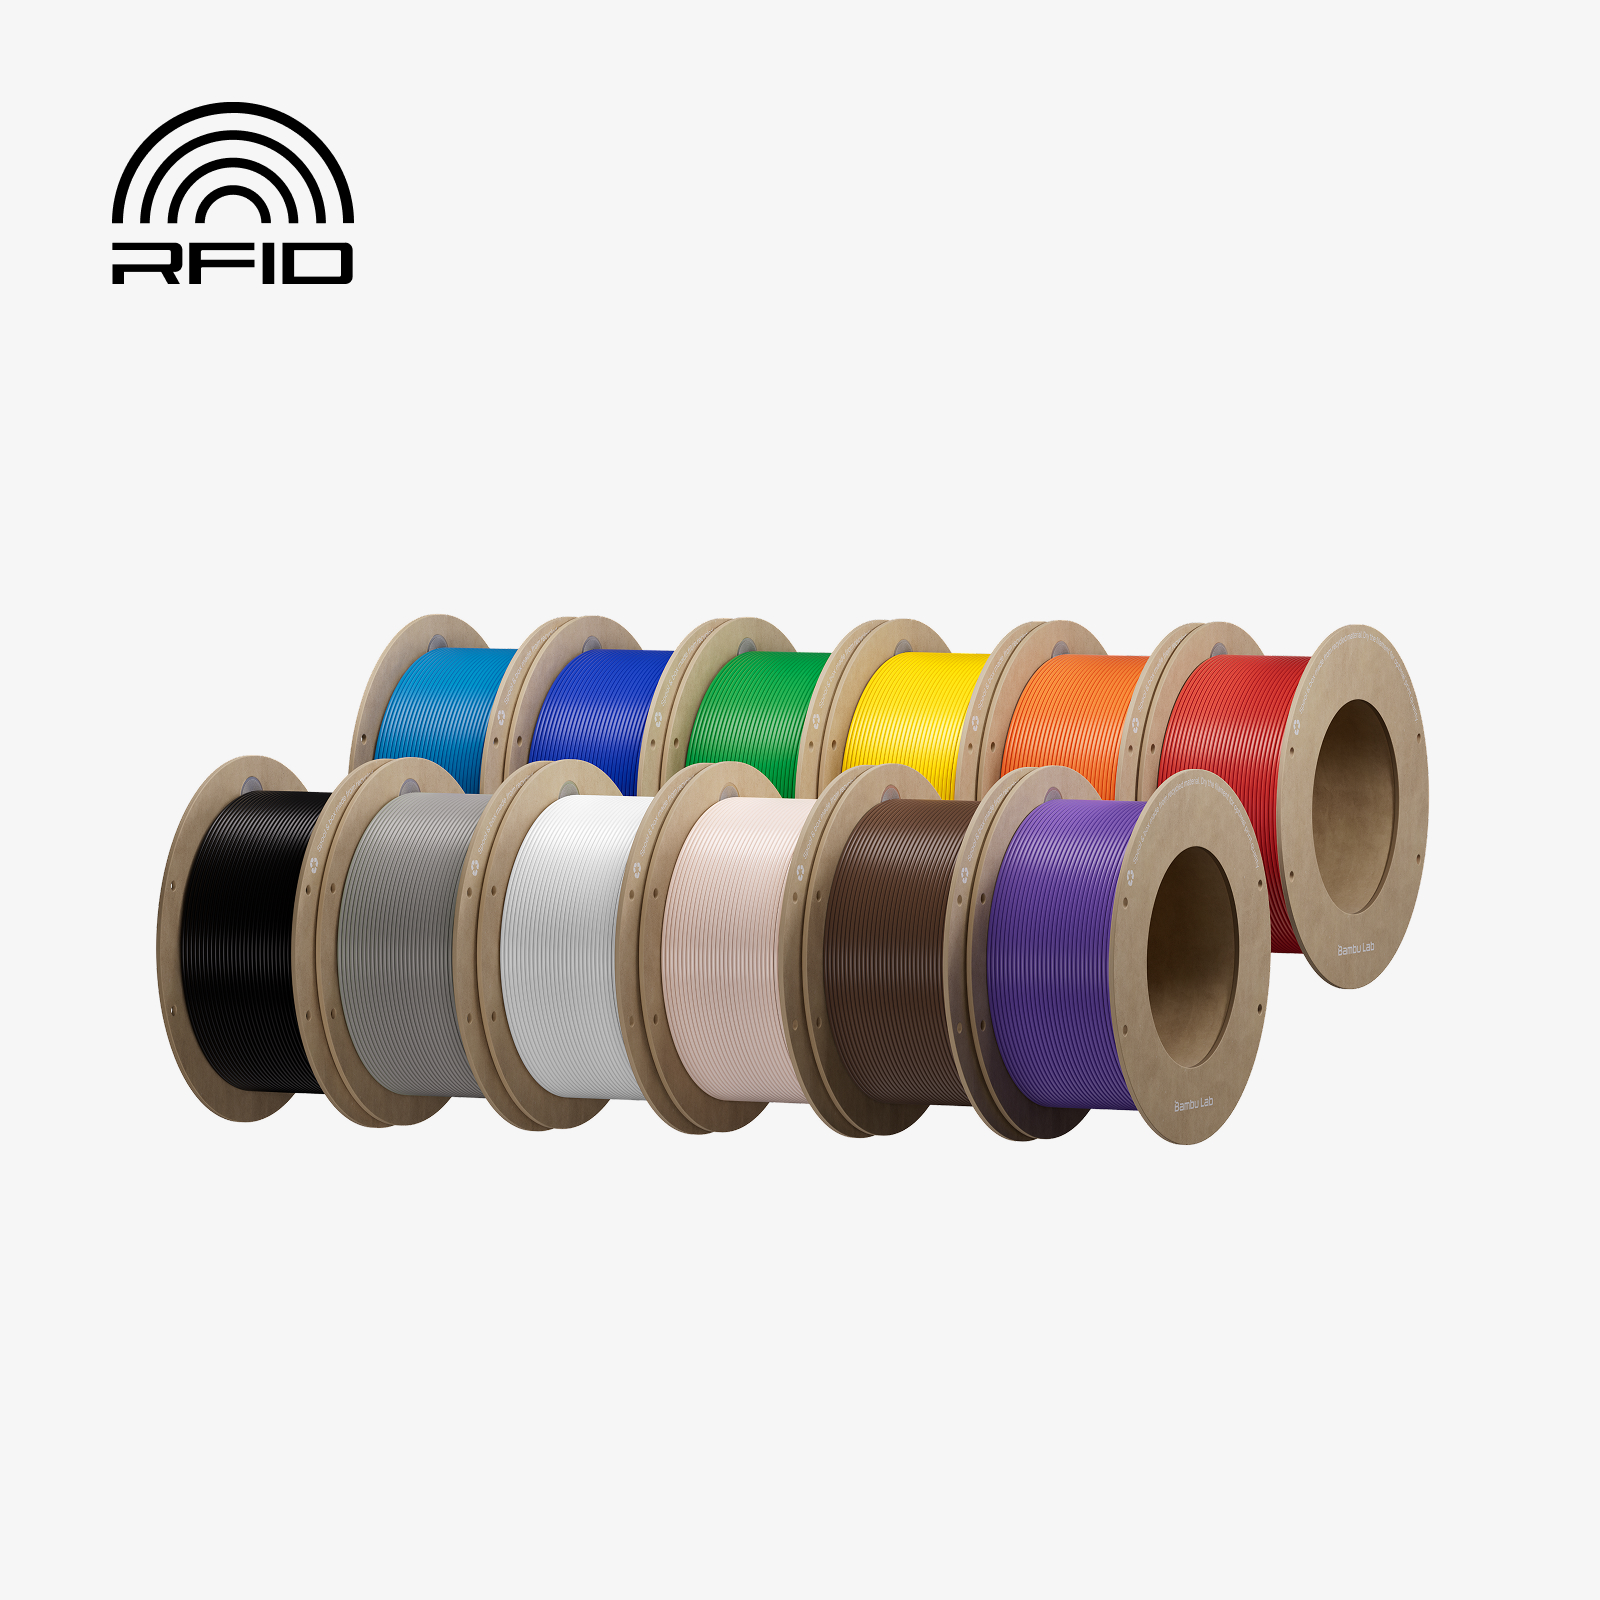
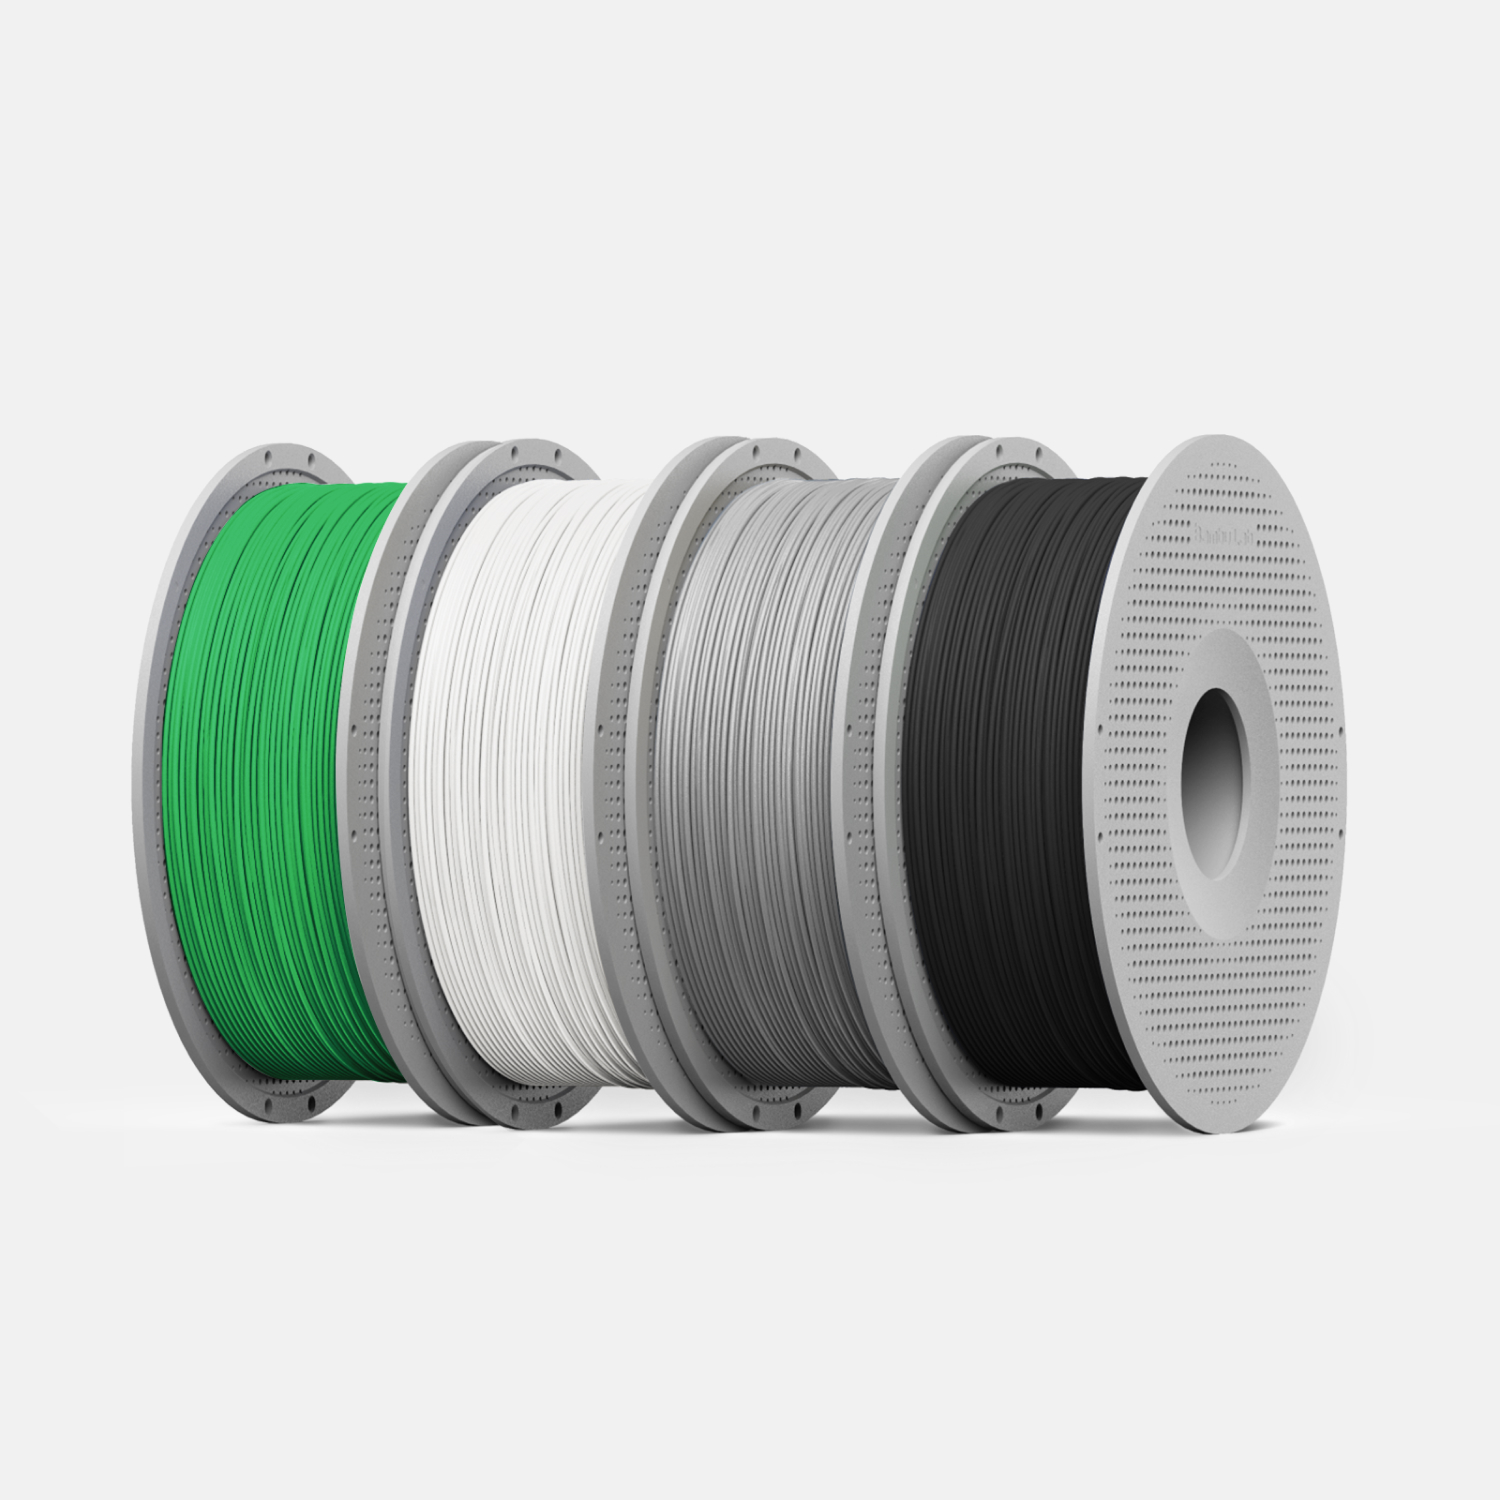
- Chassis plate, bumpers, wheel carriers, body posts: PLA Tough+. It bends instead of cracking when the car hits a wall, and it prints with PLA ease on an open printer.
- Servo saver, body clips, snap-fit covers, anything that flexes repeatedly: PETG HF. It springs back and does not fatigue-crack the way PLA does.
- Motor mount: PETG HF, because the motor gets warm and PLA will creep.
- Bodies and wings: PLA Basic or PLA Matte. Light, stiff, every colour, and the matte finish hides layer lines under paint.
- Prototypes of anything: PLA Basic, then reprint the final in the right material.
We do not use ABS on the cars. PETG HF covers the heat we see and prints without an enclosure.


Orientation is the strength setting
A printed part is strongest along its layers and weakest across them. For a chassis plate that means printing it flat, so the bumps and impacts load the layers in shear rather than trying to peel them apart. For a vertical post, it means laying it on its side if the geometry allows, or designing a fillet at the base so the stress is not concentrated at one layer line. Where we cannot avoid a cross-layer load, we thicken the part or add a rib rather than changing material.
We design every CRH part with the print orientation already decided, so the downloads open in Bambu Studio the way they should print. If you are designing your own parts, decide the orientation before you draw the first sketch.
Walls, infill and layer height
Walls do far more for strength than infill. Our structural parts use four to six wall loops, four top and bottom layers, and 30 to 40 percent gyroid infill. Gyroid is roughly isotropic, so it resists twist in every direction, which suits a chassis. Bodies use two walls and 10 percent infill because weight matters more than strength there. Layer height is 0.2 mm for everything except bodies, which we print at 0.16 mm so the paint has less to hide.
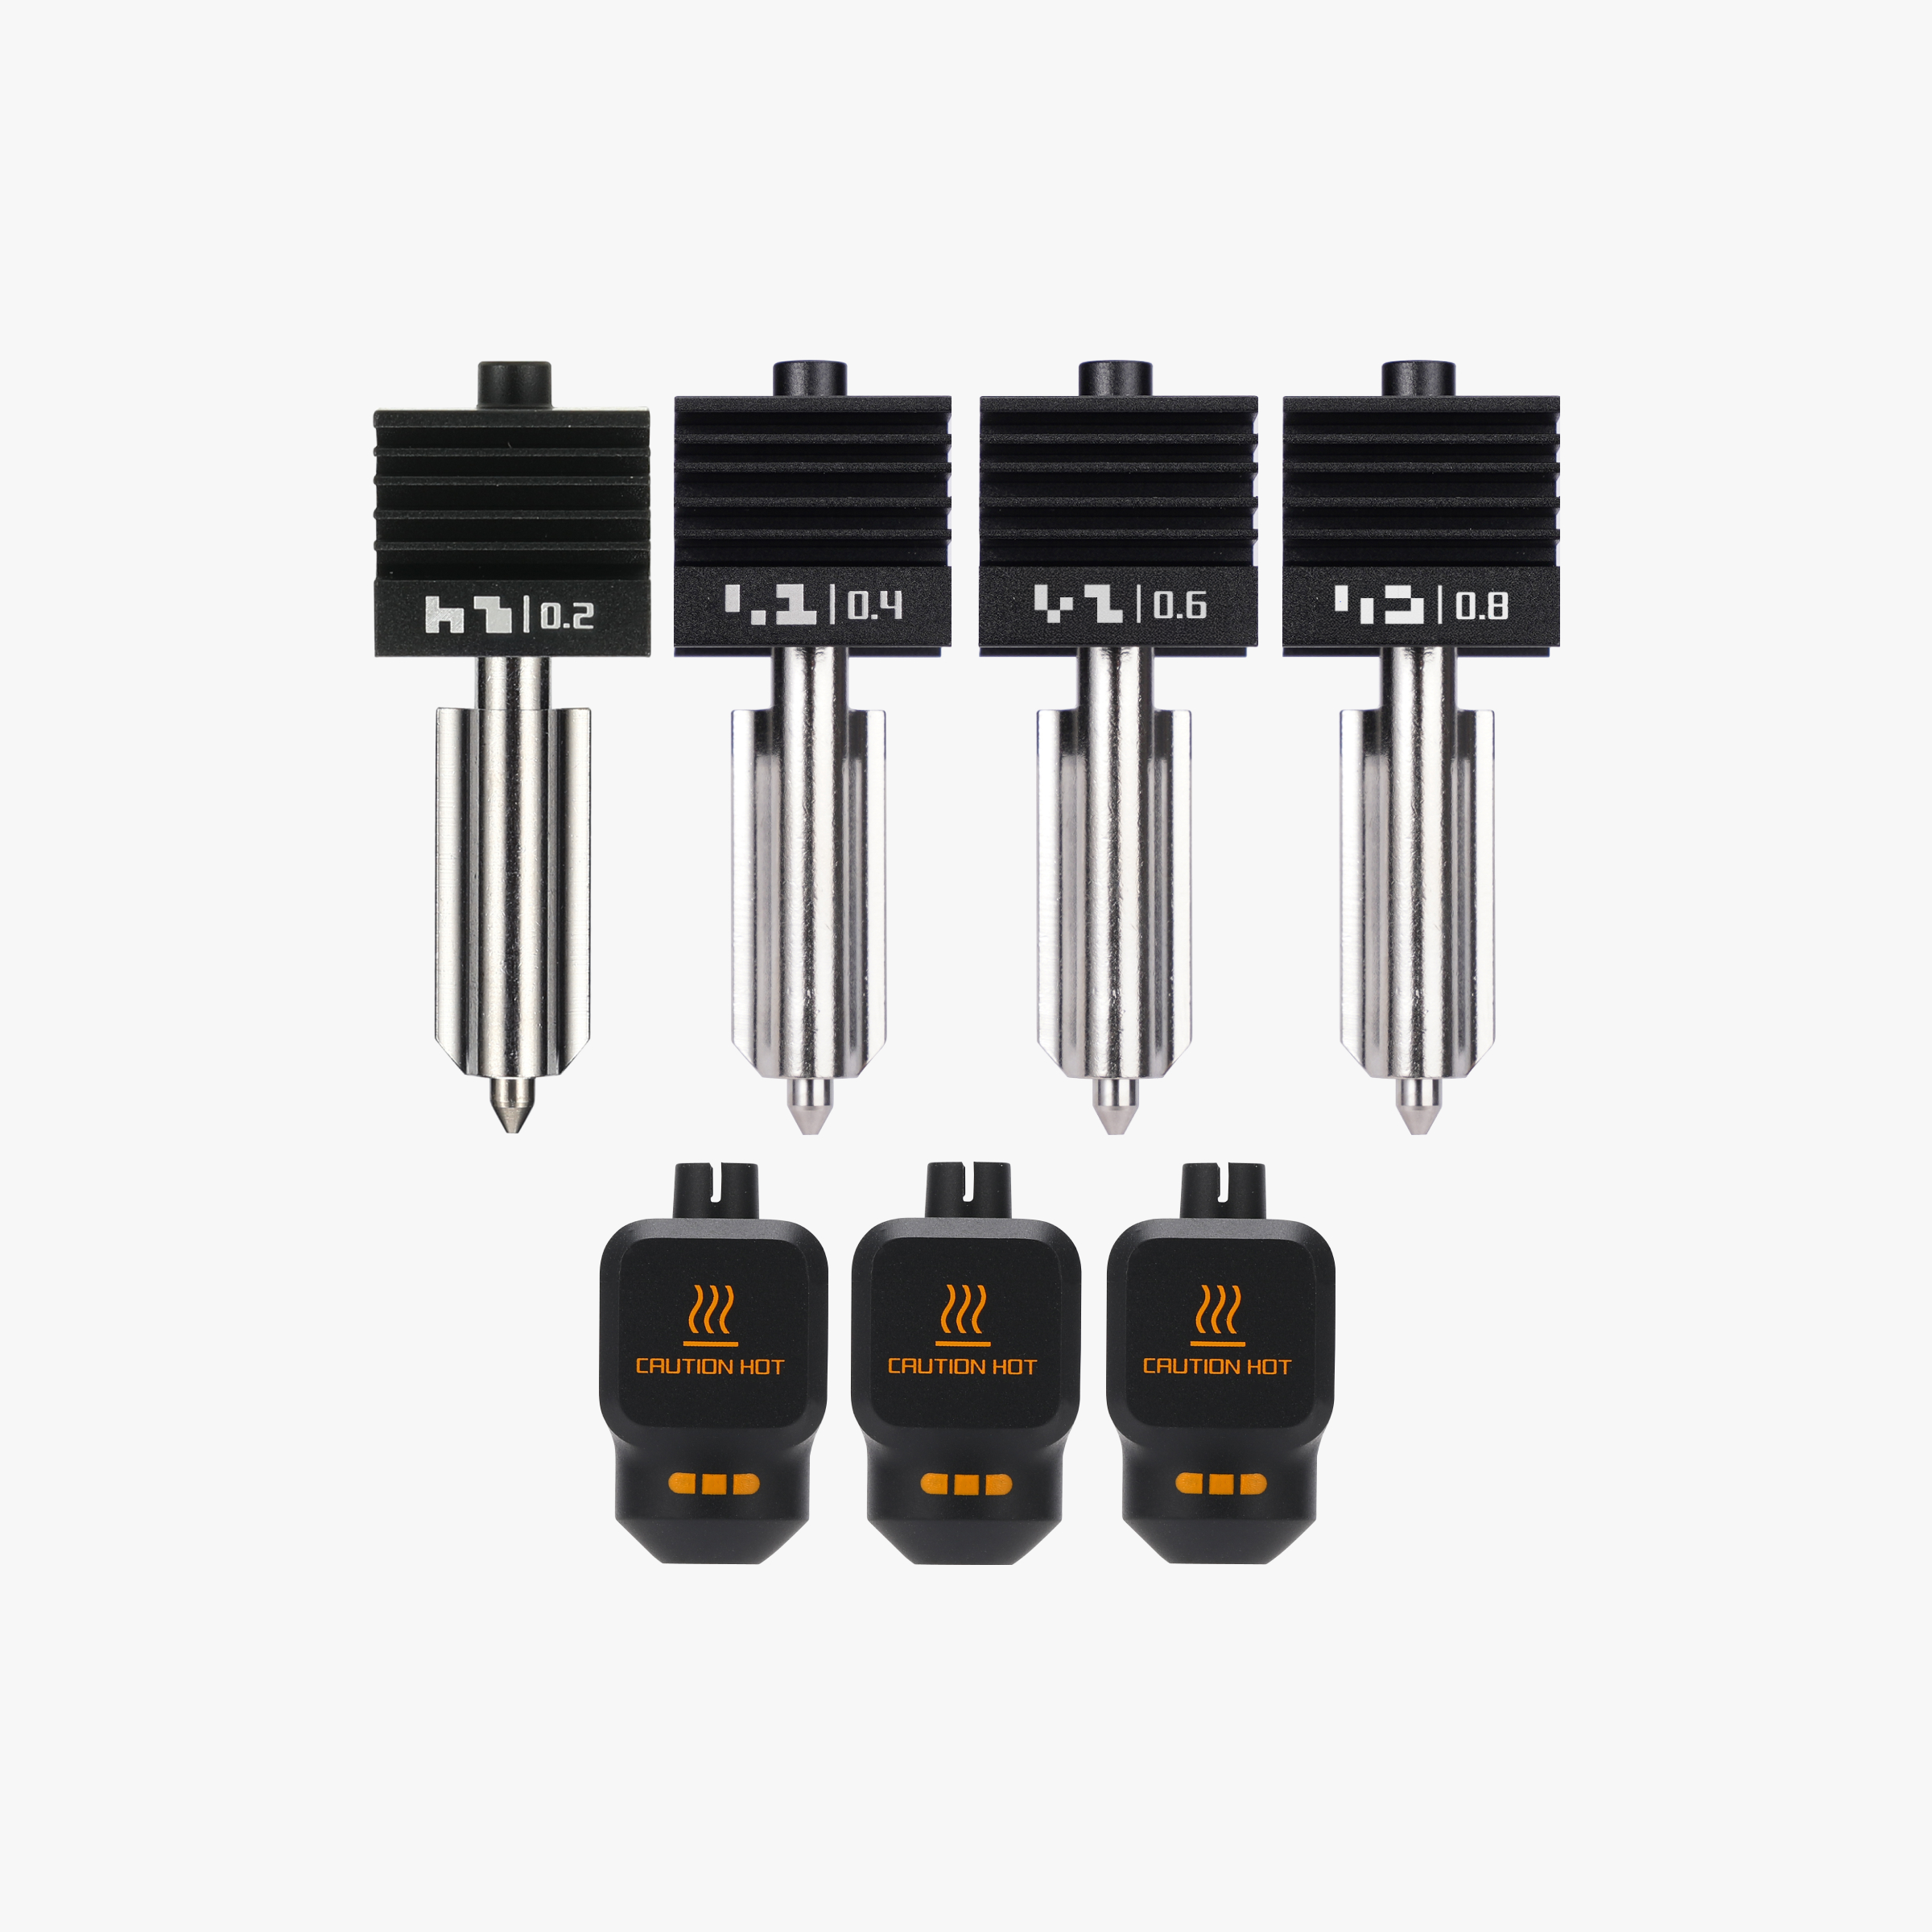
Nozzle choice: 0.4 mm standard for everything on the car. We have experimented with 0.6 mm for chassis plates to speed them up and the strength is excellent, but the fit of press-in bearings changes slightly, so stick with 0.4 mm unless you enjoy recalibrating tolerances.
Speed and plate settings
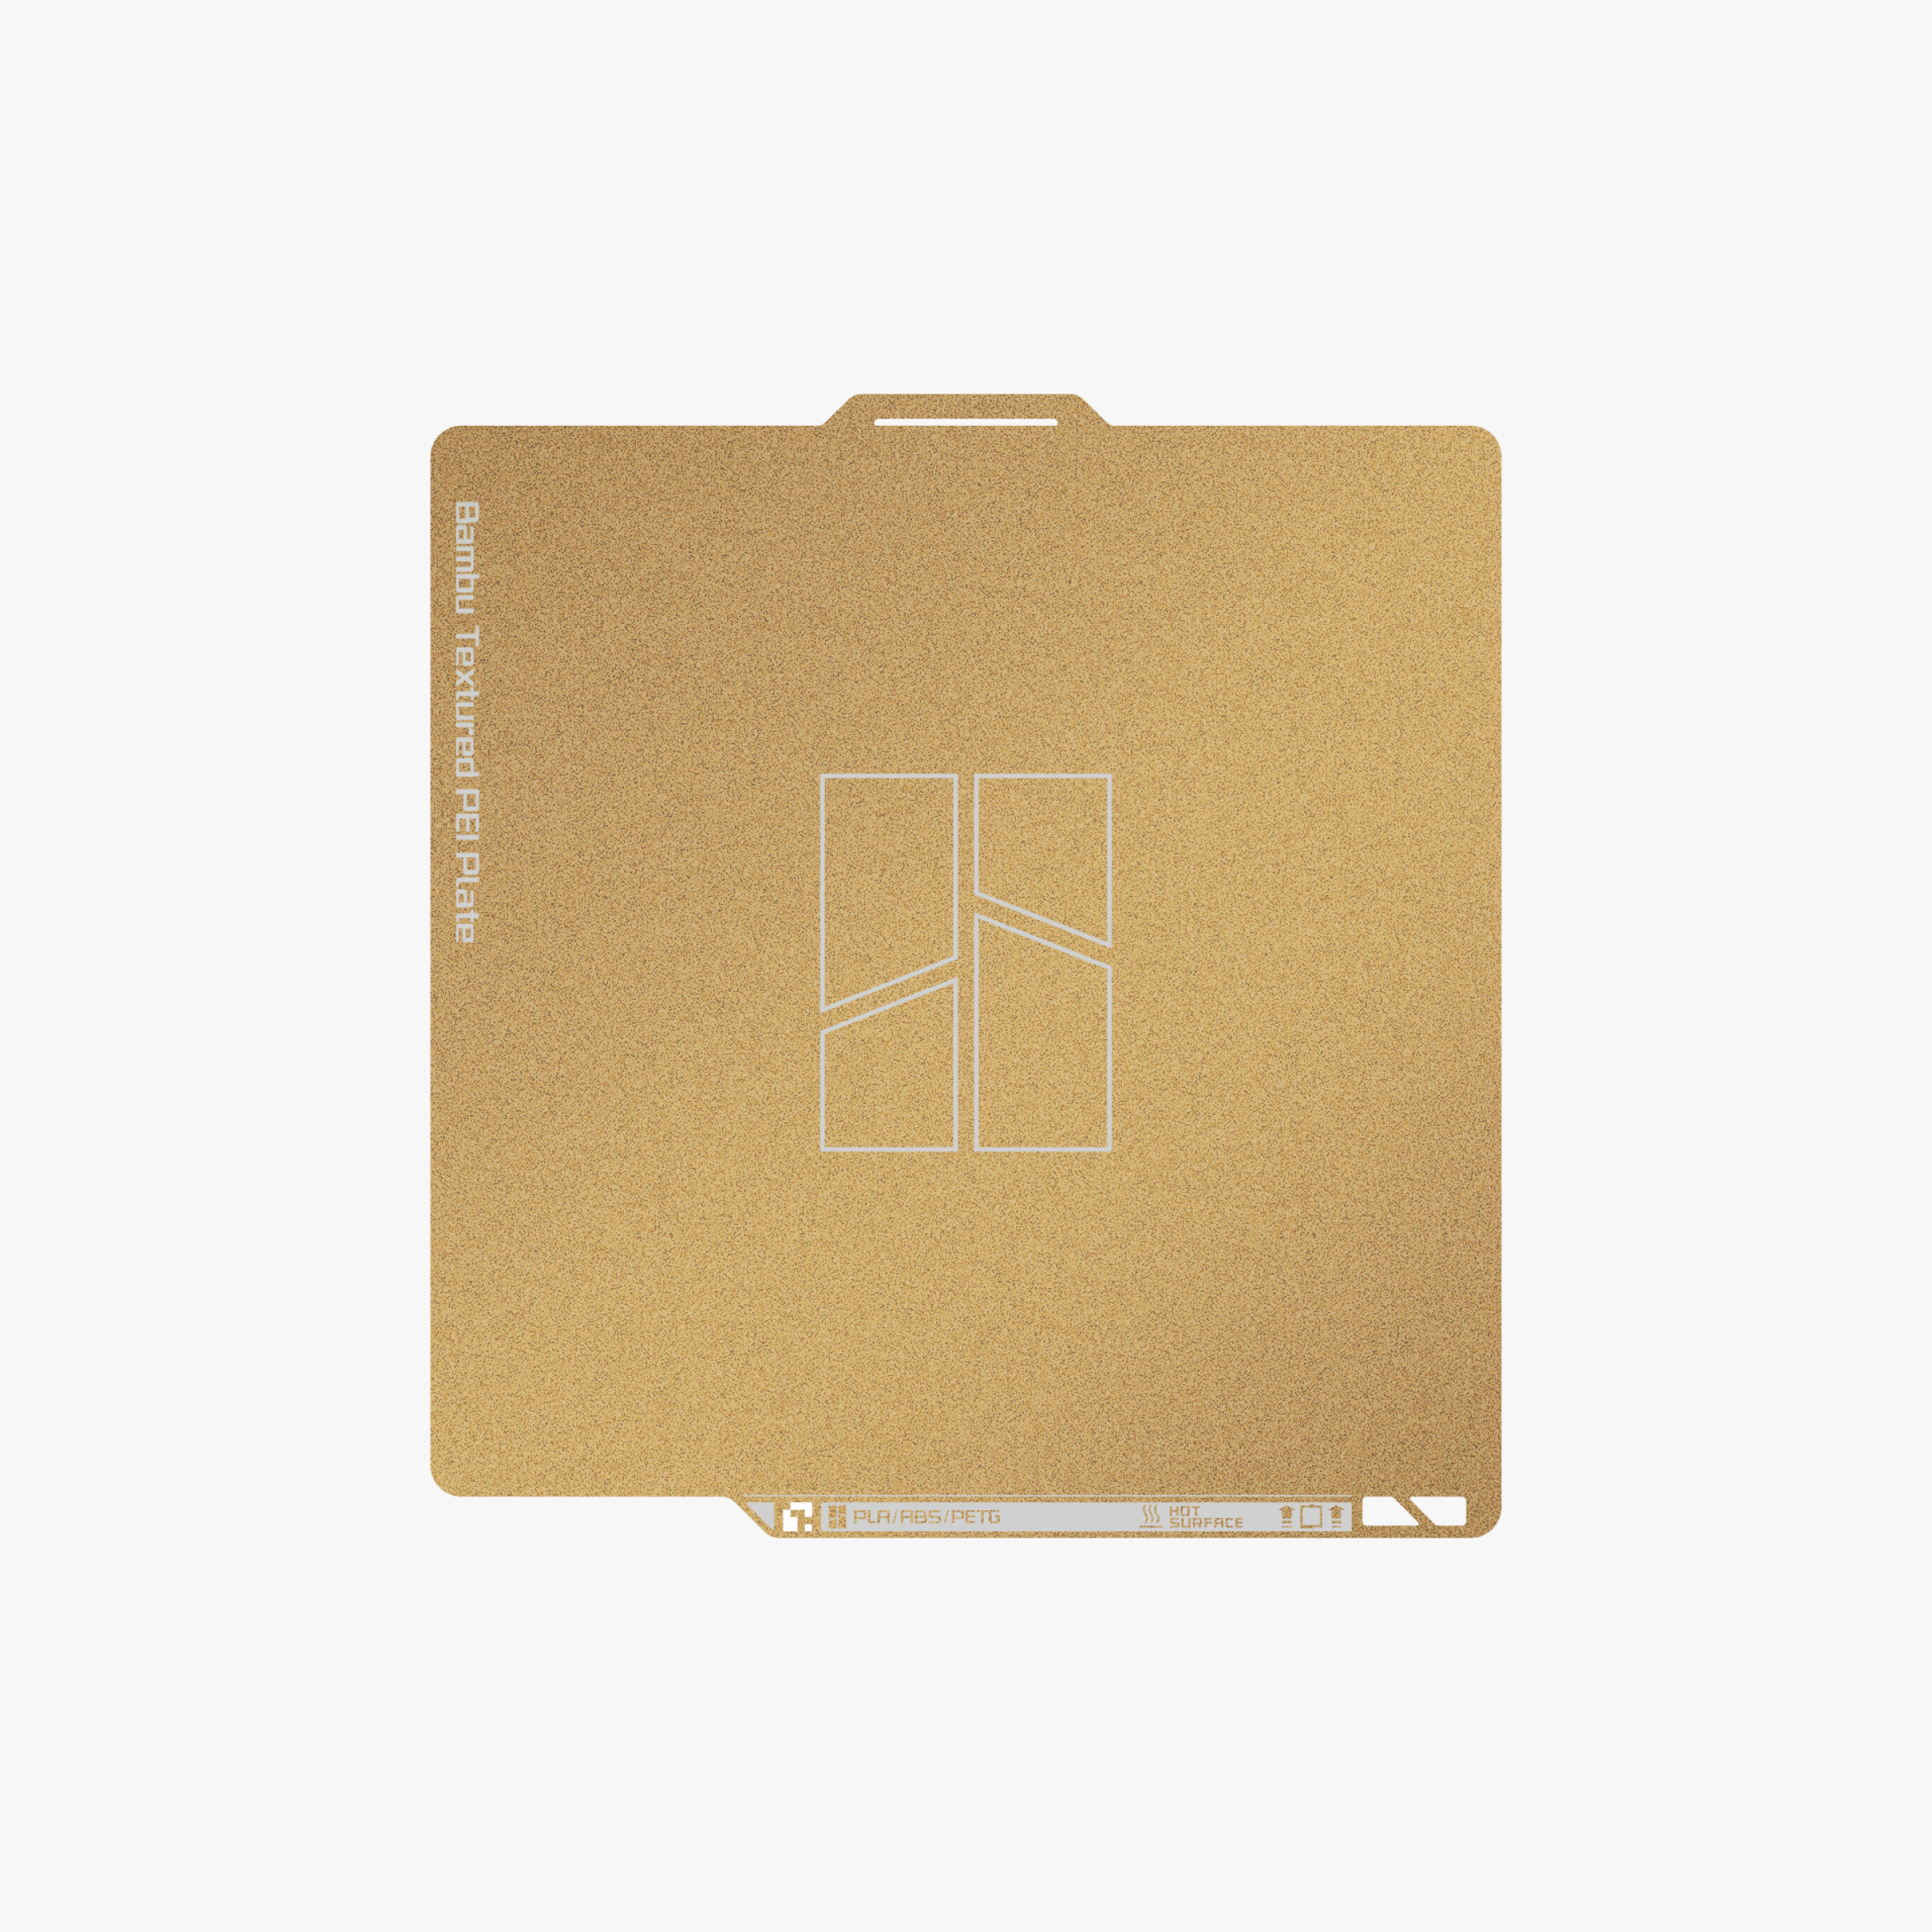
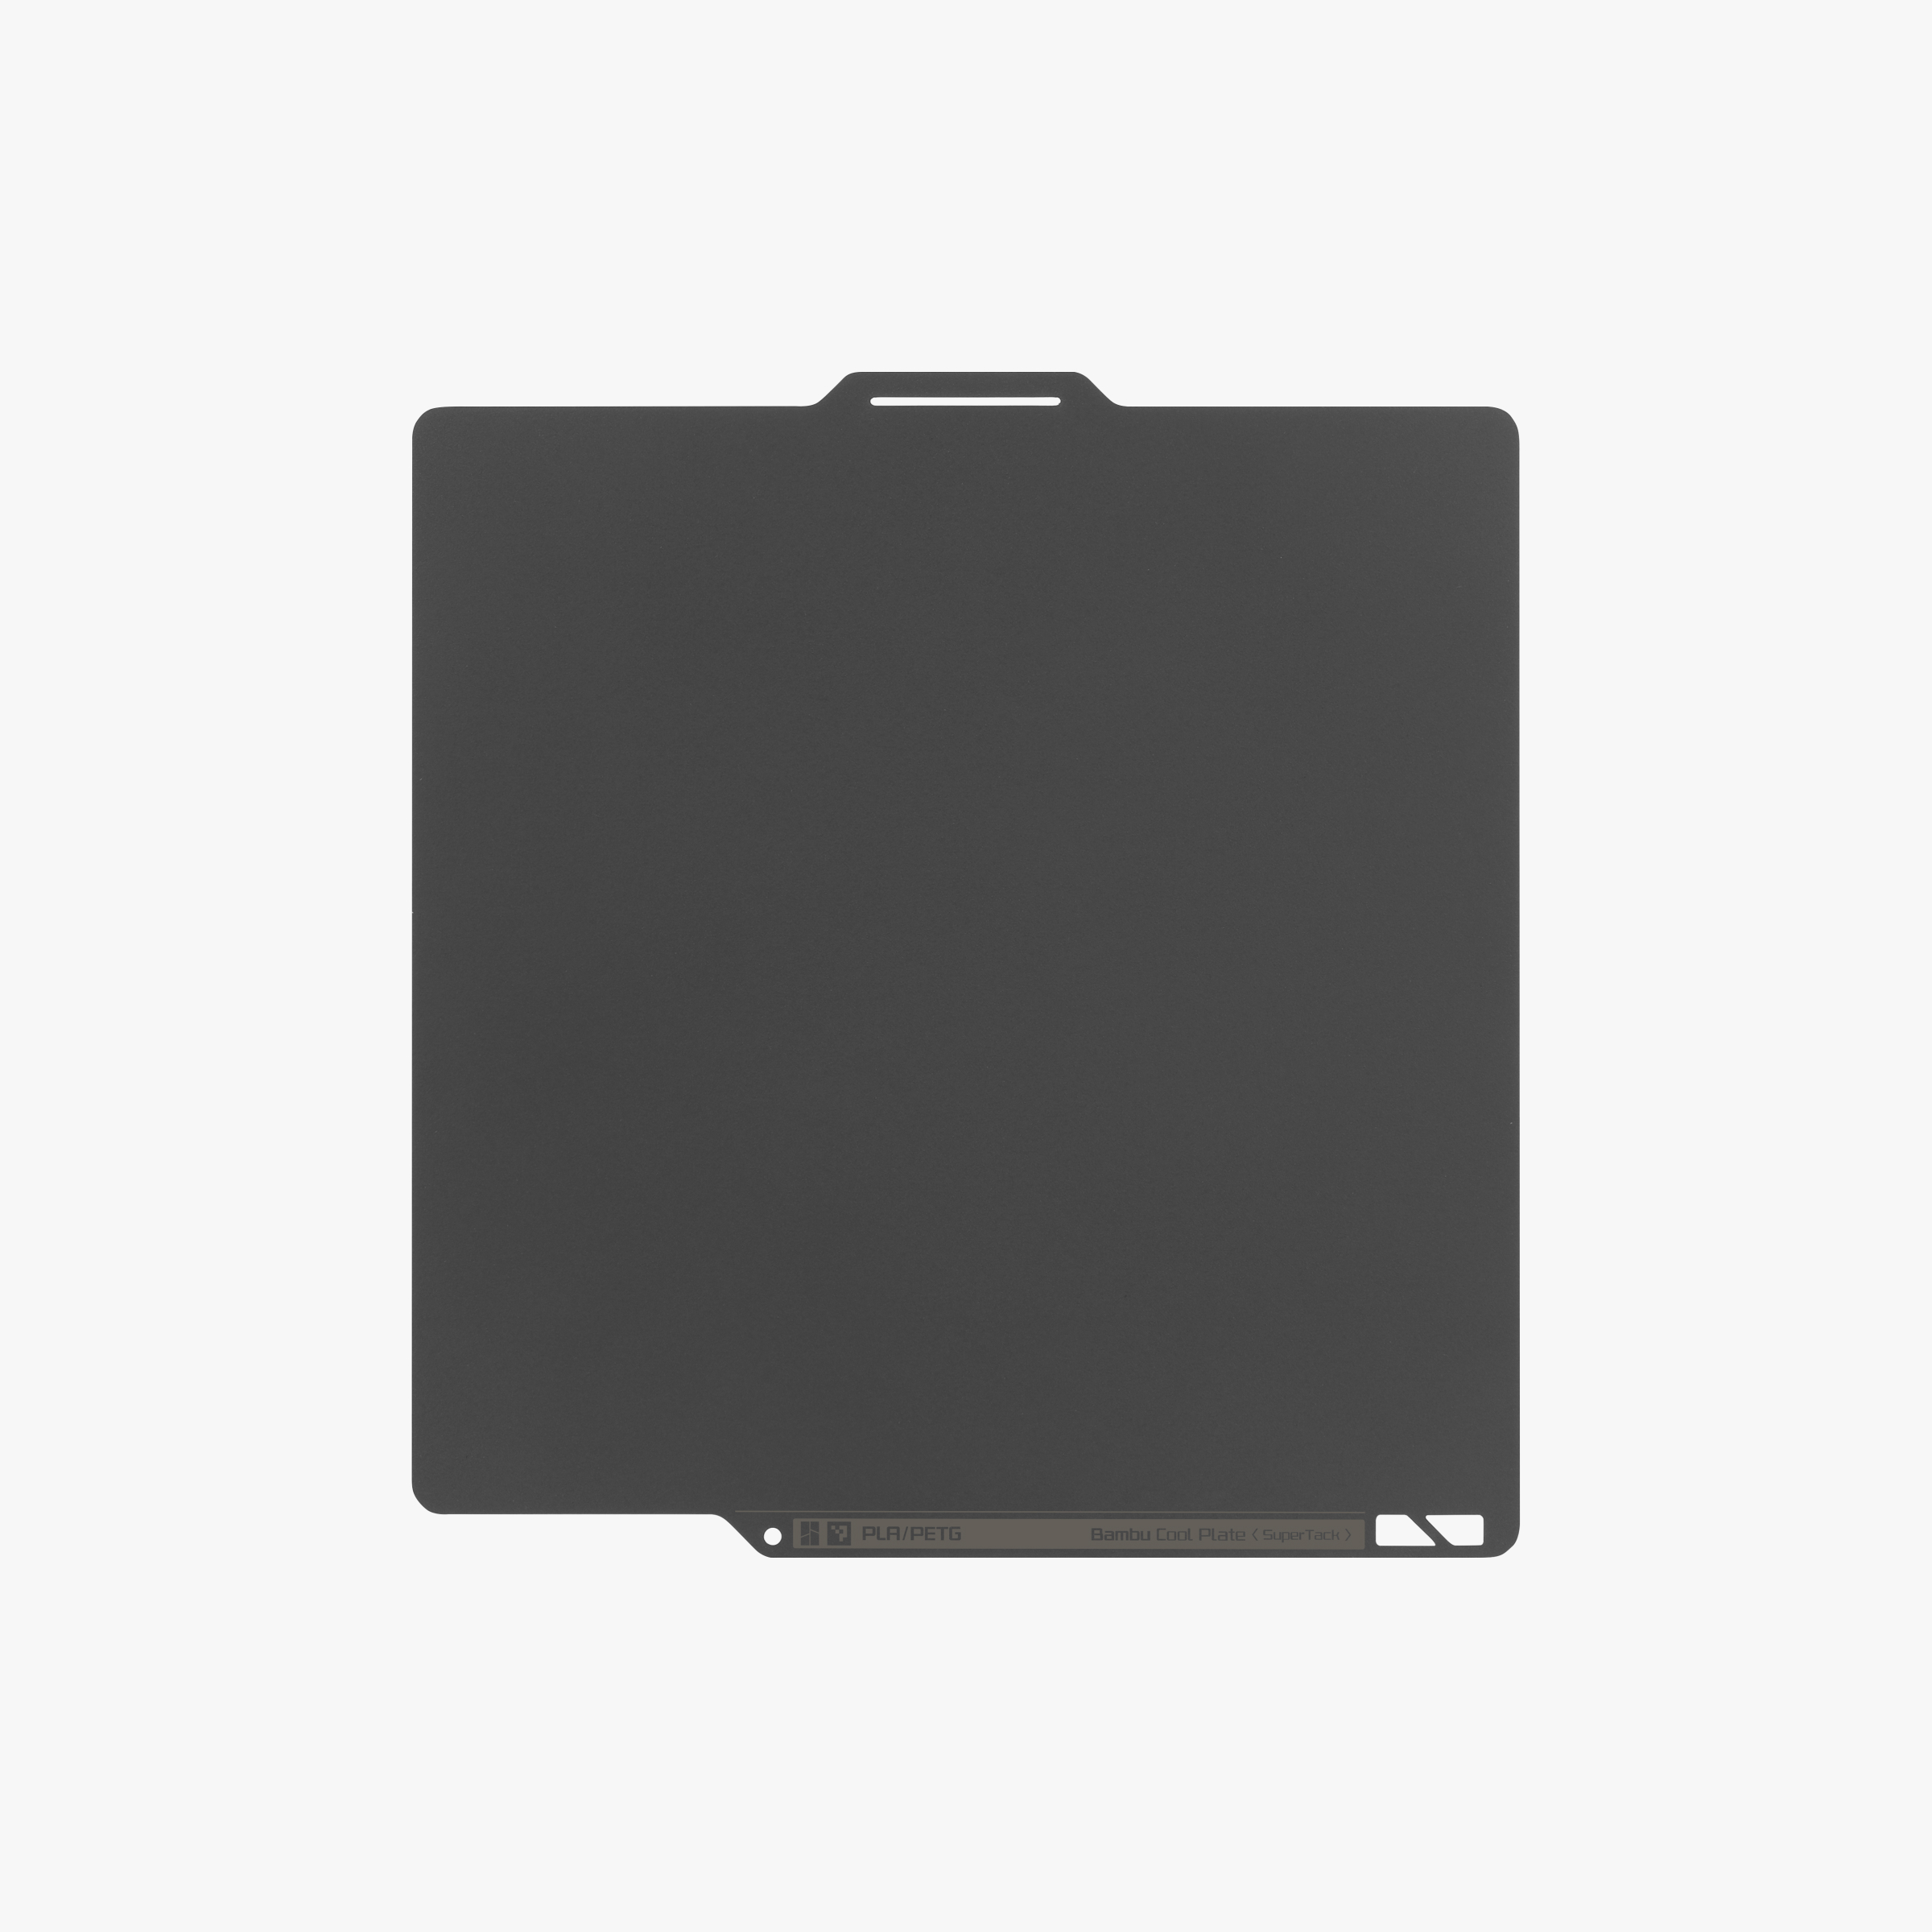
We run the stock Bambu Lab speed profiles. The printers are tuned at the factory for their own filaments and chasing extra speed costs layer adhesion, which on an RC part means a cracked chassis. The one change we make for PETG HF is a slightly slower first layer and the Textured PEI plate, which releases PETG cleanly where a smooth plate would fight you. PLA Tough+ goes on the Textured PEI or the Cool Plate SuperTack; both are fine.
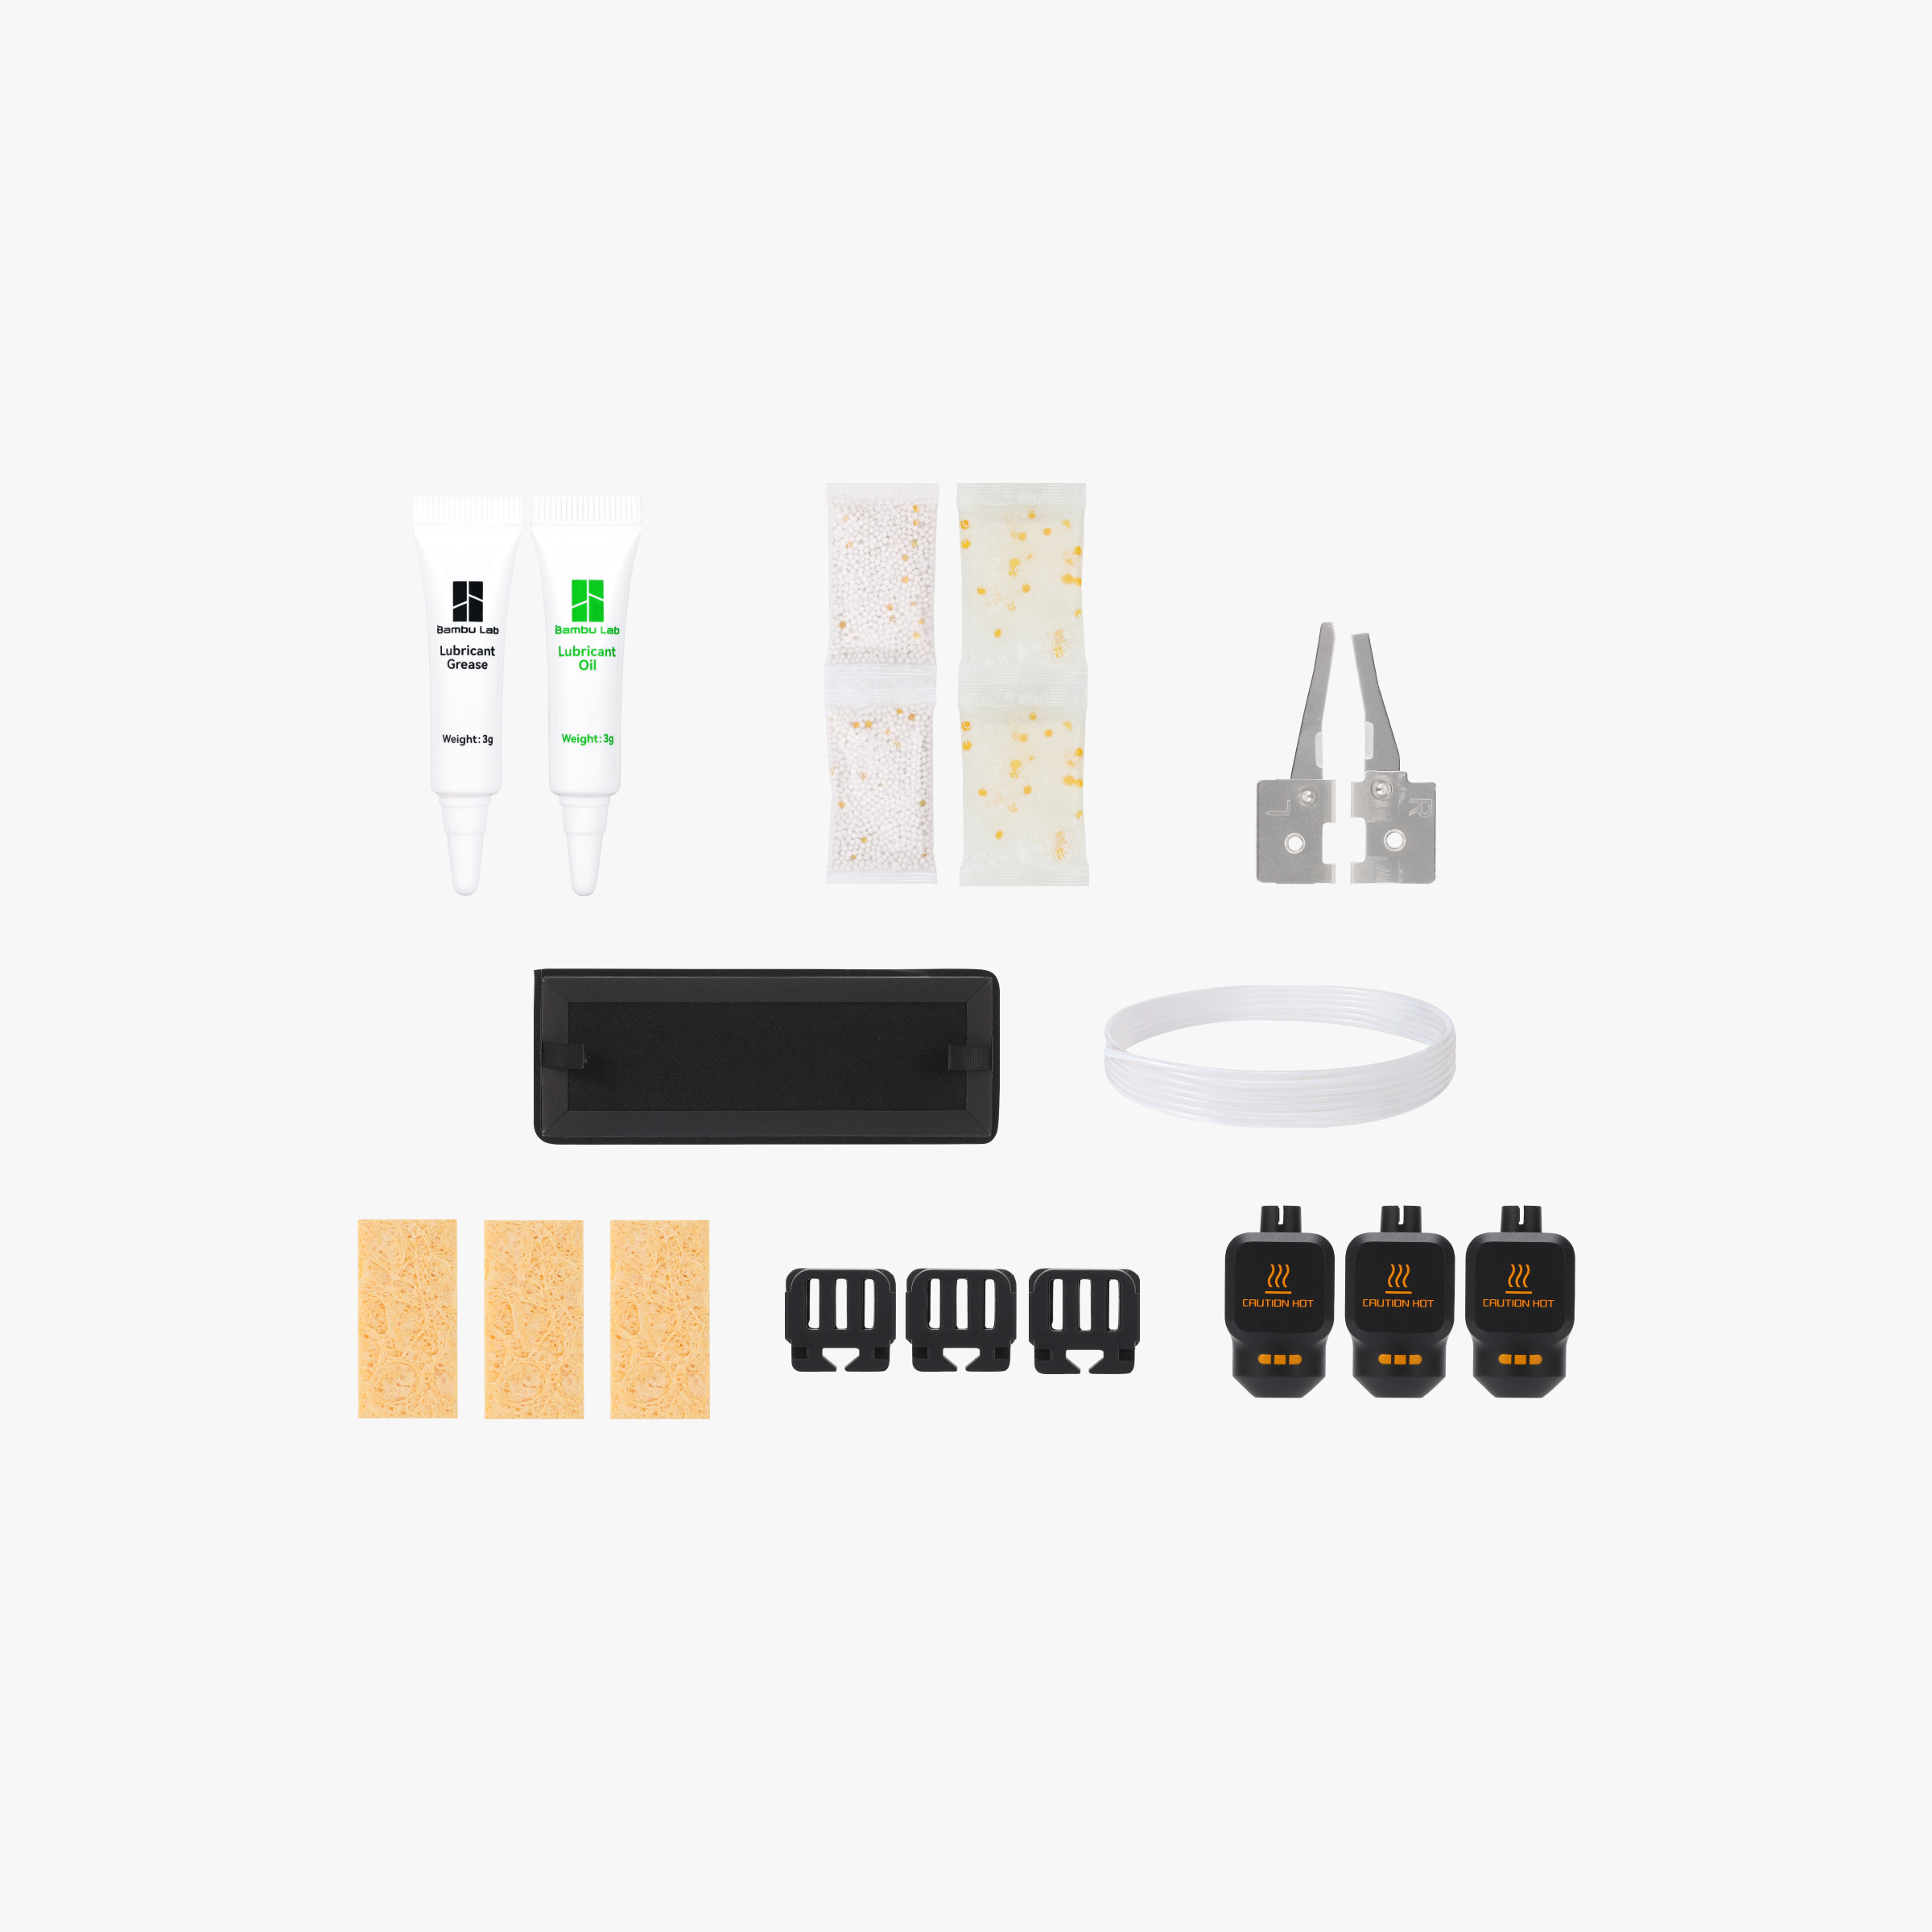
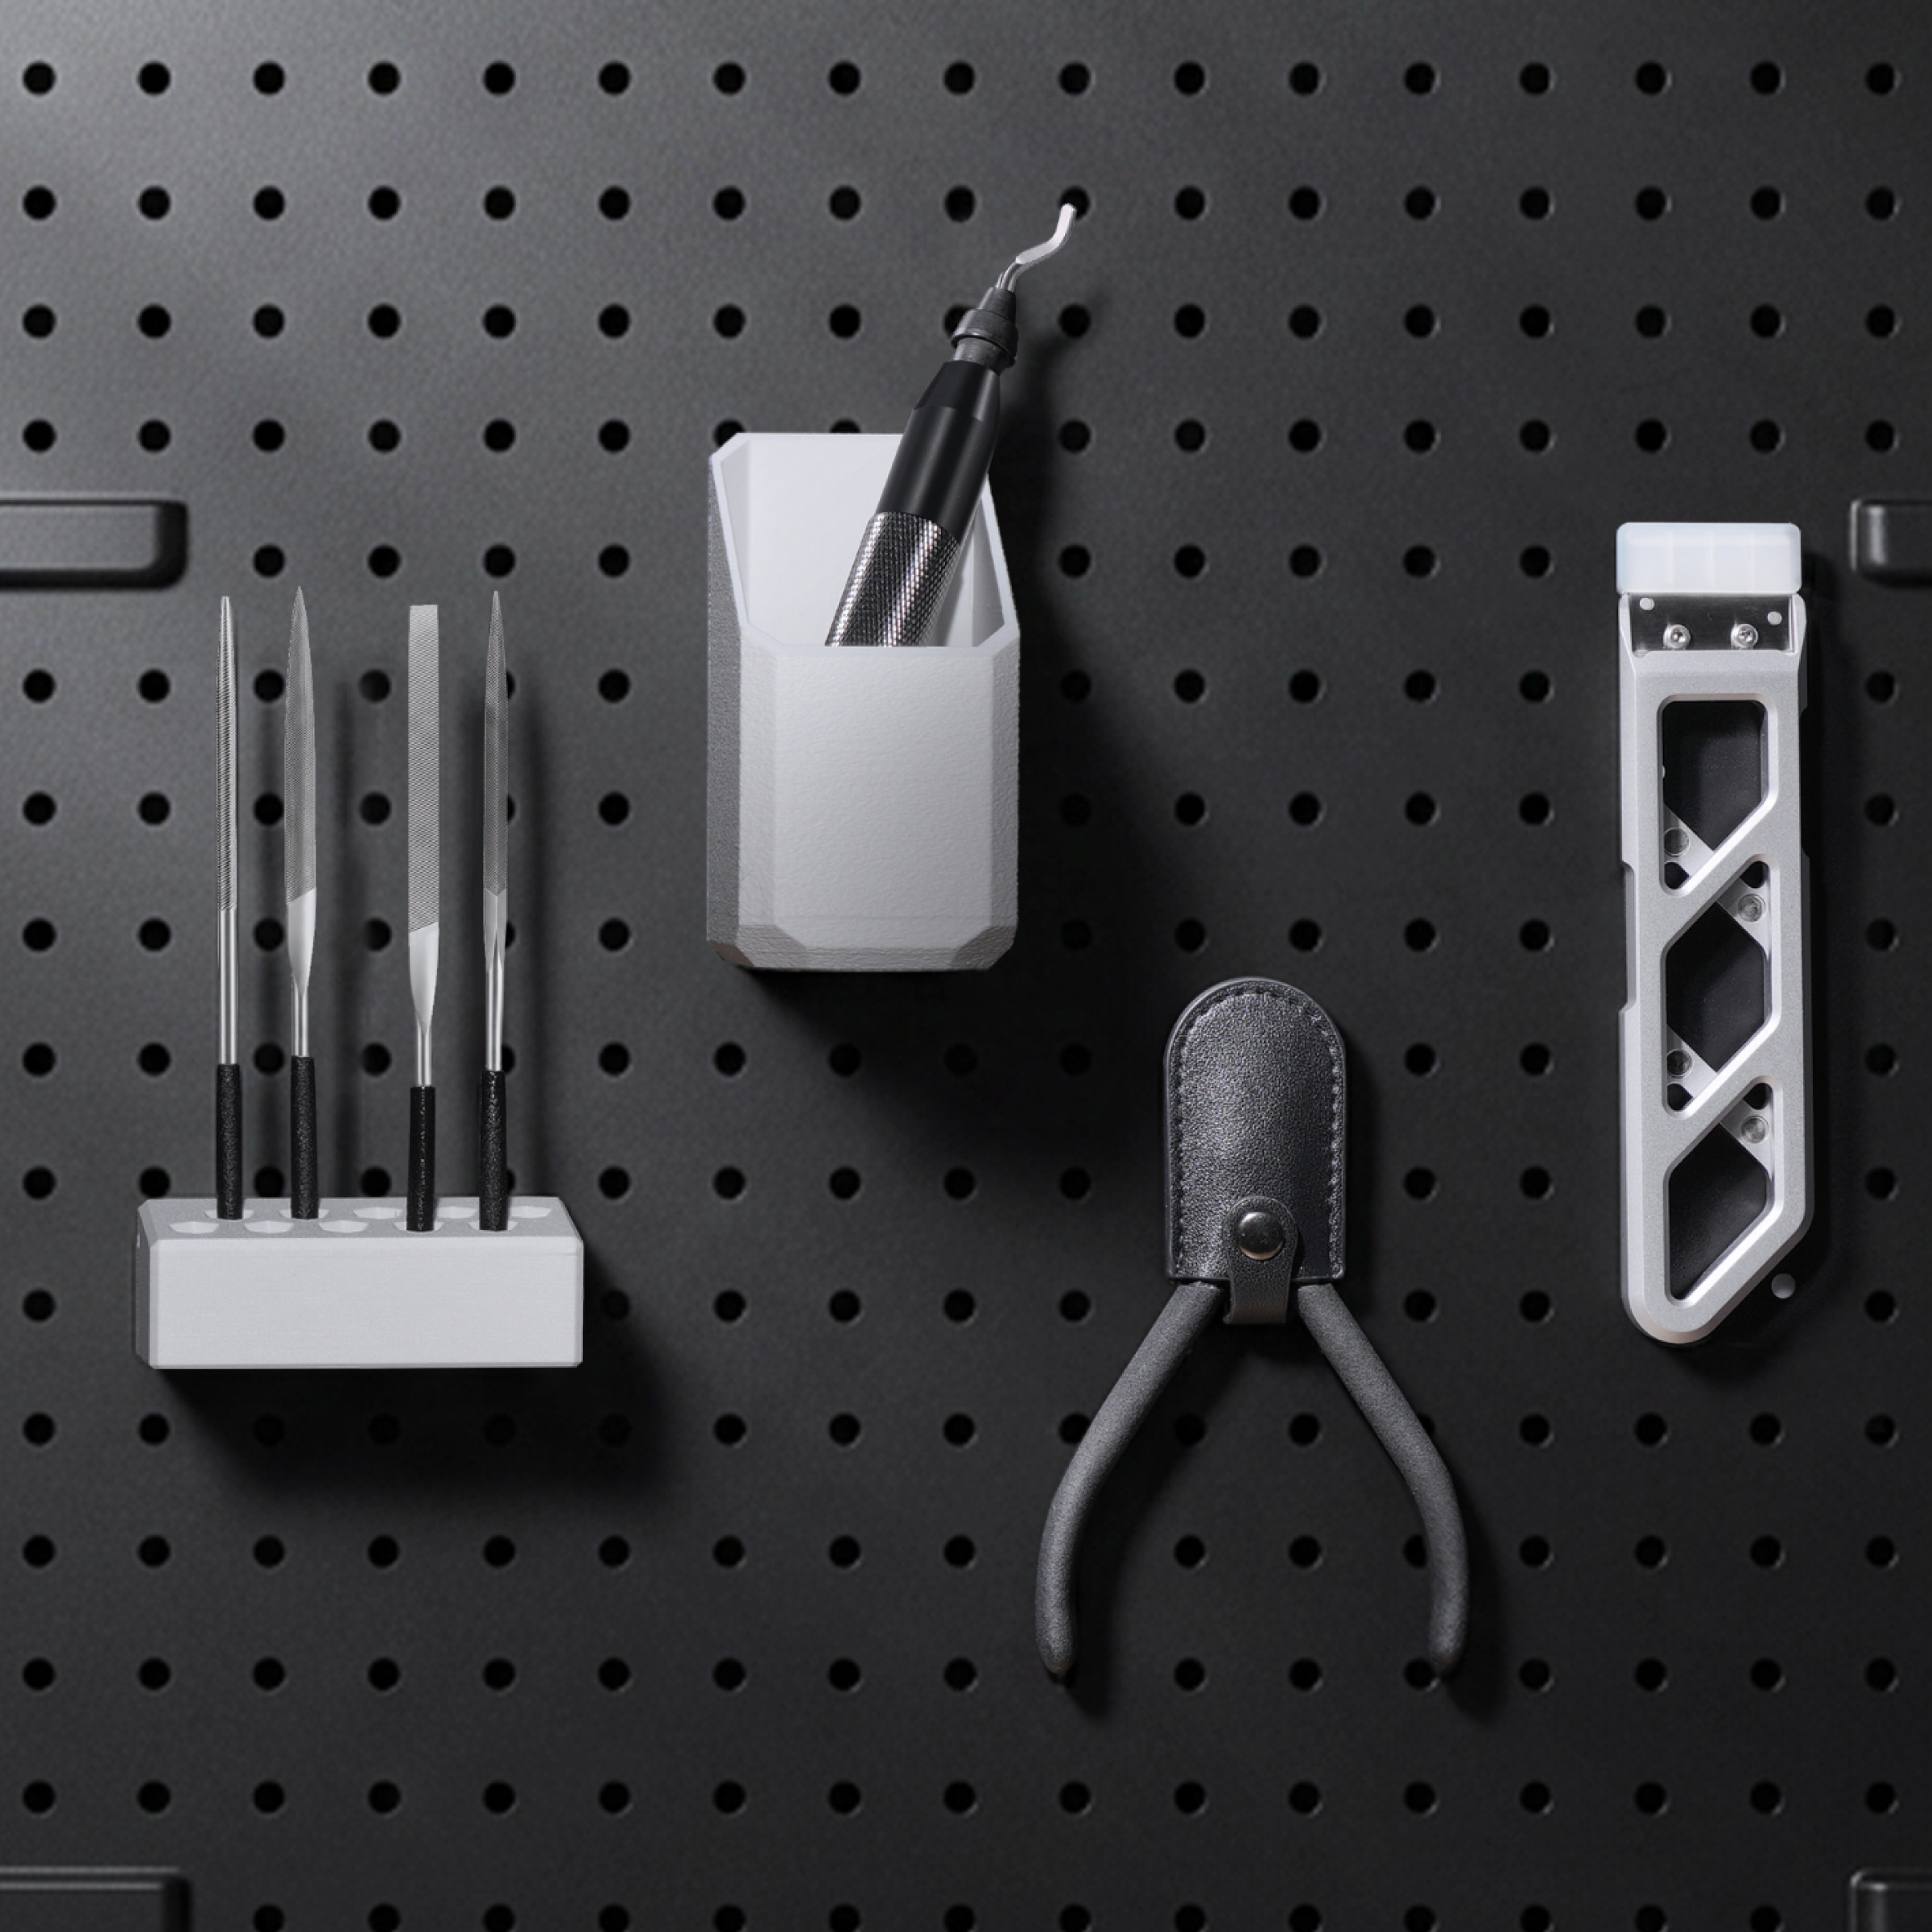
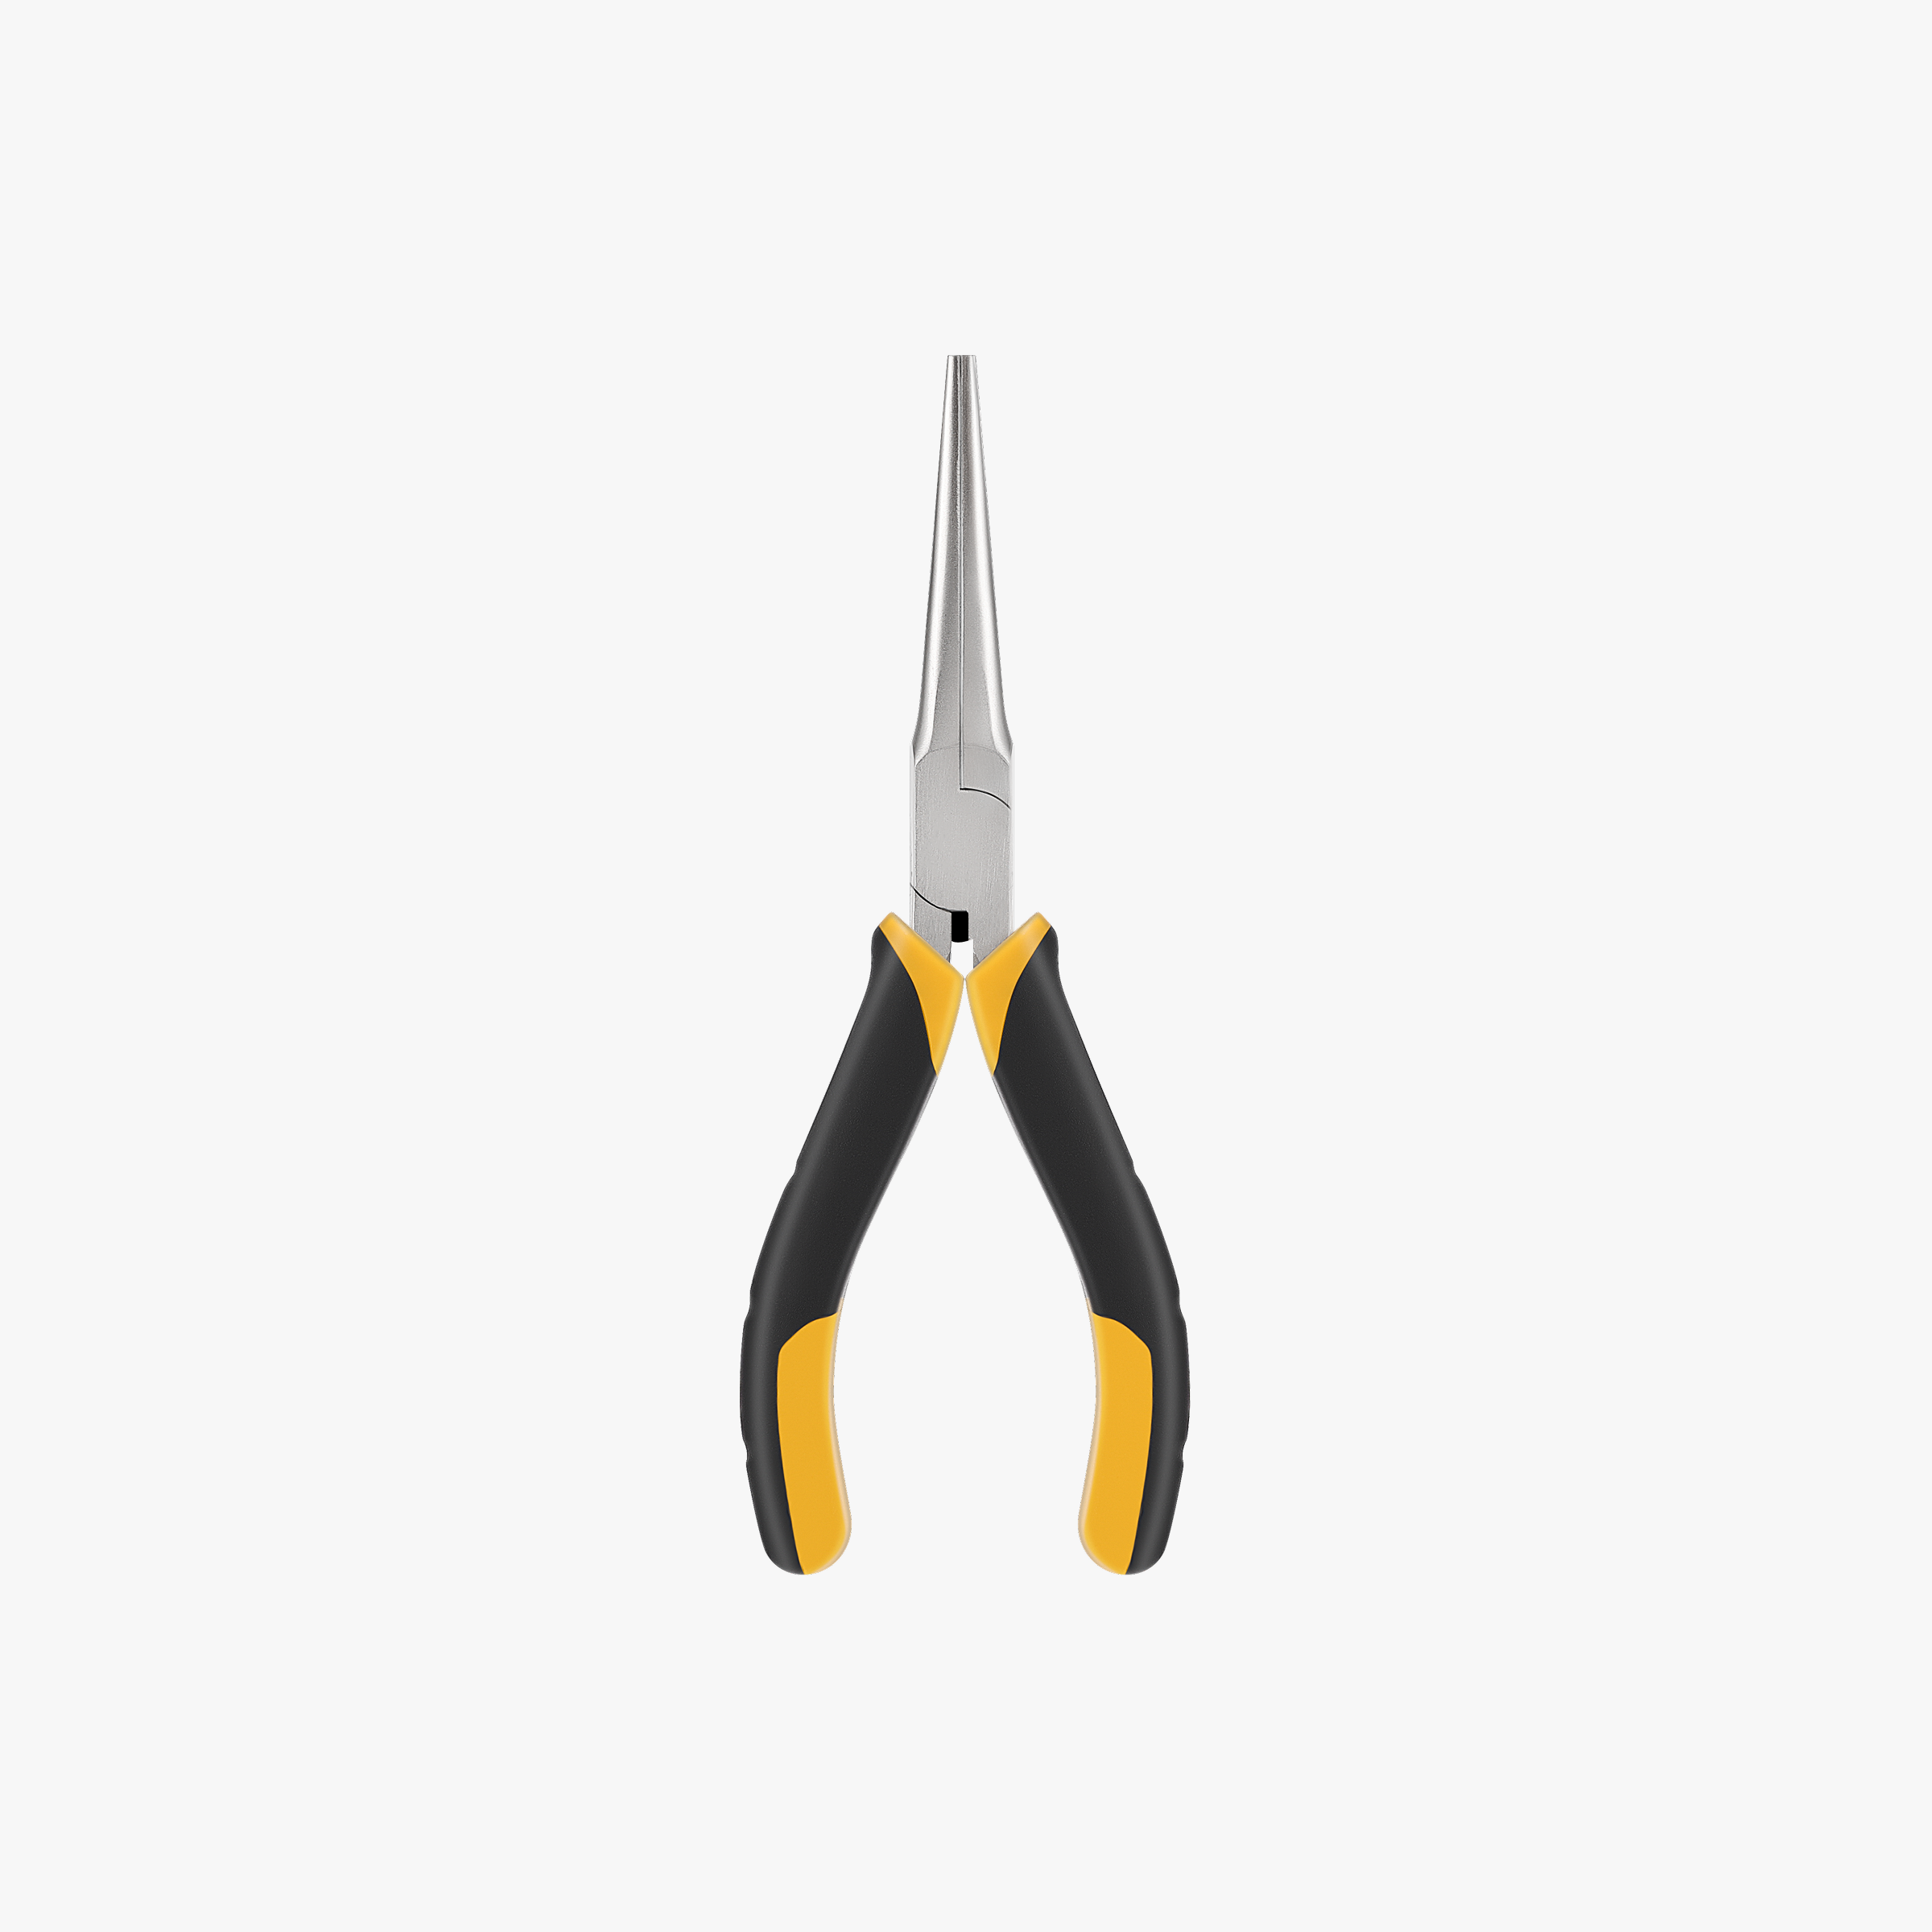
After a print, parts get pulled with long-nose pliers for support strings and a quick pass with the finishing kit to clean bearing bores. Keep the Maintenance Kit grease on the rods; a dry printer is a noisy printer and a noisy printer is a less accurate one.
Multi-colour bodies with the AMS lite
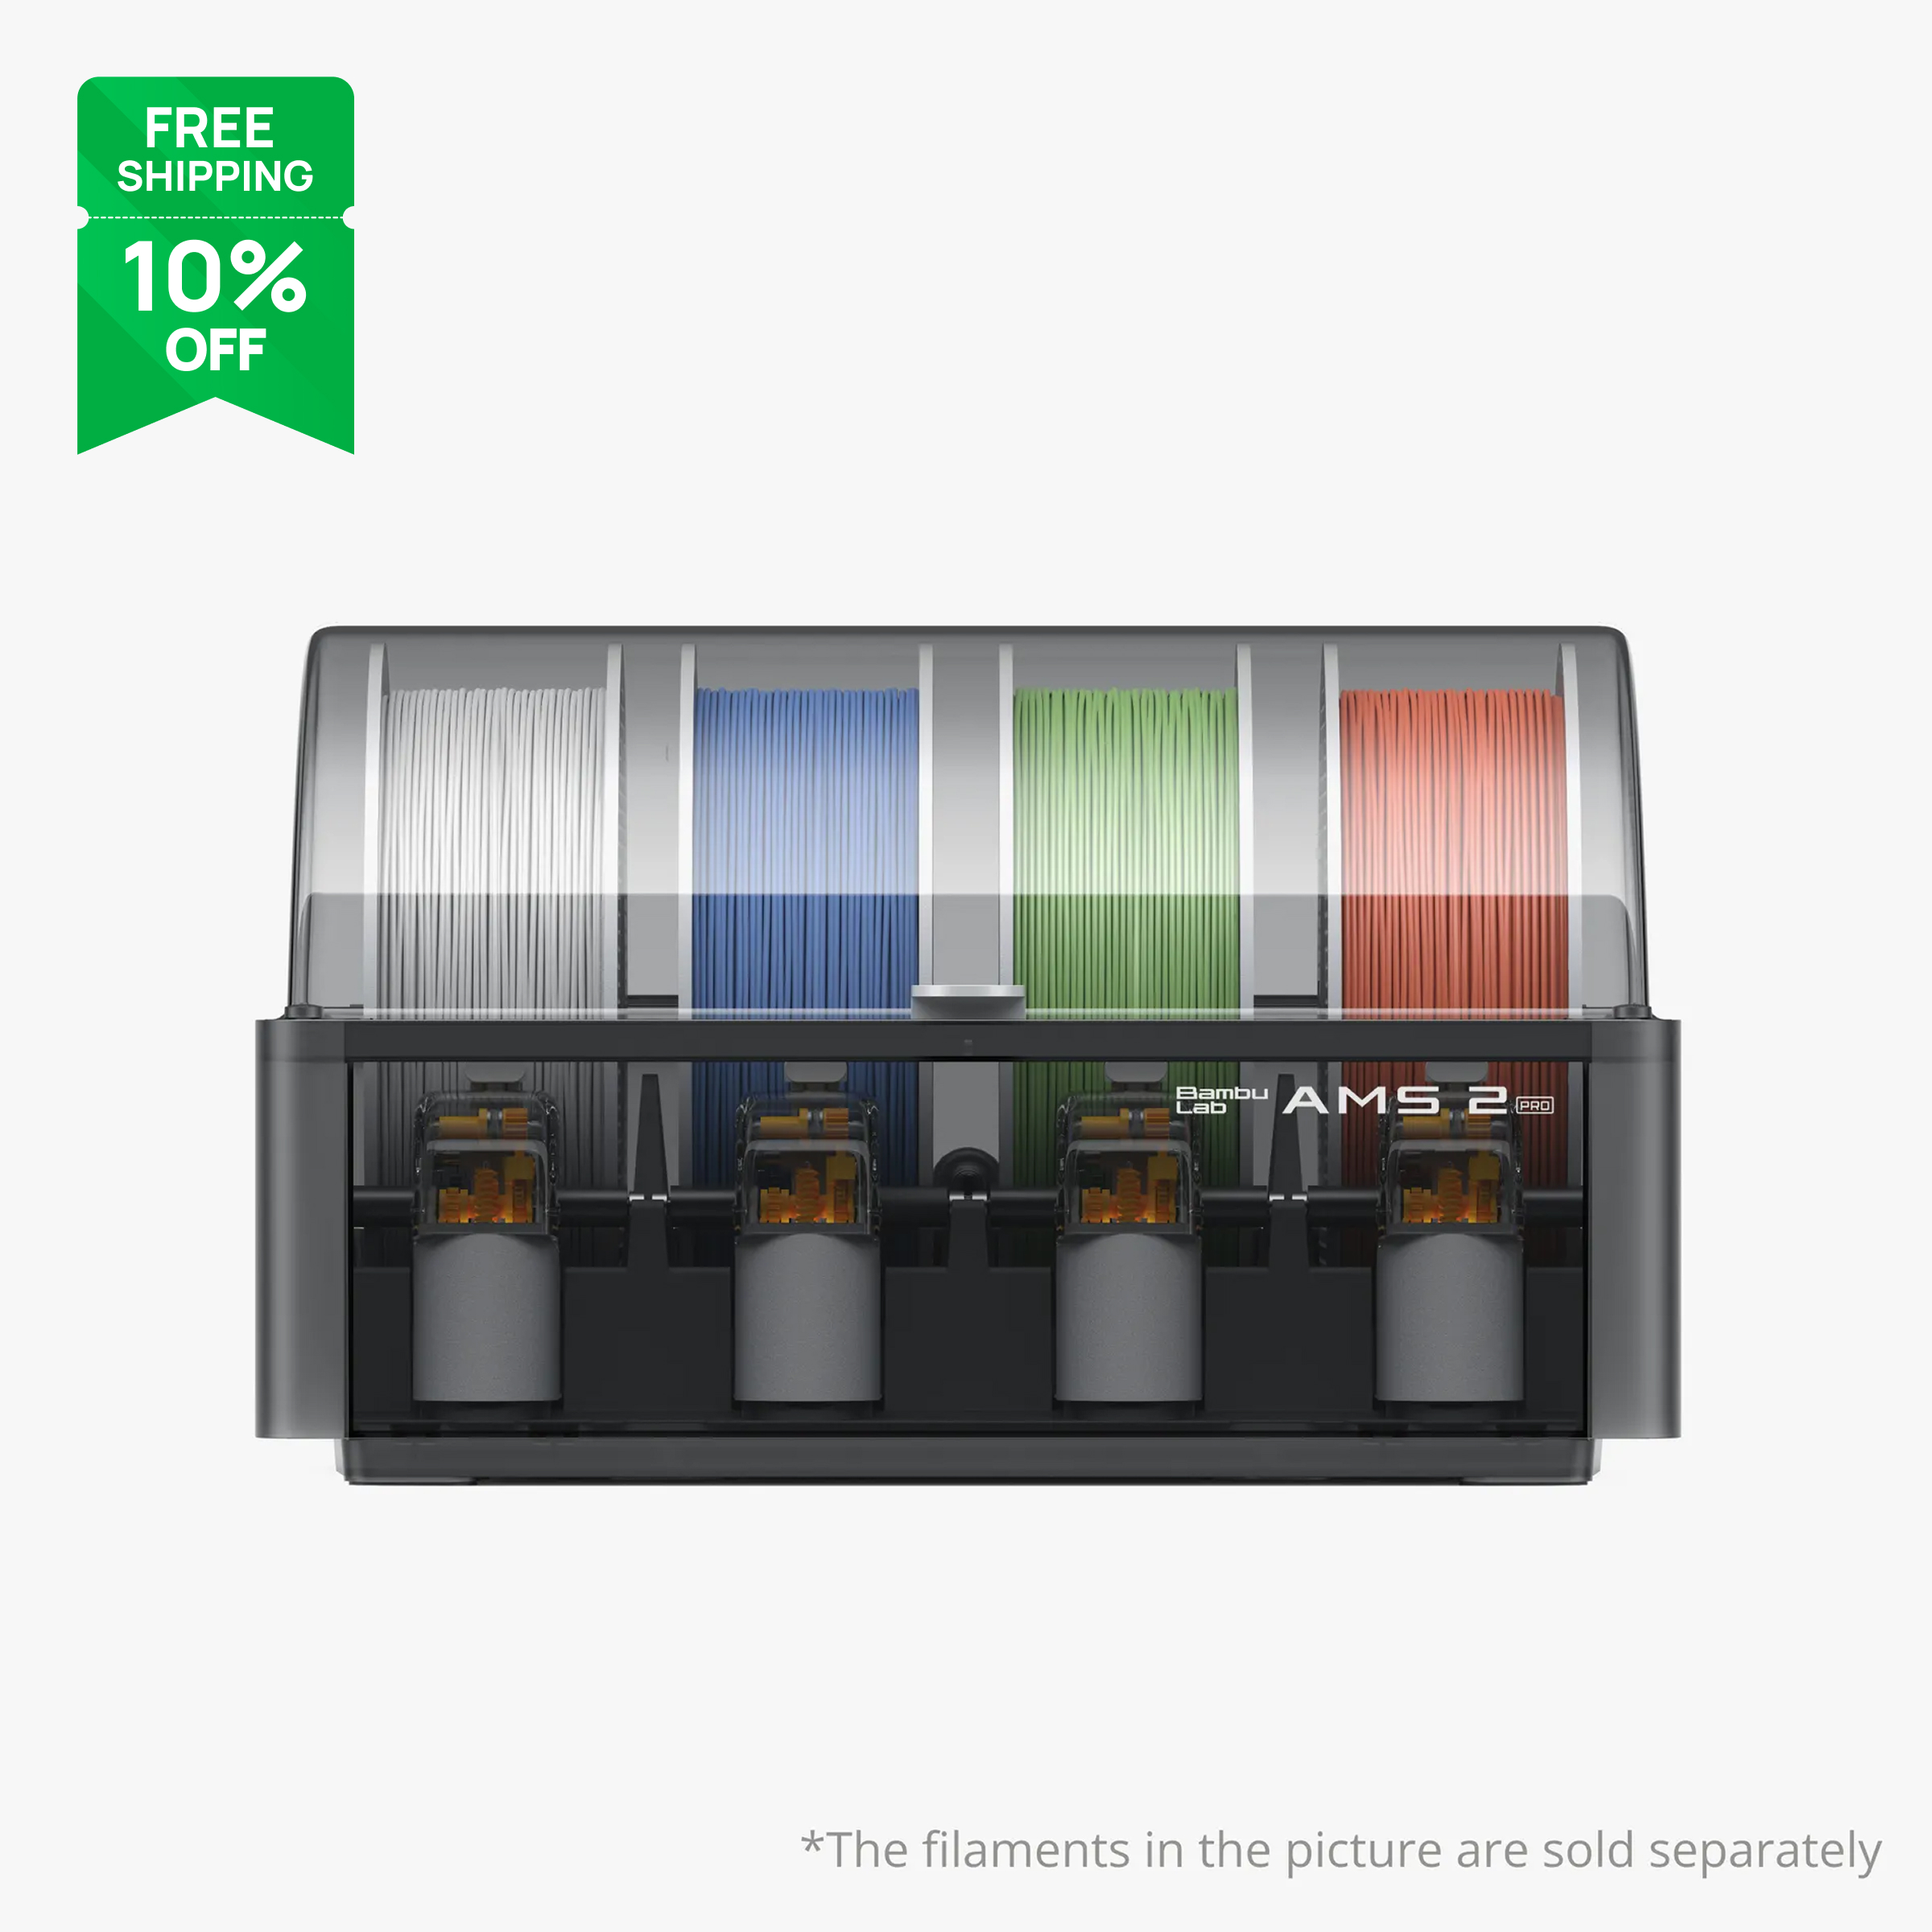
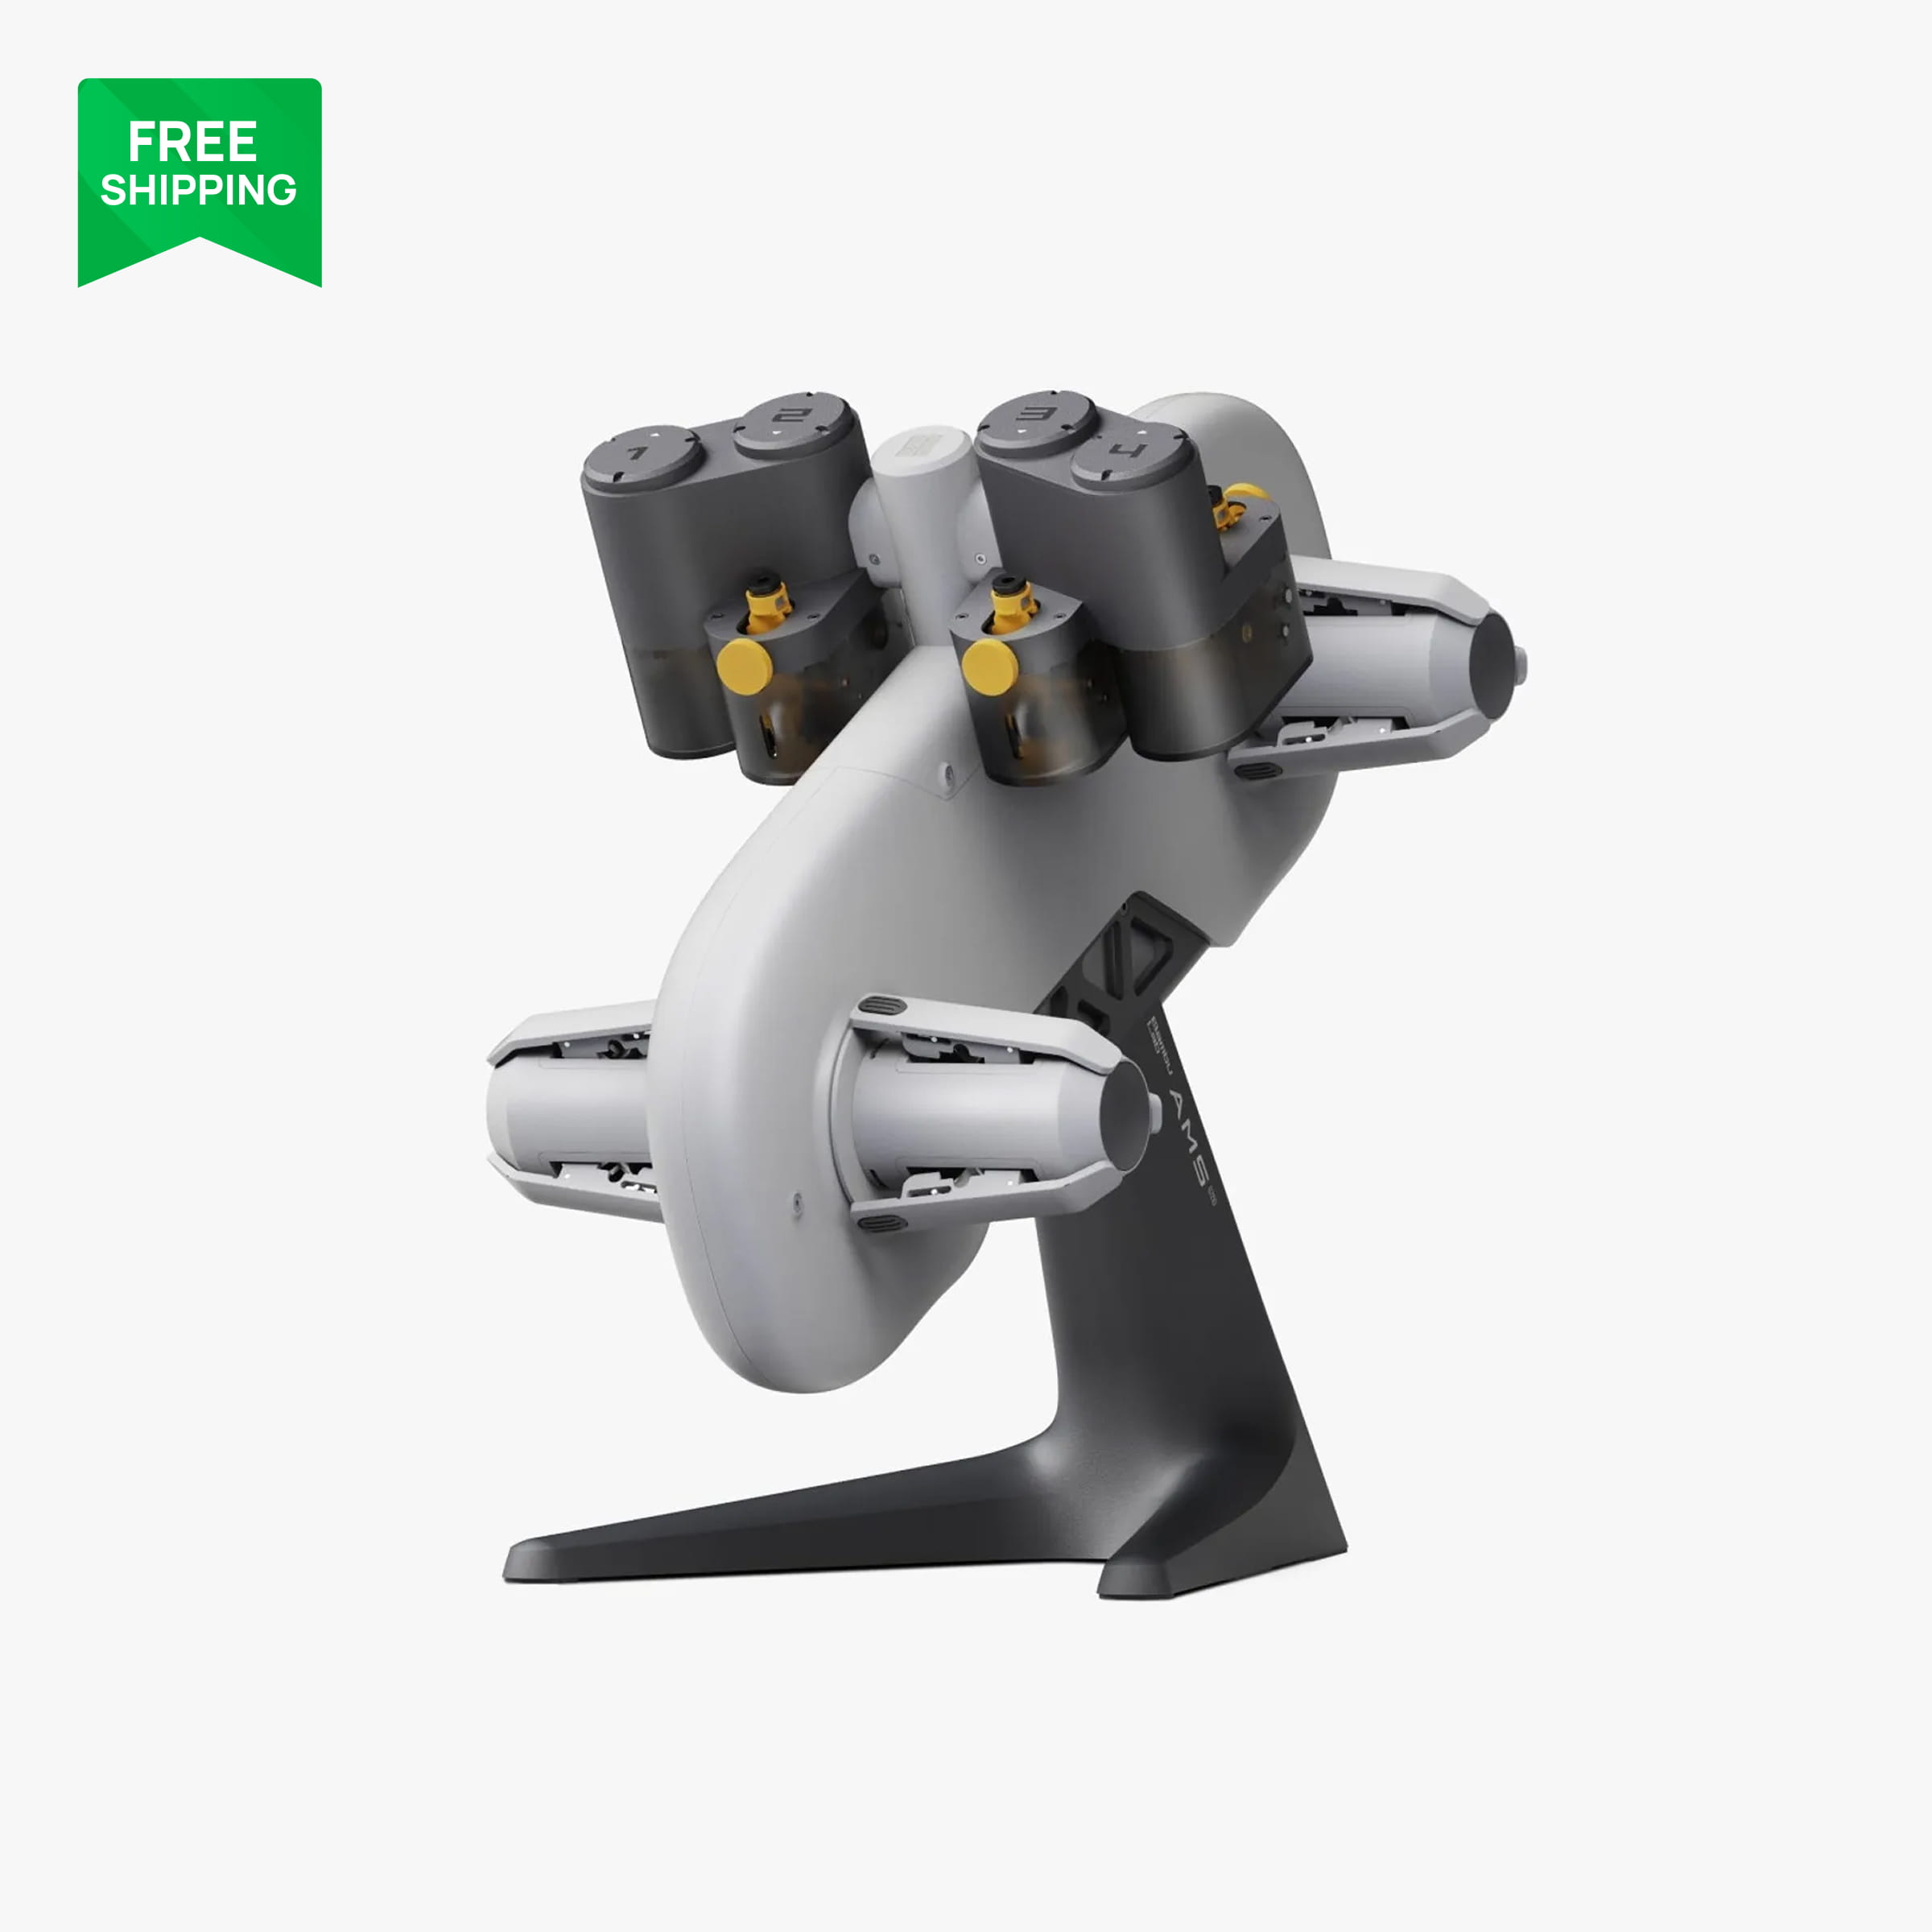
Race numbers and livery stripes on the bodies are printed in with the AMS lite on the A1, which avoids masking and painting for club cars. It is purely cosmetic and it costs a little purge filament, but a body that comes off the plate with numbers already on it is the sort of thing that gets new people into printing their own cars. On the P2S we do the same with an AMS 2 Pro, which also keeps the PETG HF dry between sessions.
FAQ
Can I print a whole CRH28 on an A1 mini?
Yes. Every part on the car is designed to fit the A1 mini's 180 mm bed. The A1 just lets you print more parts per plate.
Why not print RC parts in ABS or nylon?
At 1/28 scale the loads and temperatures are modest, and PLA Tough+ and PETG HF handle them without an enclosure. Nylon is worth it for gears if you make your own; we buy ours.
Where do I get the CRH files?
They are free at clubracehero.com, with print profiles for Bambu Studio included. The build video above walks through assembly.
More guides
- Which Bambu Lab Printer Should You Buy? A Maker's Decision Tree
- Bambu Lab A1 vs P1S vs P2S: Which Mid-Range Printer Is Right for You?
- Bambu Lab AMS Explained: AMS lite vs AMS vs AMS 2 Pro vs AMS HT
- Best Bambu Lab Filament for Functional Parts: PLA Basic vs Tough+ vs PETG HF vs ABS
- Bambu Lab Build Plates Explained: Which Plate for Which Filament
- Your First Week with a Bambu Lab Printer: Setup, First Prints and What to Buy